The ZWO Seestar smart telescope is accompanied by a free app downloadable from the Google Play Store and iOS App Store. It is the only way that one can connect to and control ones Seestar telescope.
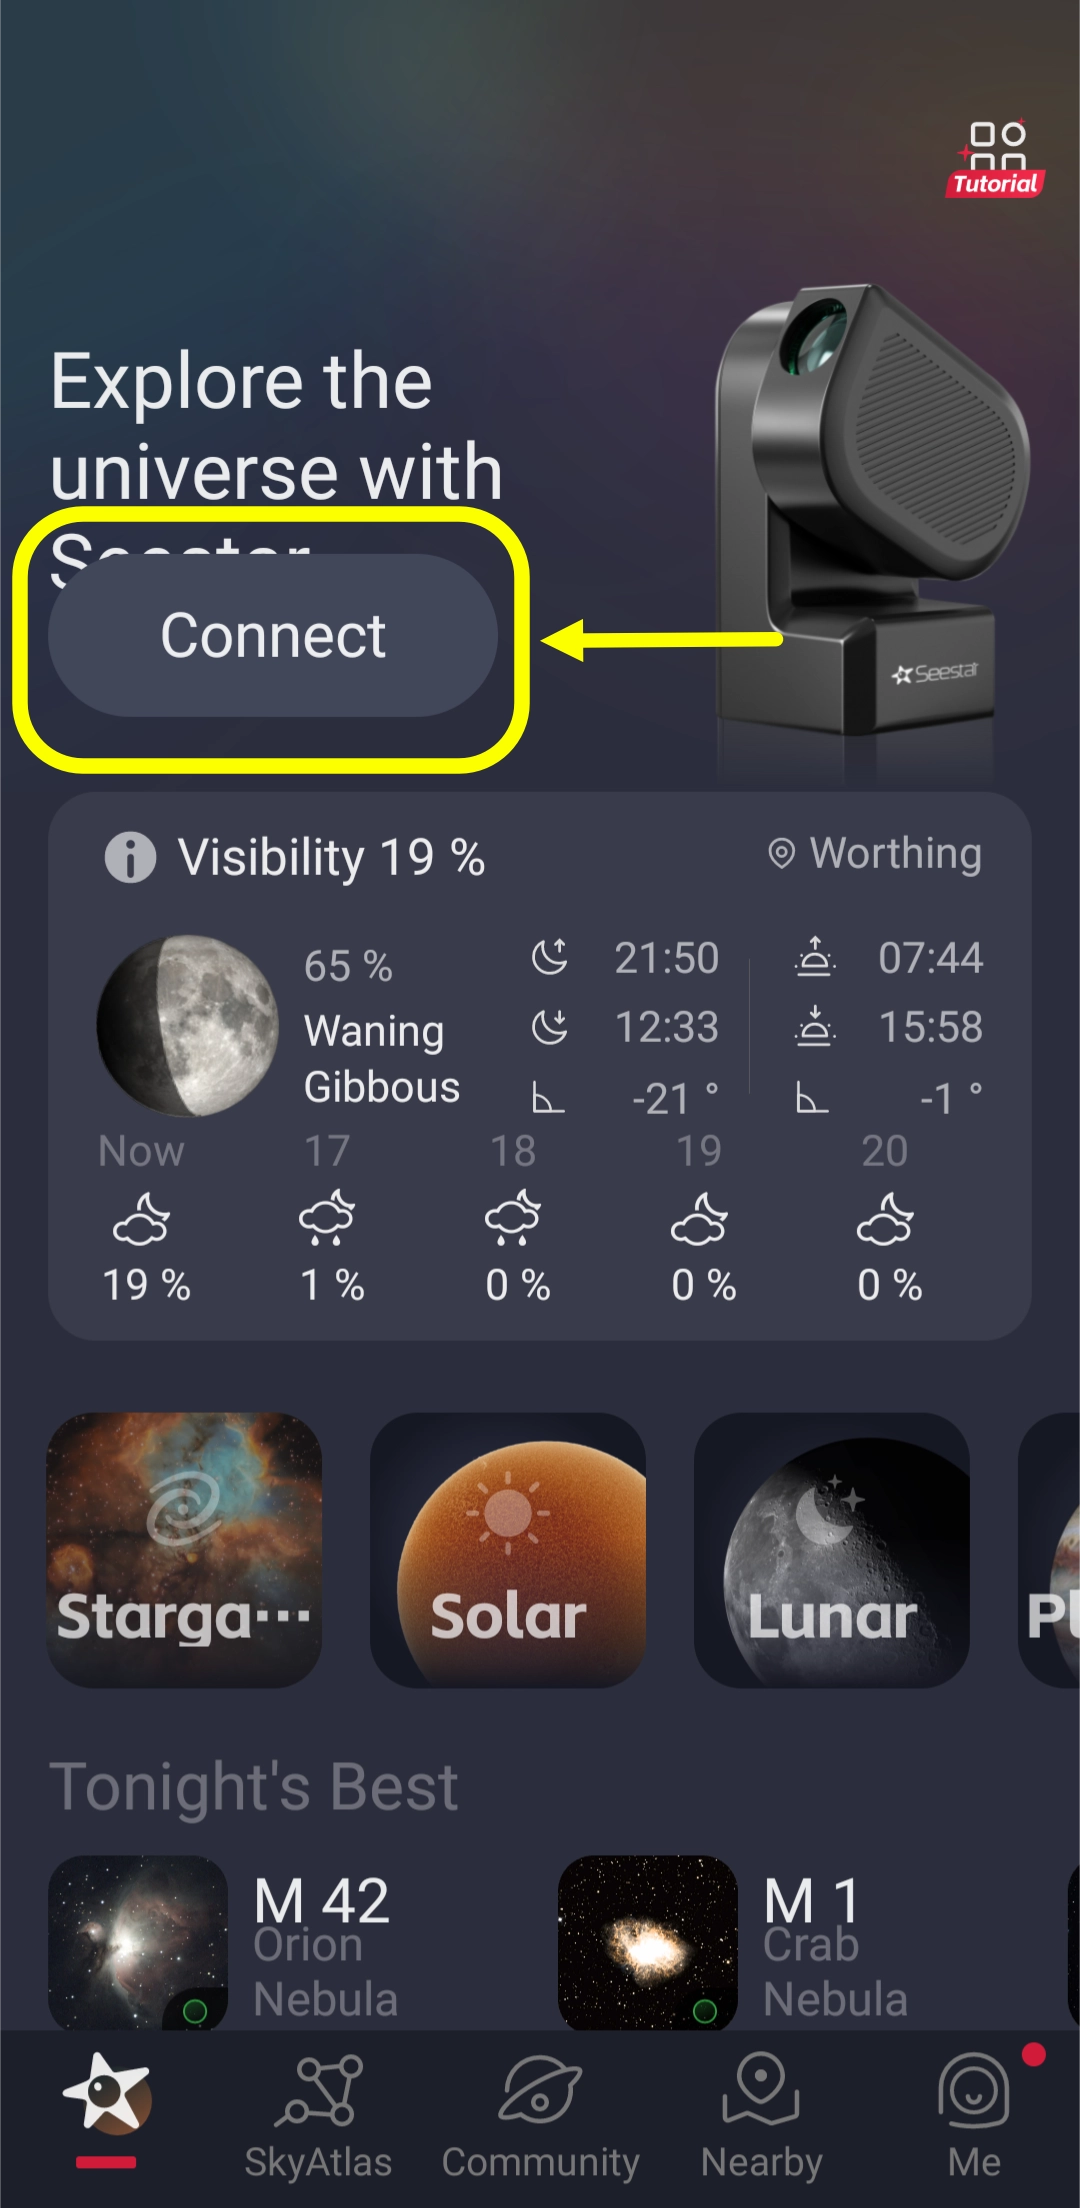
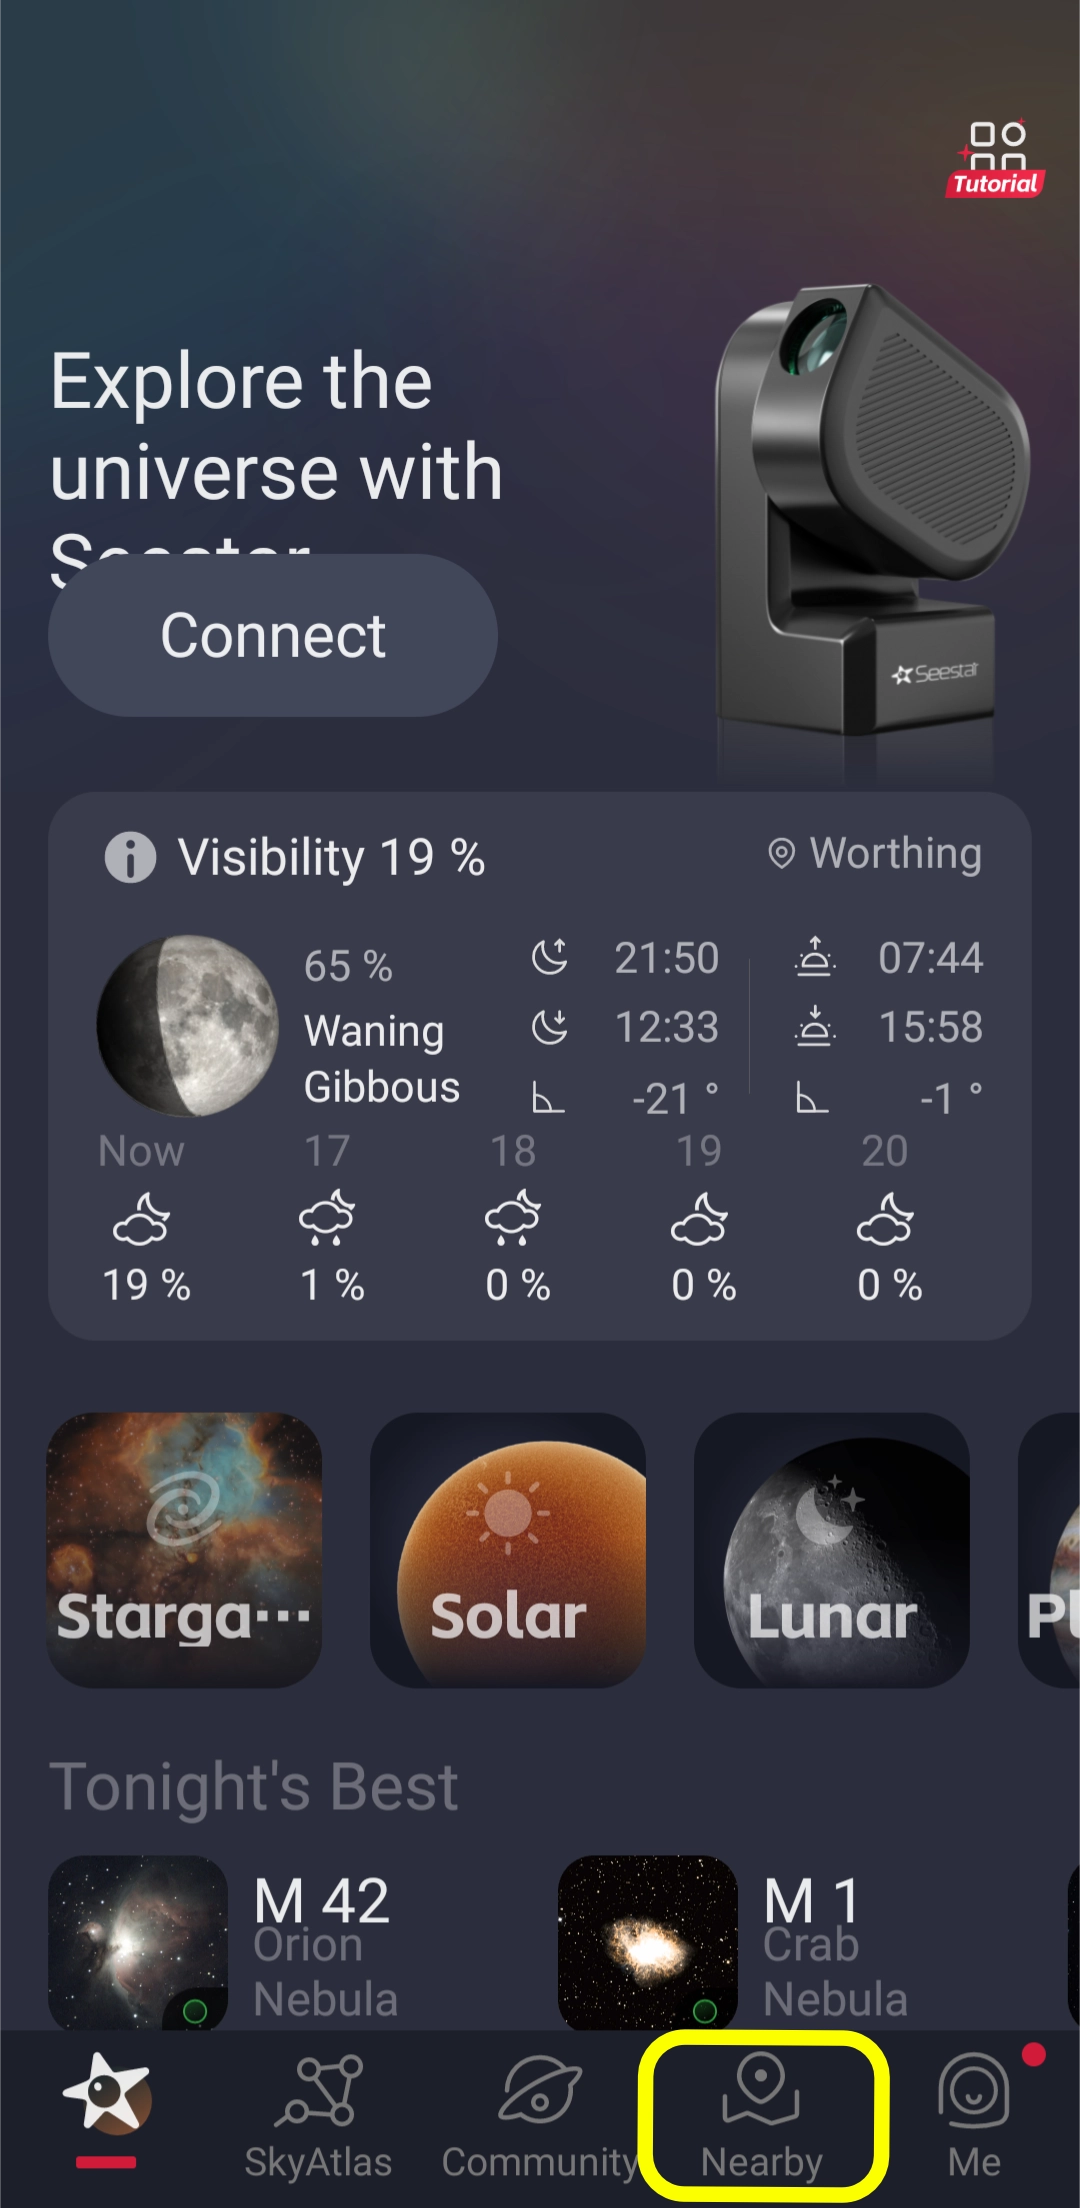
This is the main screen that you are presented with when you open up the Seestar app. The first button that you want to press will be "Connect"
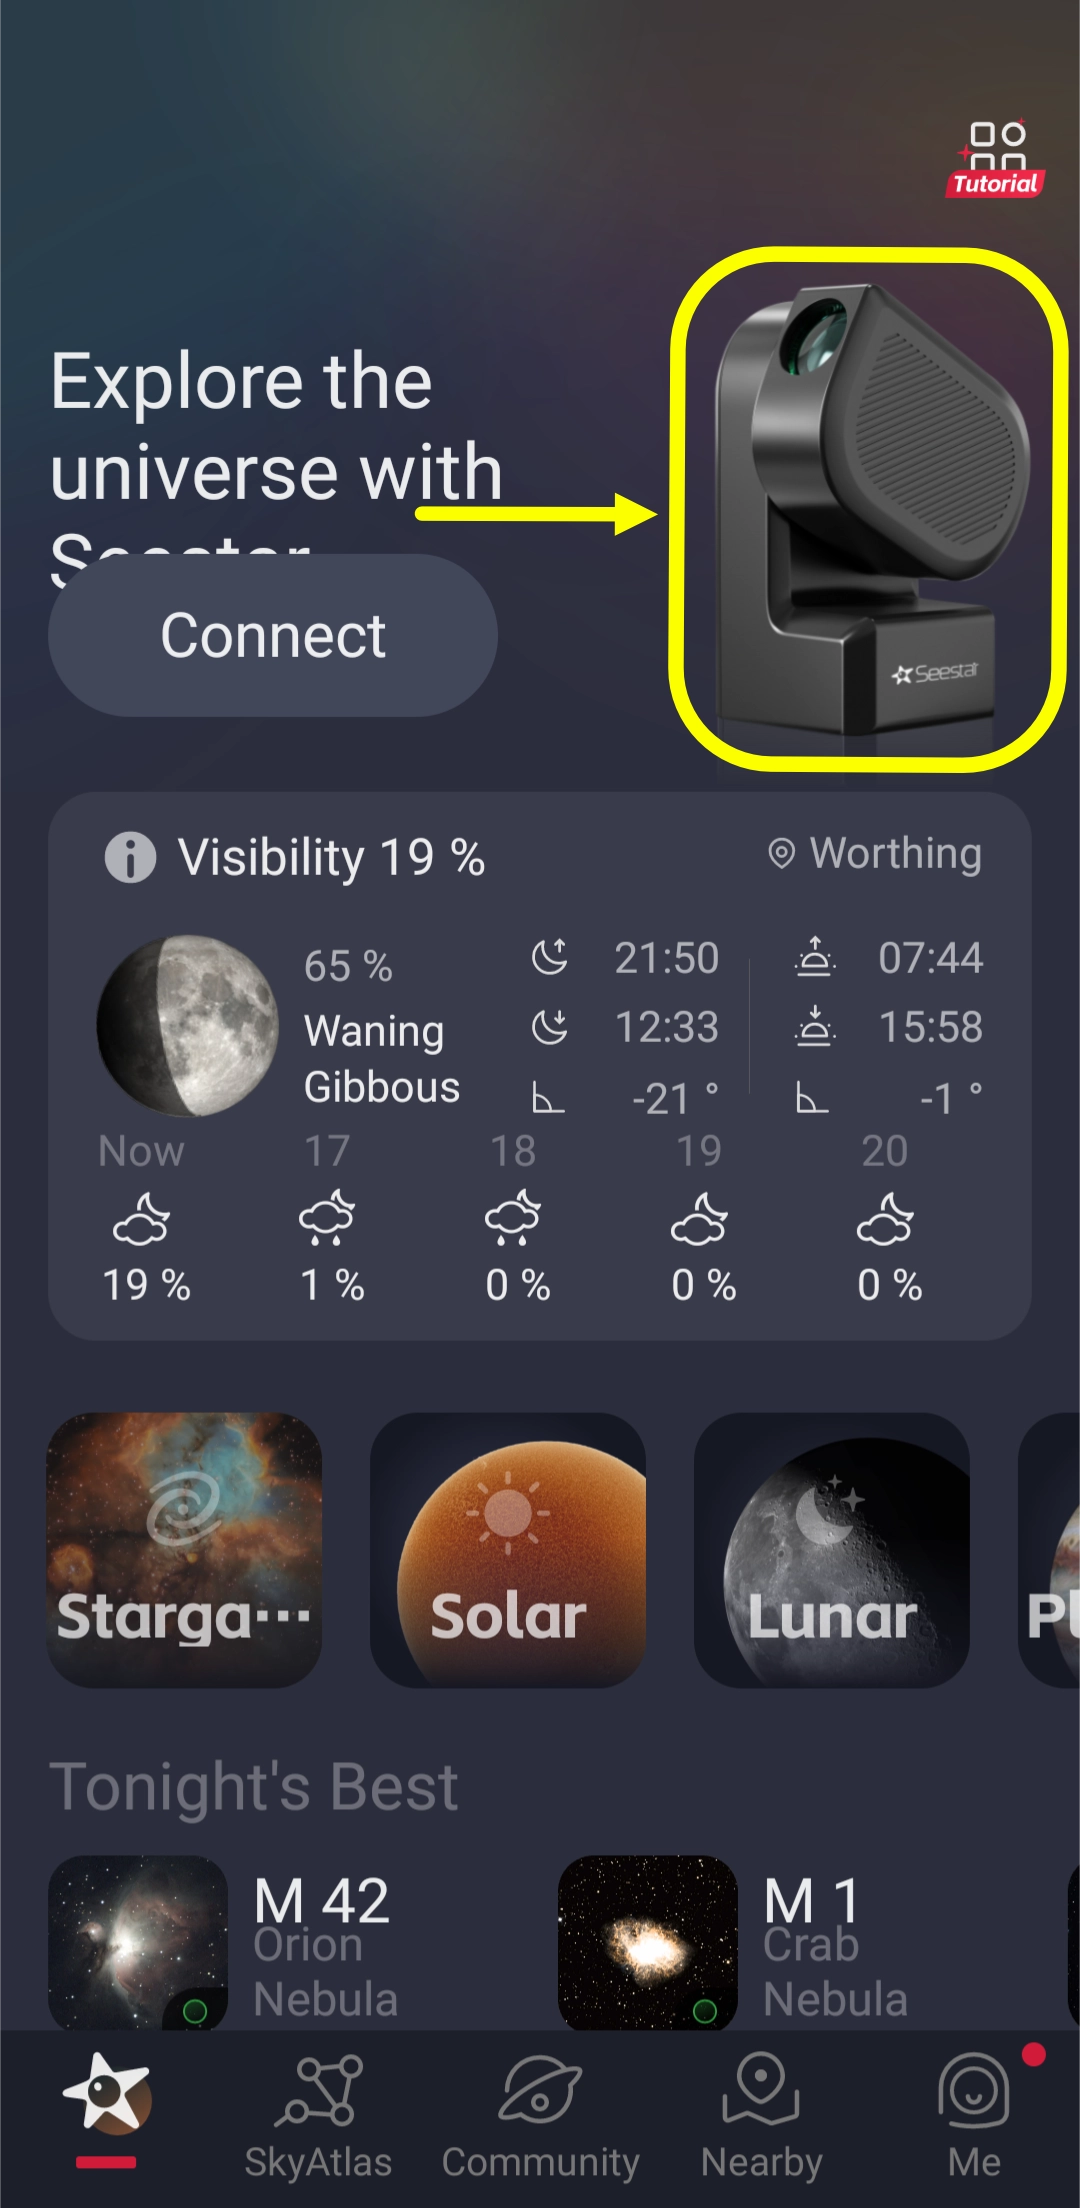
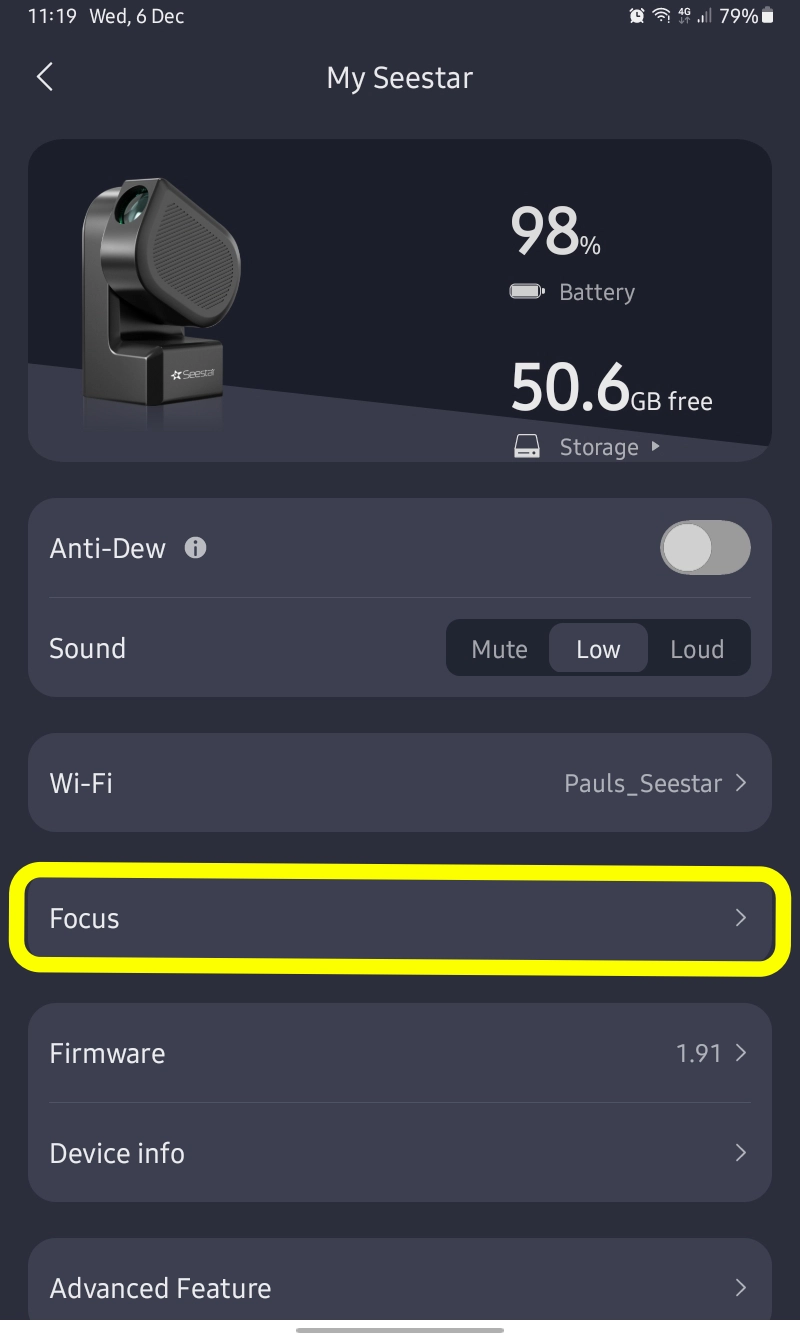
After a successful connection click on the picture of the Seestar unit and this will open up the device menu.
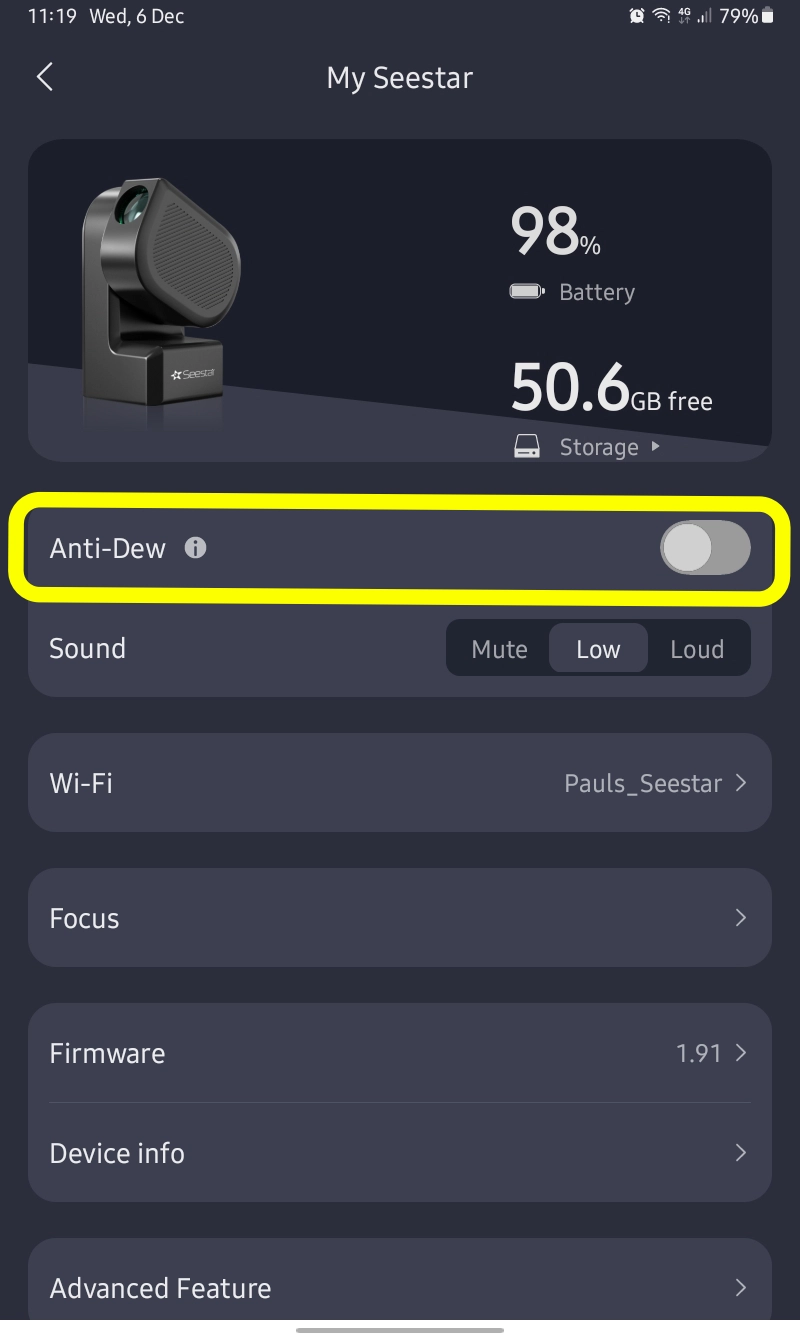
The menu has various settings that aid in working the Seestar. The first is the anti dew function.
This function gently heats up the front lens of the Seestar and is intended to stop it from fogging over during sessions that are likely to drop below the dew point temperature.
You can also change the sound volume on the device underneath the anti dew line.
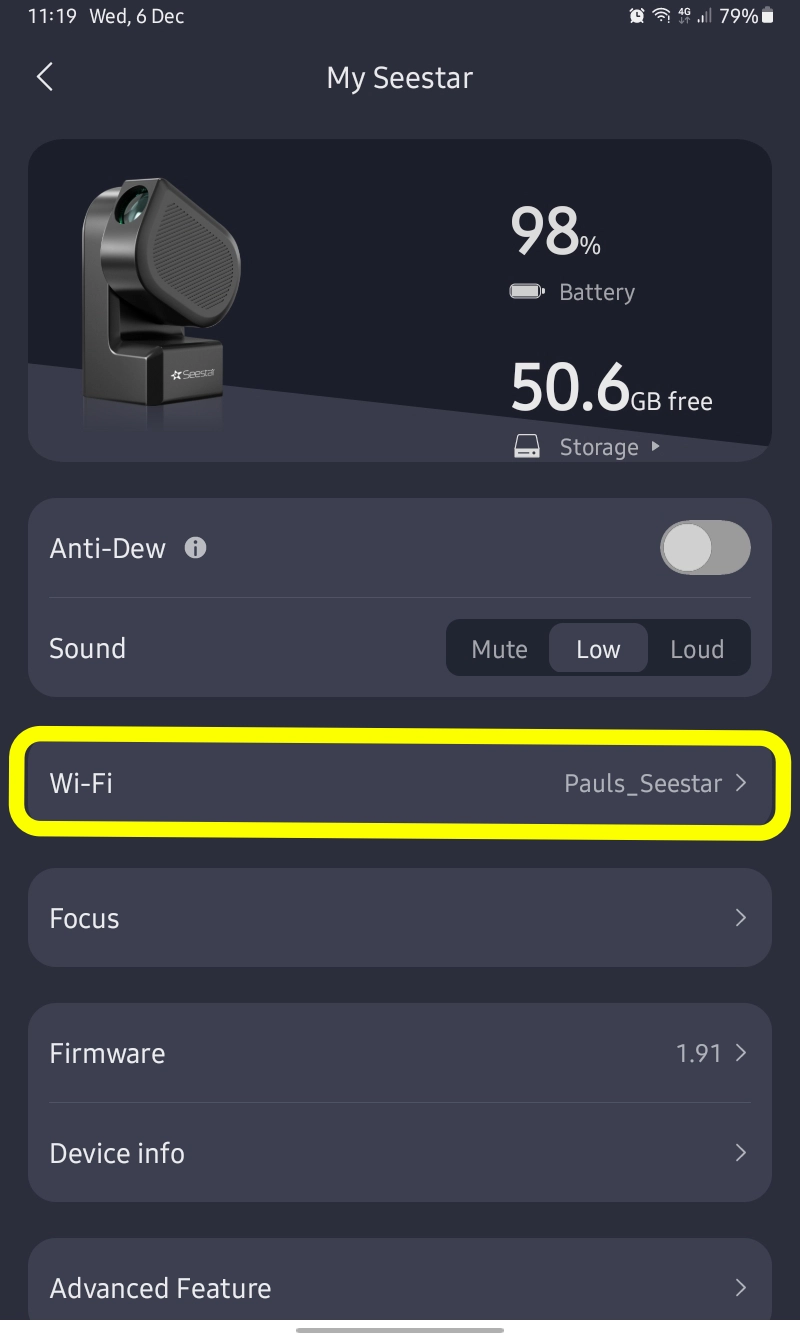
The WiFi button is where you can change the parameters regarding the connection to the mount. This is where you will find STA mode that allows you to connect the Seestar to your home WiFi, thus freeing up your phone for internet use.
You can also change the WiFi name and password here.
Next is the focus tab. In here you can set the onscreen focus arrows to always be present on the imaging screens.
You can also set the default focus number here if needs be.
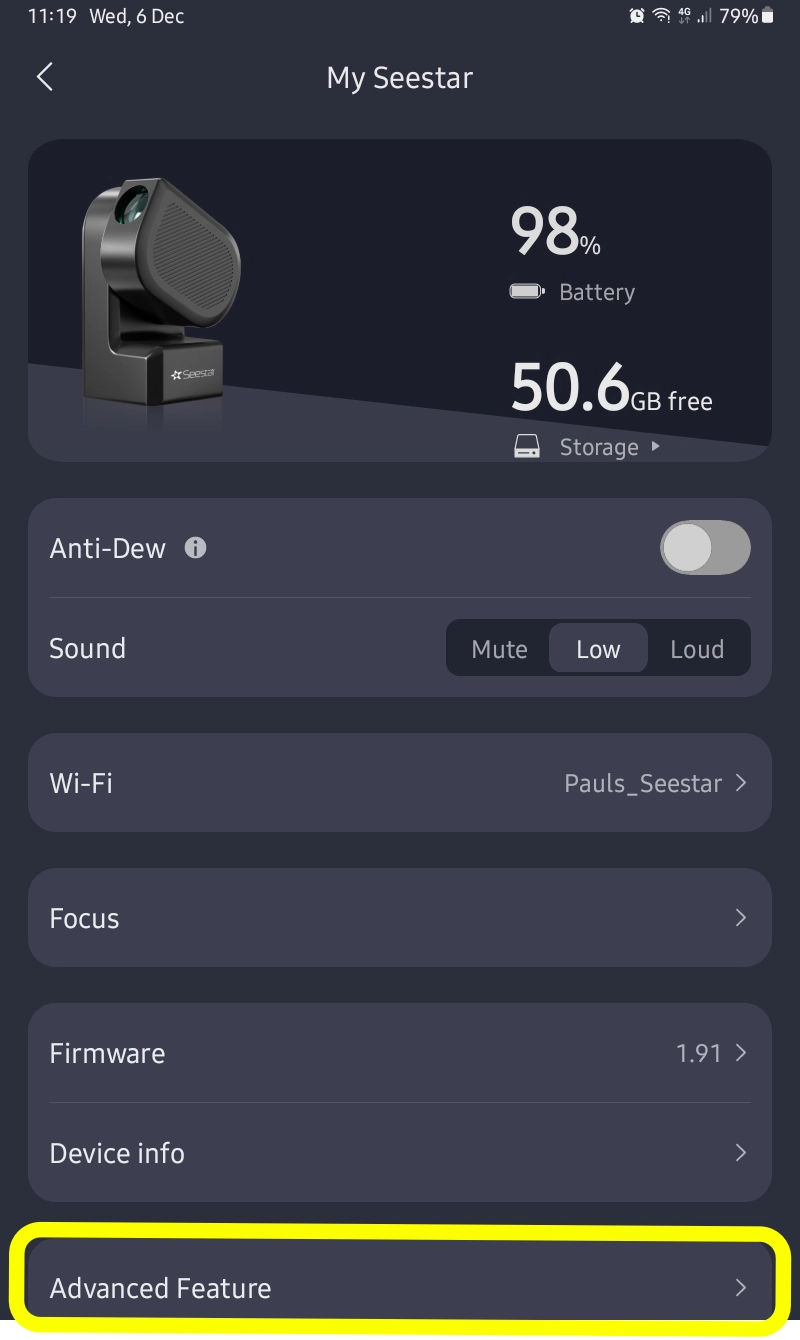
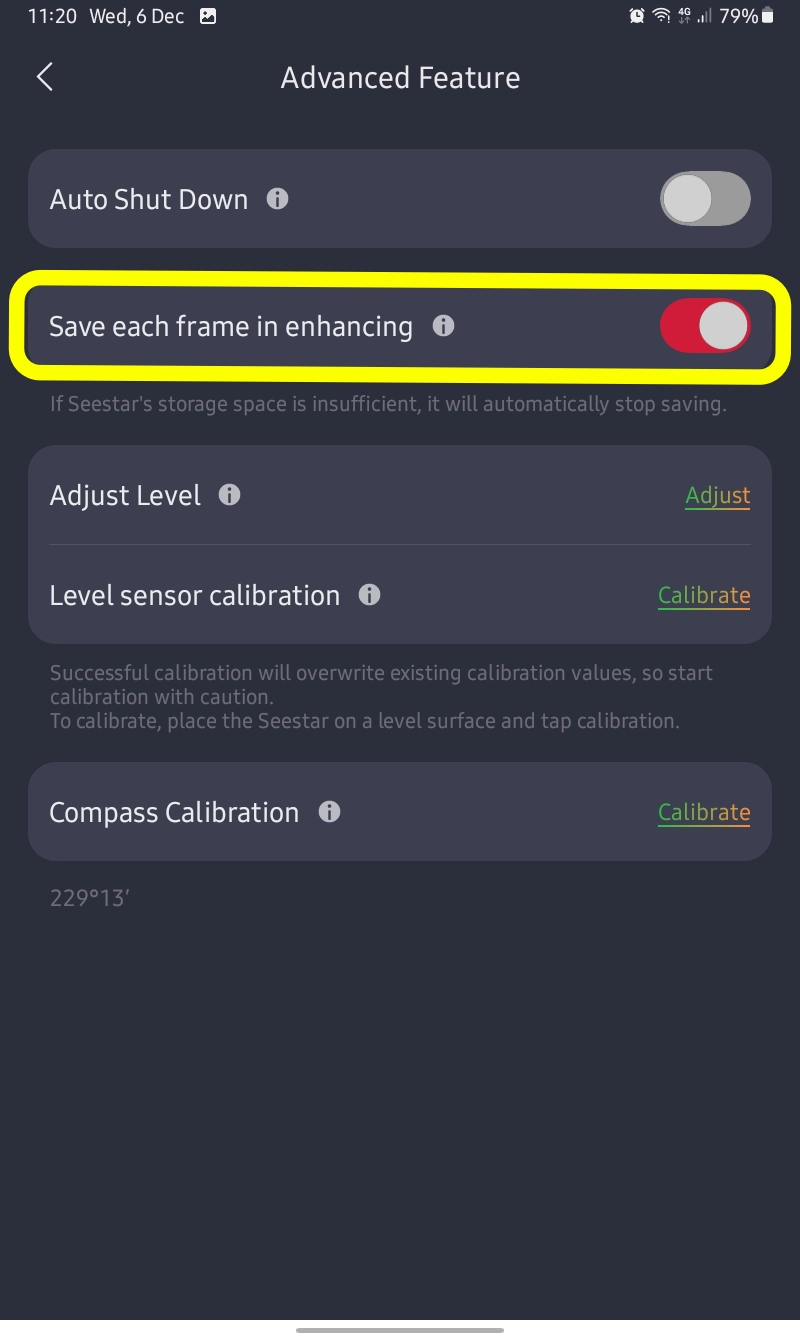
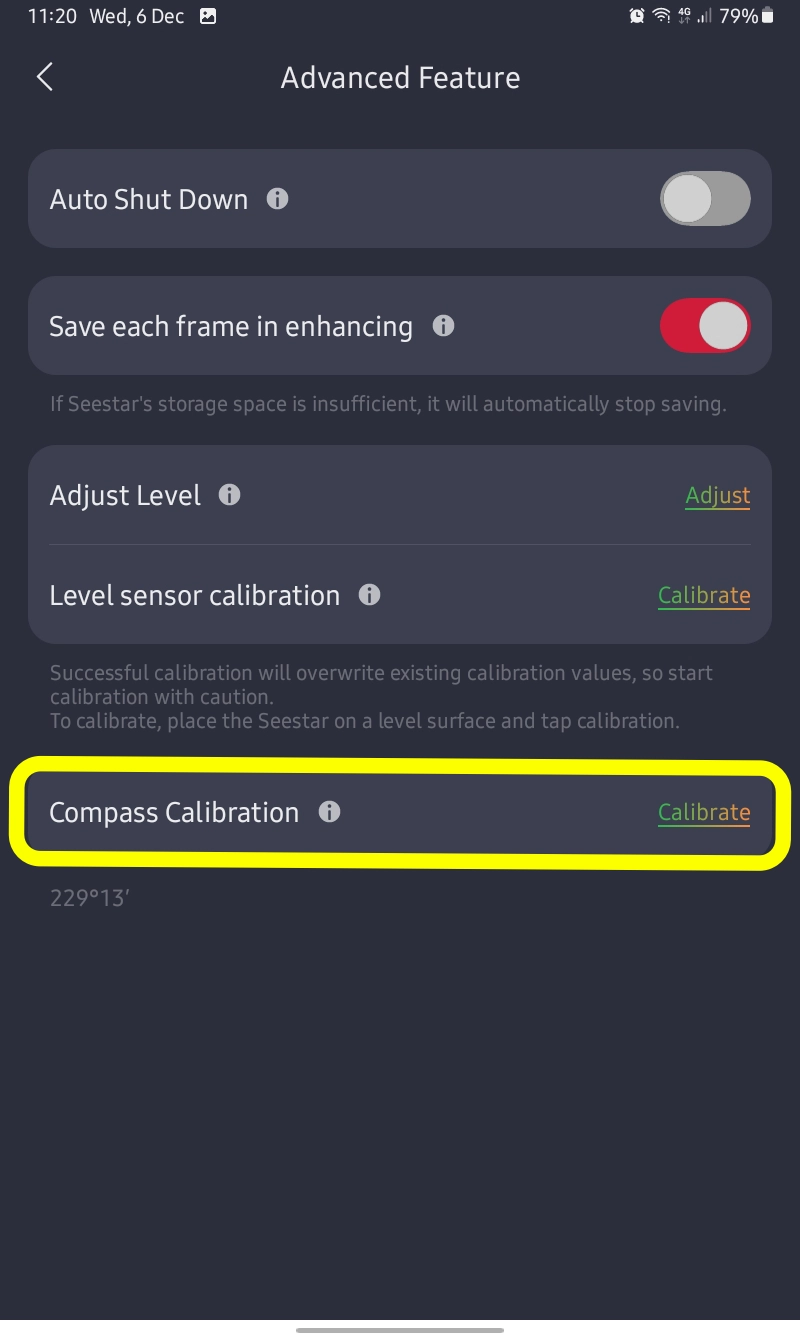
The Advanced tab will take you to another sub-menu that allows you to alter some advanced settings of the Seestar.
The Save Each Frame In Enhancing tab will save all stacked single exposures as seperate files. This is for those who wish to take the single exposures for further stacking and post-processing in external software.
This setting will NOT save any frames that are rejected by the Seestar.
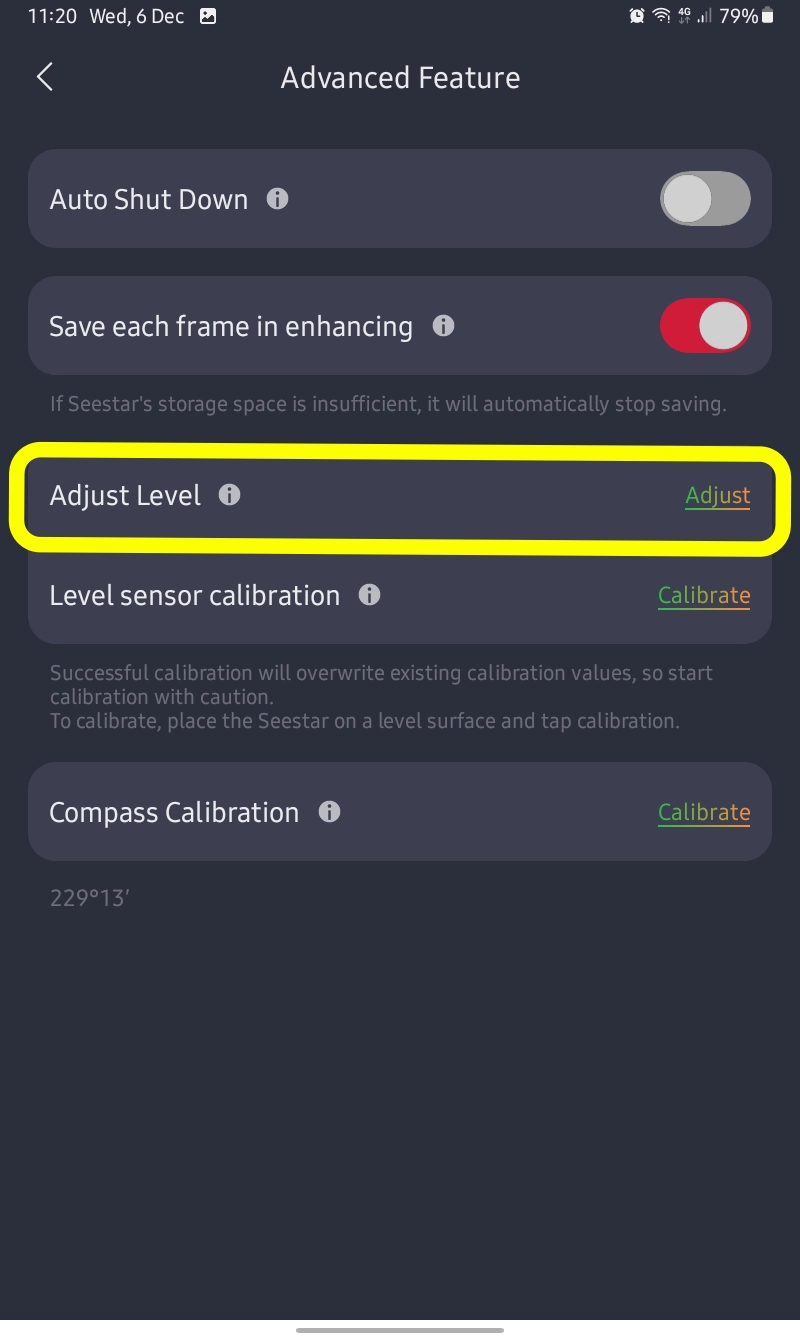
The Adjust Level tb is where you can manually adjust the level settings of the Seestar. There is usually a warning on the main page if the Seestar is not level and needs adjusting.
You can also adjust the level sensor by clicking the button below.
The Compass Calibration button allows you to calibrate the compass if needs bee. This is done by spinning the unit a few times on its base. (Please ensure that the unit is screwed back correctly to the tripod before further use.
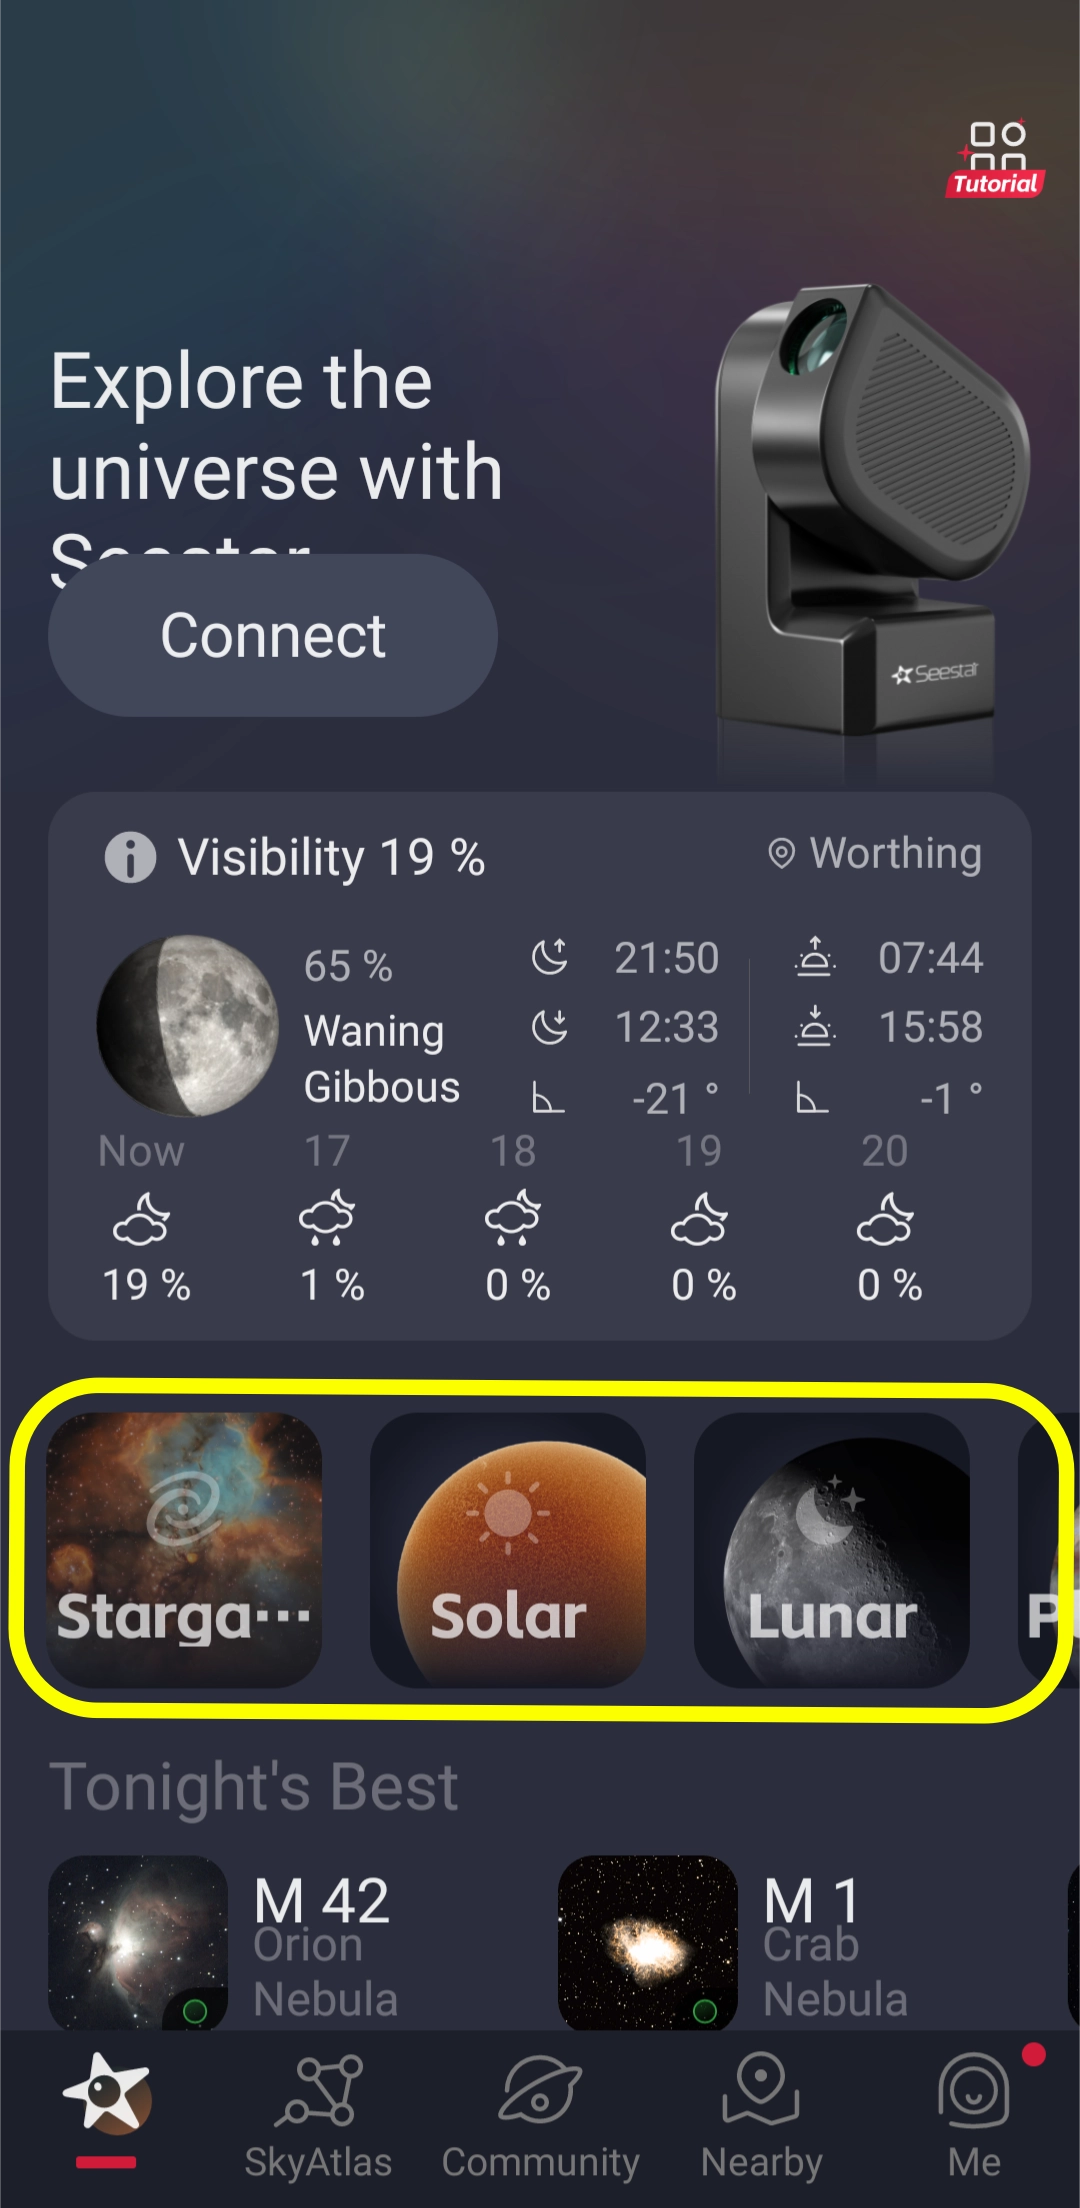
Returning back to the Seestar main page gives you the modes panel. This comprises 5 main imaging modes.
• Stargazing, deep sky imaging like galaxies, nebulae and clusters etc....
• Solar, this is where you image the sun. Ensure that you have the supplied solar filter in place before you attampt to send the Seestar to the sun.
• Lunar, this is for imaging the Moon.
• Planetary, this is for imaging the planets.
• Scenery, this is for daytime wildlife and landscape photography.
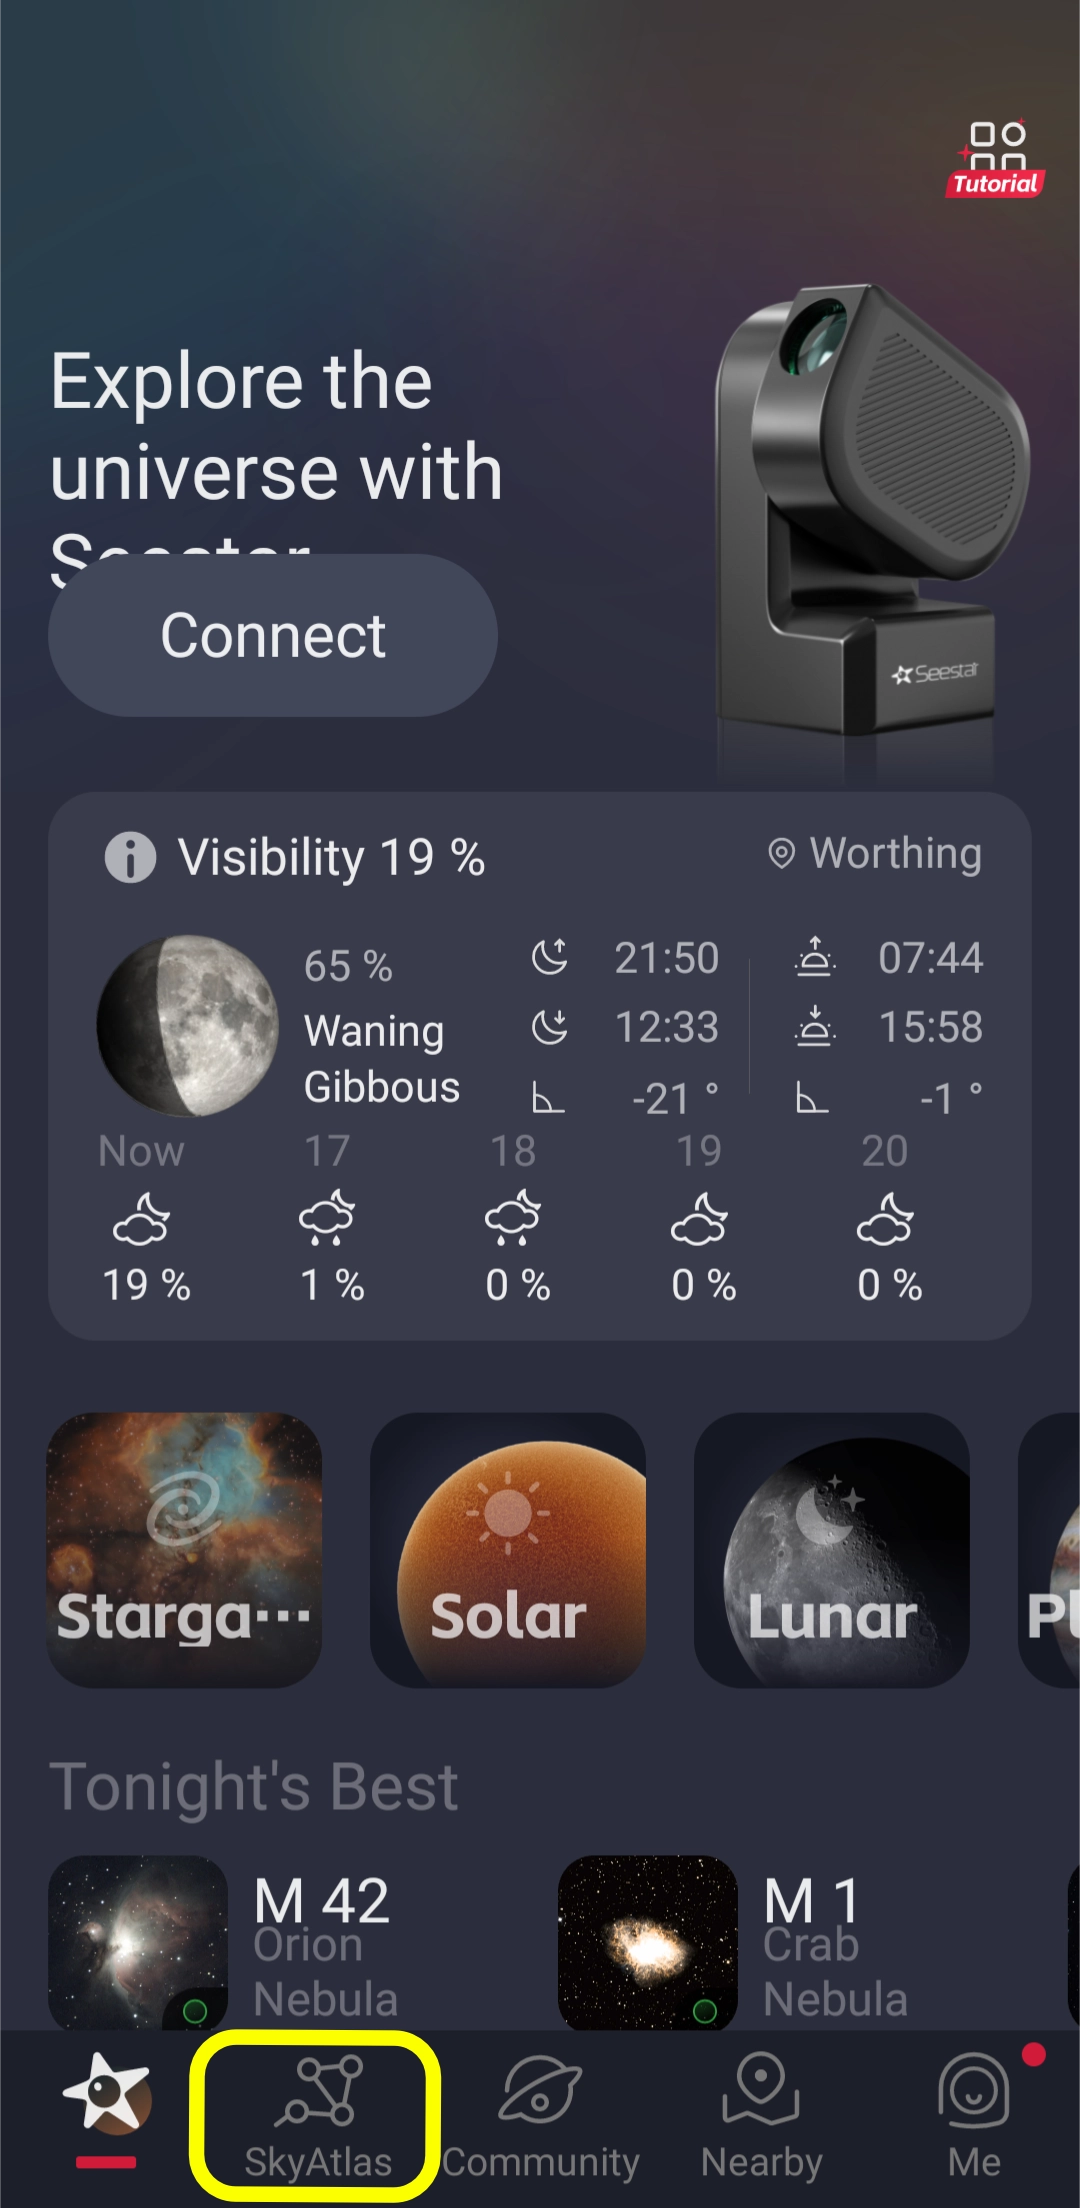
The bottom panel holds various other options. The Atlas brings up the built-in planetarium that can be used to pre-plan your imaging session by seeing what will be up in the sky.
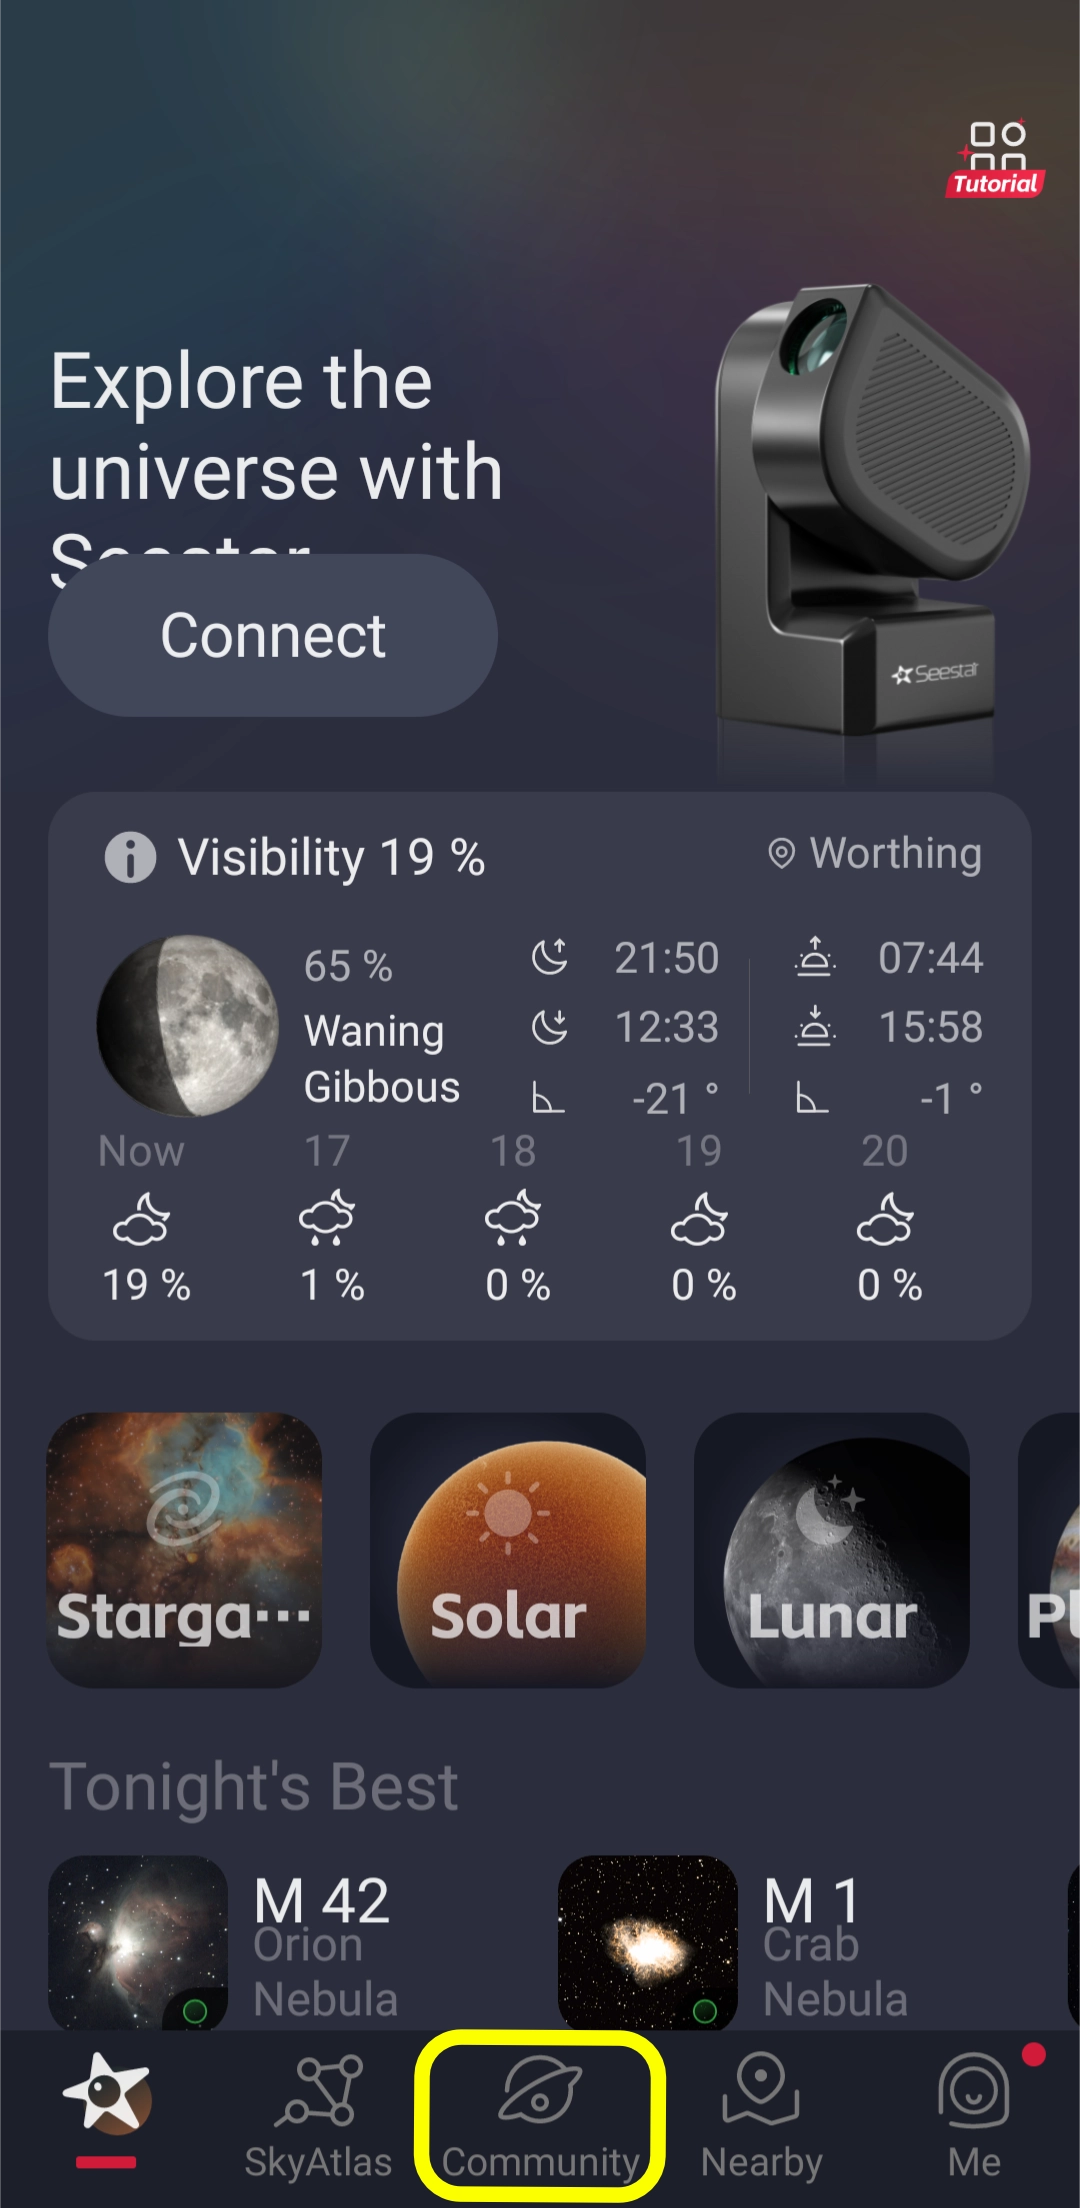
The Community button will show you what images other Seestar users are taking across the world.
The Nearby tab will open a map showing where other users are based and what images they have been taking in these locations.
Finally, the Me tab is your profile where you can upload your images and create an online presence in the Seestar community.
