The Dwarf II smart telescope is accompanied by a free app downloadable from the Google Play Store and iOS App Store. It is the only way that one can connect to and control ones Dwarf II telescope.
As of Christmas day 2023 there was a new version the app released that has now incorporated many more functions. It also allows for easier navigation of the app itself and it's imaging modes.
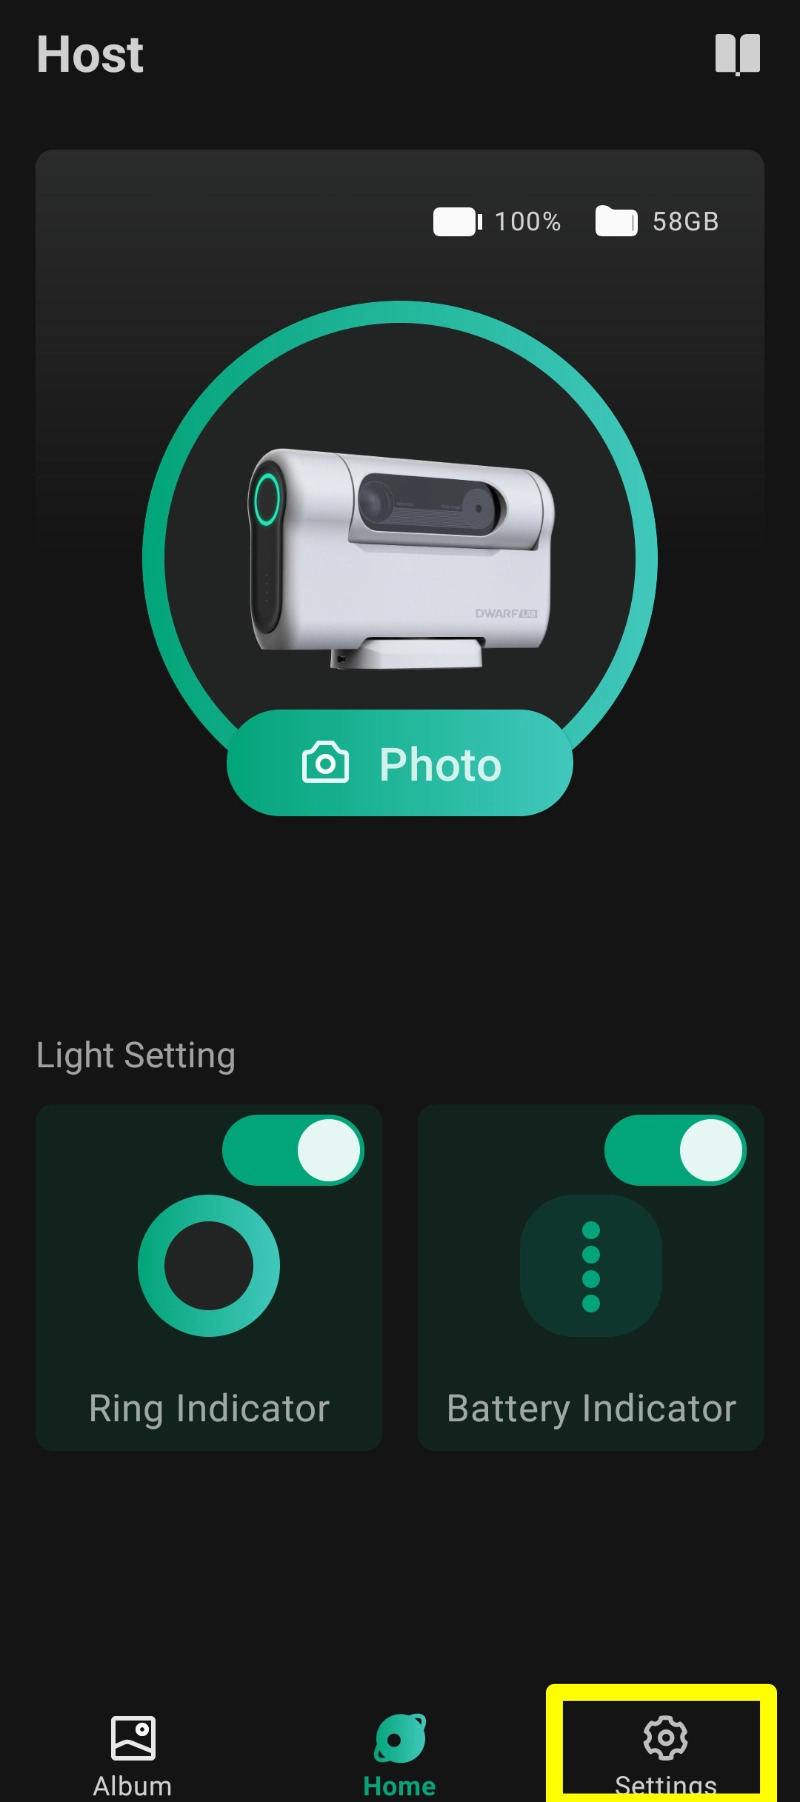
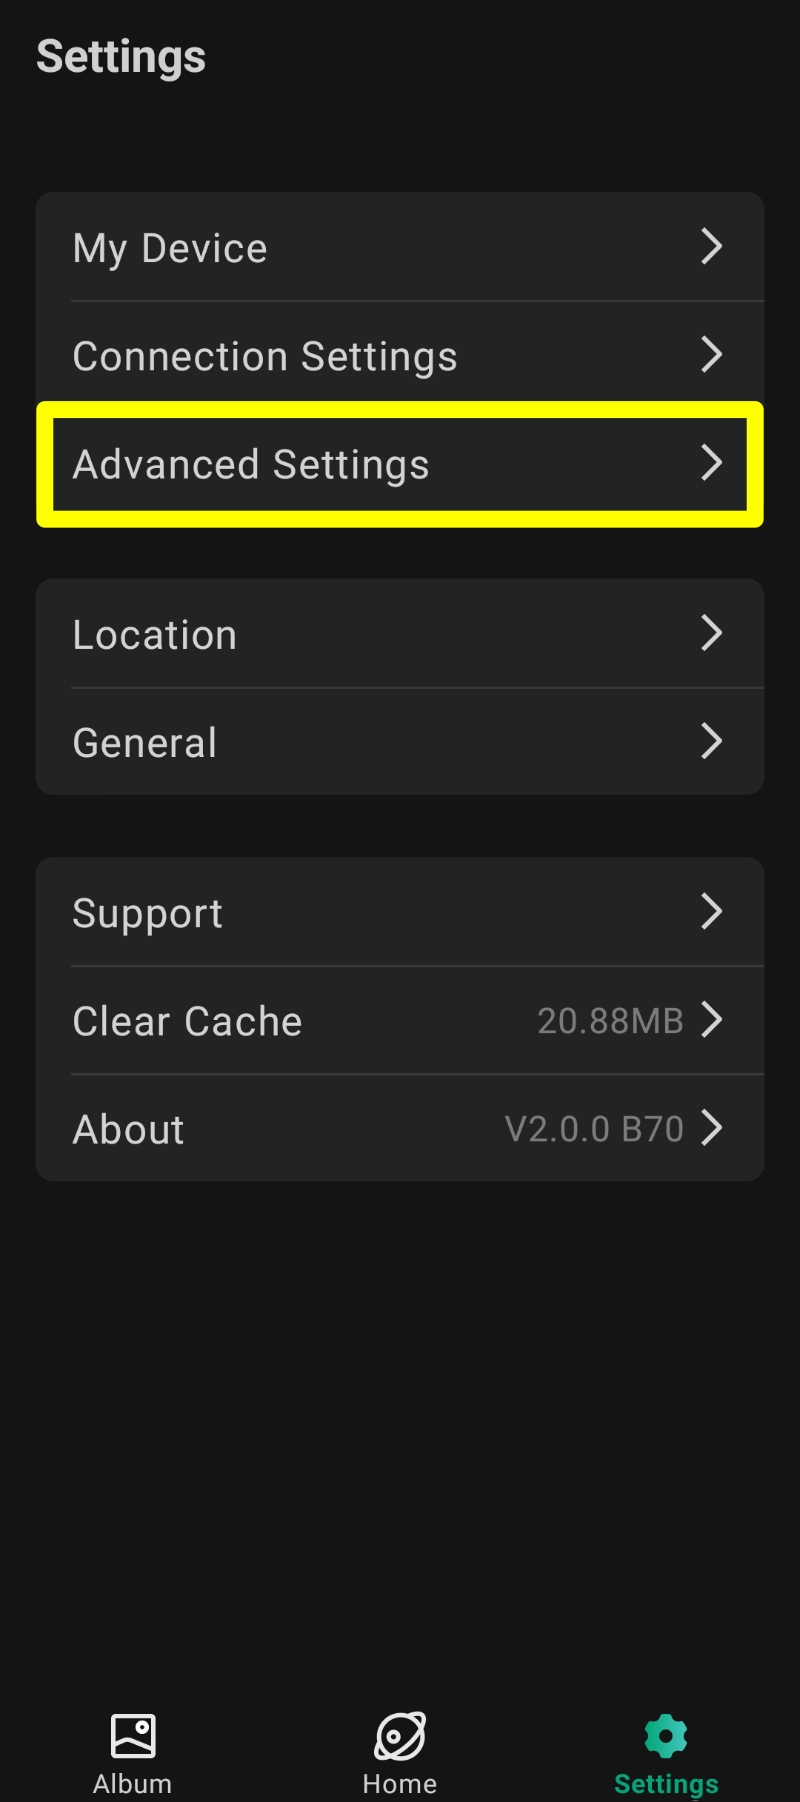
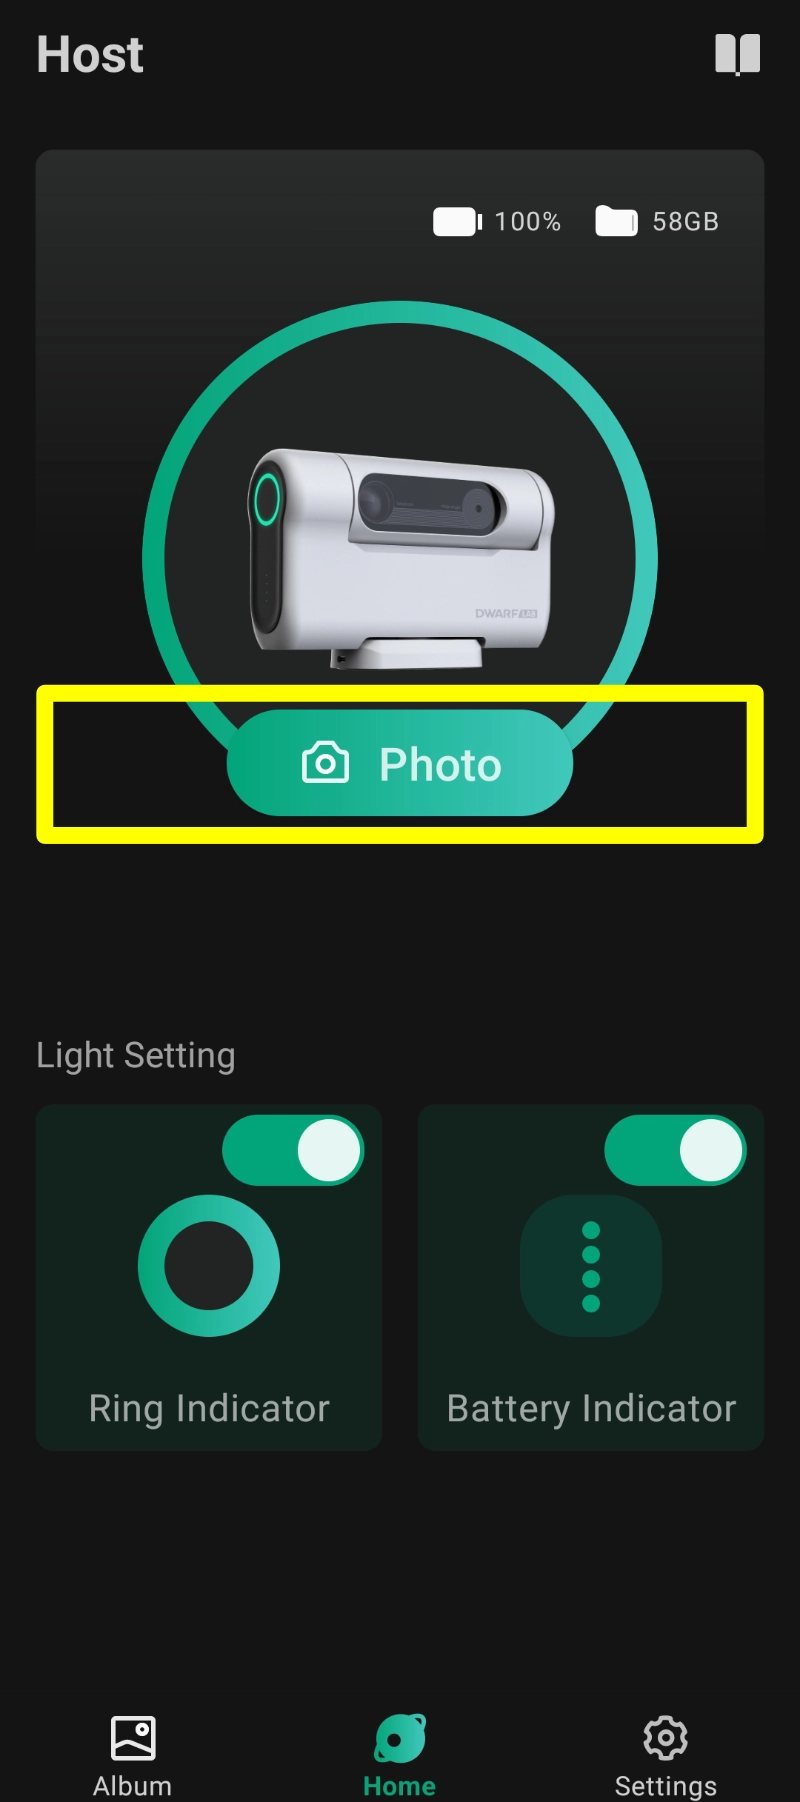
This is the main screen that you are presented with when you open up the DwarfLabs app. A successful connection means that the word "Photo" is displayed in the center of the screen. The first button we will deal with is the "Settings" button at the bottom right hand corner of the screen.
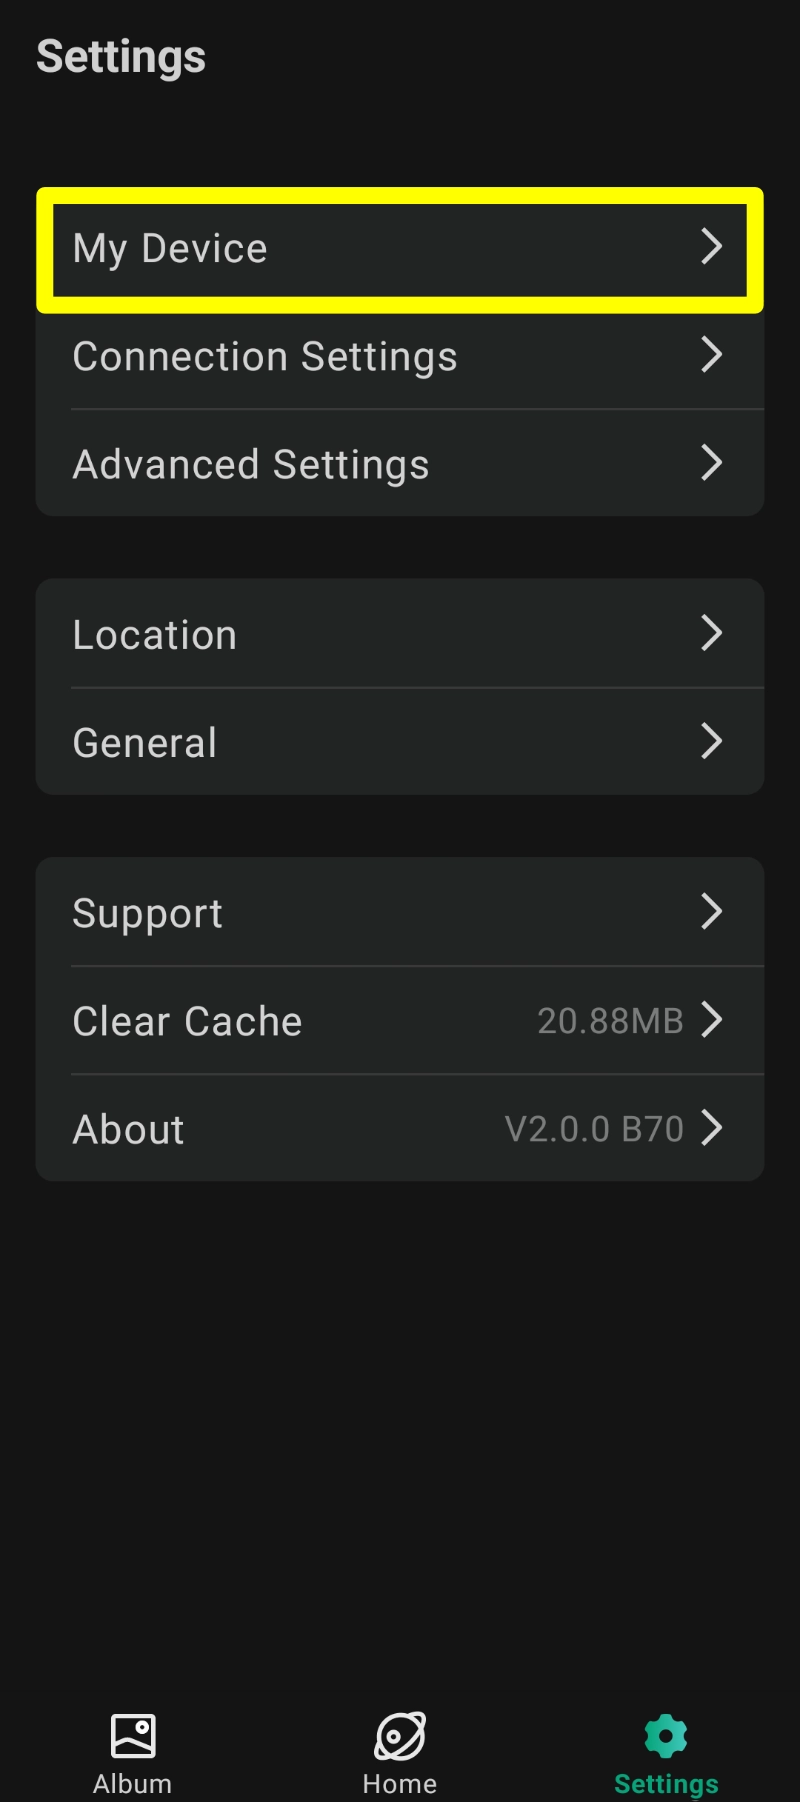
You will now be presented with the settings menu.
Click on the "My Device" tab.
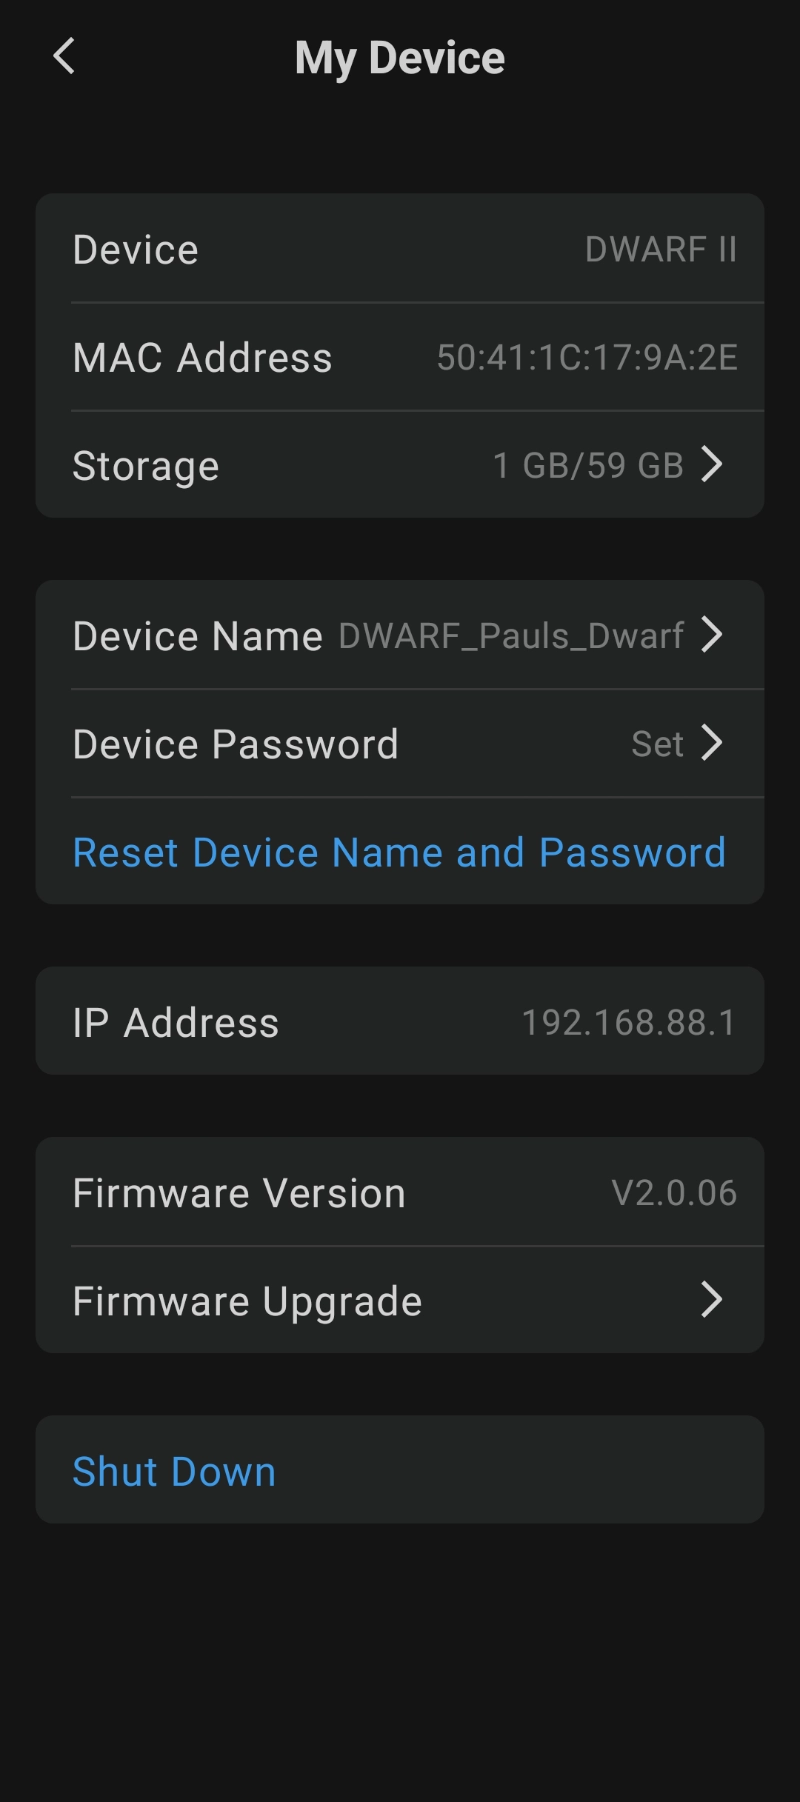
This opens up the device settings menu page. Here you can see information relating to your device.
You can change the device name and password here. It is adviseable to do this now for security reasons.
This is also where you can perform firmware upgrades as and when they may be available.
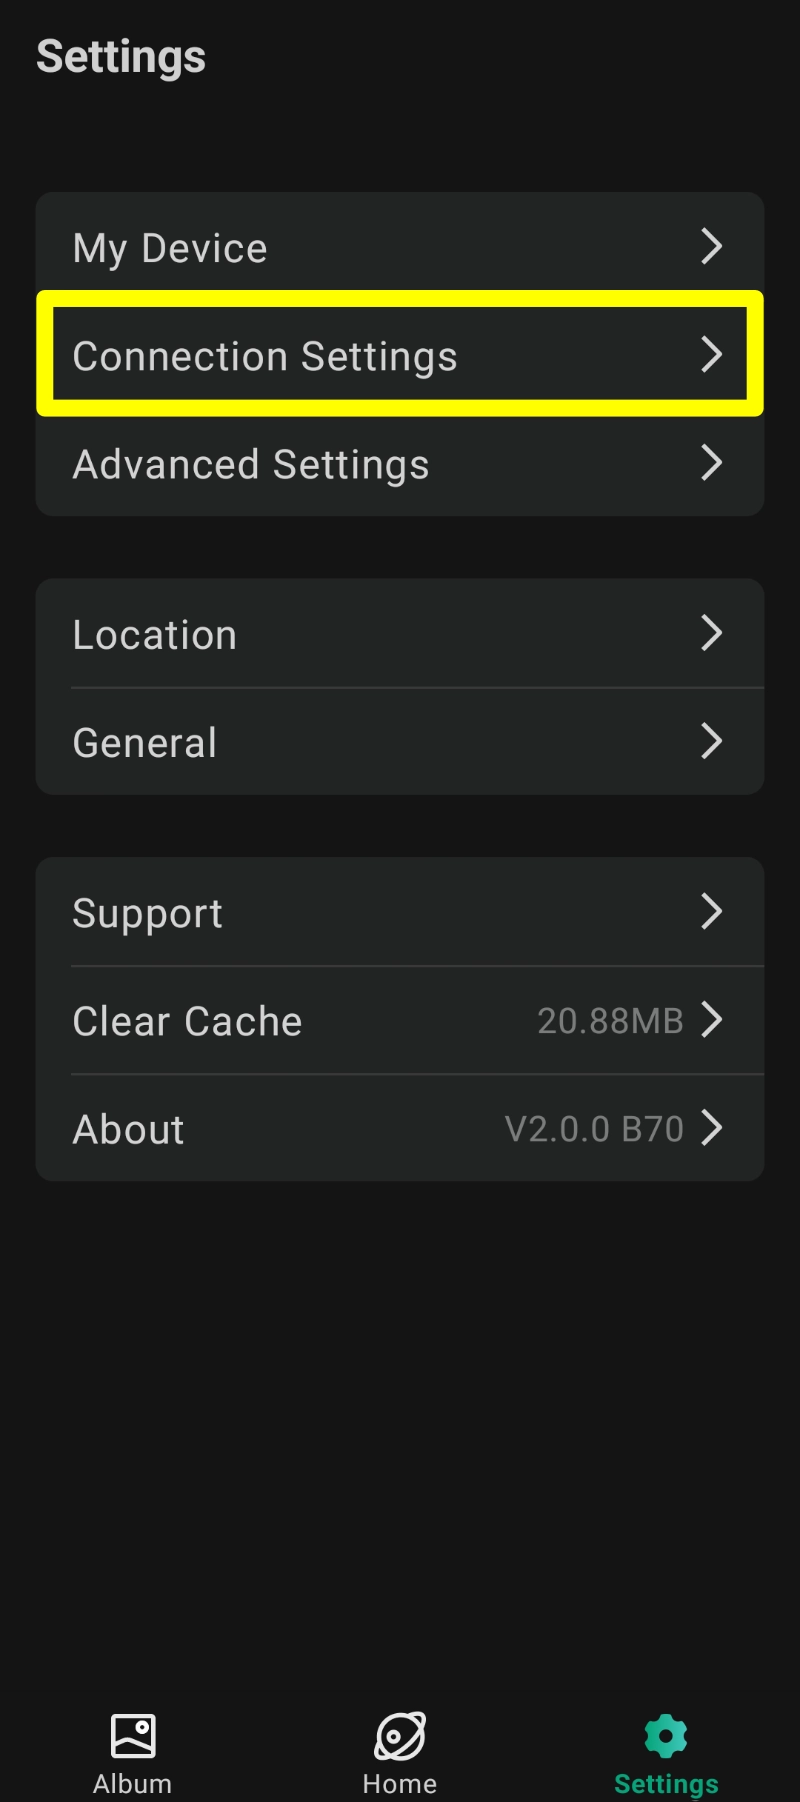
Now go back and select the "Connection Settings" tab.
This is where you find all the settings relating to the WiFi connection. These are fairly self explanatory with handy descriptions underneath.
Return once again to the main menu and now select the "Advanced Settings" tab
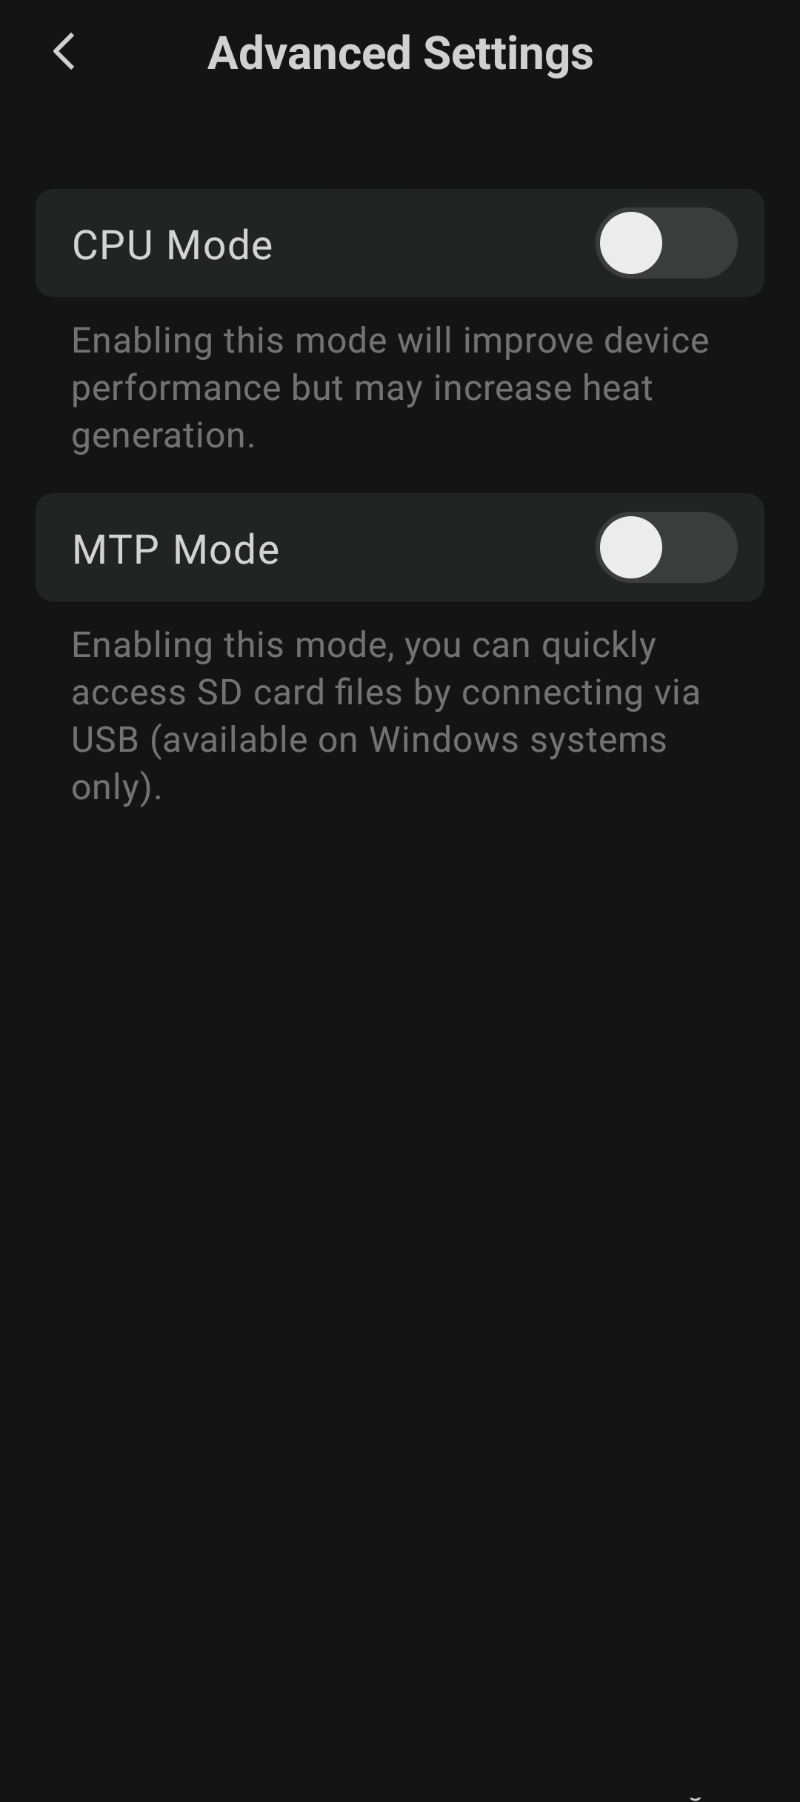
This is quite an important tab as it houses the Dwarf II's built-in dew heater control.
For those evenings when the temperature is due to drop below the due point then you will need to turn on the "CPU Mode" button. This will allow the unit to very slightly warm up. This will stop any dew from forming and fogging up the front lenses.
"MTP Mode" is how you will connect the Dwarf II to your PC or laptop in order to transfer the single images from the device for further stacking and post processing in any software of your choice. Just turn this setting on and connect the Dwarf II to your PC or laptop via a USB cable.
On your PC open up the file browser and you will see the Dwarf II's SD Card alongside your other drives.
All that is now left to do is to connect to the cameras and start taking your first astro-images!!!
Return to the home page of the app by pressing the "Home" tab in the middle at the very bottom of the screen. Now just click on "Photo" that is in the center of the screen and this will take to the next step
