All camera sensors suffer from thermal noise created by the heat of the internal electronics. These appear as tiny red or blue dots in your pictures and are called hot and cold pixels. A dark frame is what is called a calibration frame because when used it "calibrates" out these pixels from your stacked image thus removing them.
Dark frames are temperature, exposure time and gain settings specific so, the hotter the sensor is, the longer the exposure time and the higher the gain then the brighter the pixels will be.
By covering the lens shows these pixels up on the black background and it makes it easier for the stacking software to spot these pixels, map where they are in the dark frame and then remove them from the final stacked image.
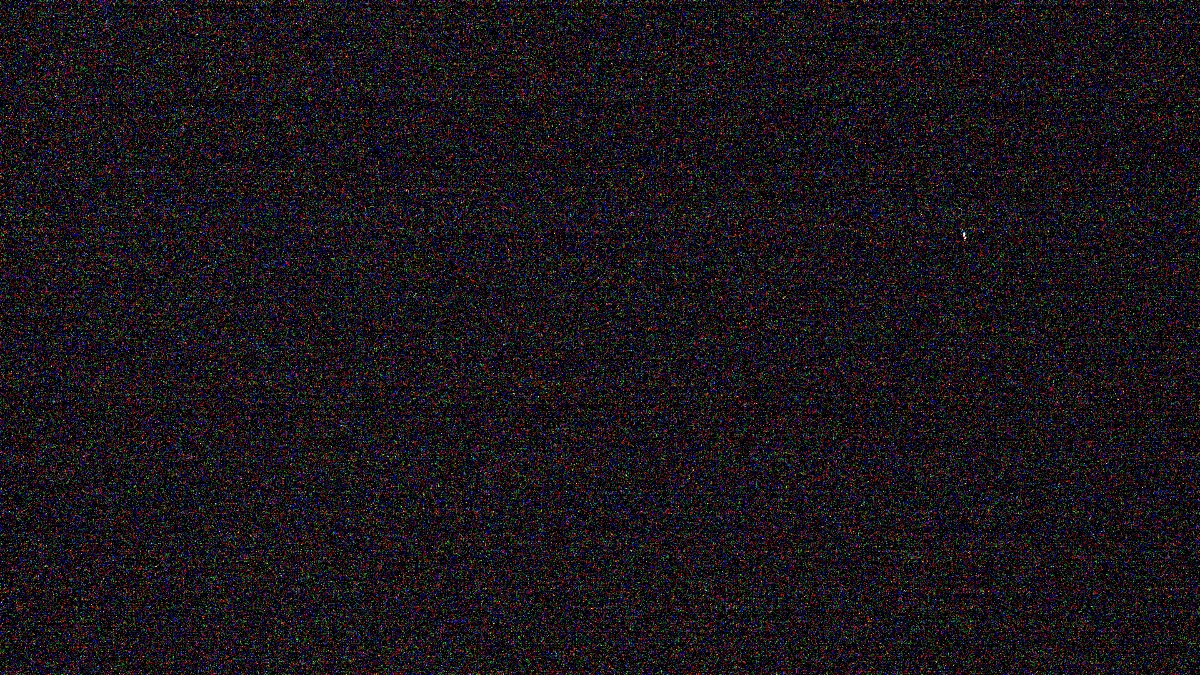
This is a dark straight from my Dwarf unit. As you can see there are a few bright spots.
This is the same image that has been stretched which means it has been edited and brightened. Notice how the coloured spots dotted about the image become much more noticeable? This noise pattern is what needs to be removed from the stacked image.
If darks are not used in the stacking process then this "noise" will not be removed and it will become more noticeable as the image is post processed and stretched (as can be seen in the above images).
There are two types of dark frames that are used on the Dwarf II -
1) Astro Darks
These are used solely for the "live view" displayed on your tablet/phone screen and only need to be taken once. They can be retaken when you feel the need to do so, but once a year is a good shout.
When in "Astro Mode" Click on the "Function" button and select the "Darks" function and follow the onscreen prompts. This can take up to 20 minutes to complete.
2) Target or session specific darks
These are what you use when stacking your individual subs (light frames) externally on a PC. For the software to successfully remove the thermal noise from the image then they should be taken either at the end of imaging each target to ensure that the temperature is the same as the light frames, or at the very least at the start or end of each session but only if the temperature does not change between targets.
Just put the solar filters on the filter holder and put that over the lens. Then make sure that the capture settings are the same as your light frames (exposure time, gain etc....) and take about 20 of these exposures.
DO NOT PUT THE DWARF II IN ITS BAG OR COVER IT WITH ANYTHING, this will raise the temperature of the unit and make any darks taken useless. Just use the solar filters that come with the Dwarf II.
You will then add them along with your light frames in whichever software you use to stack.
You will also need to ensure that the binning settings are the same as your lights otherwise they may not stack due to the difference in resolution and pixel usage configuration. 4k = 1x1 bin. 2k = 2x2 bin.

