Taking Astro-Dark frames with your Dwarf III telescope
I am looking for Language translators. If you can translate this page and any of the tutorial pages, and you are happy to volunteer your time to do it then I will be very grateful.
Online translators are not reliable and I would like to get the translations right.
Please contact me via email if you can help - paul@smartastro.co.uk
This tutorial will show you how to take darks using the in-built "Darks" feature in the Dwarf menu.
These darks are used solely for the "live view" displayed on your tablet/phone screen only. They are not applied to the saved stacked image (as far as I am aware). They are not applied to each individual frame saved in case you want to stack them externally on a PC.
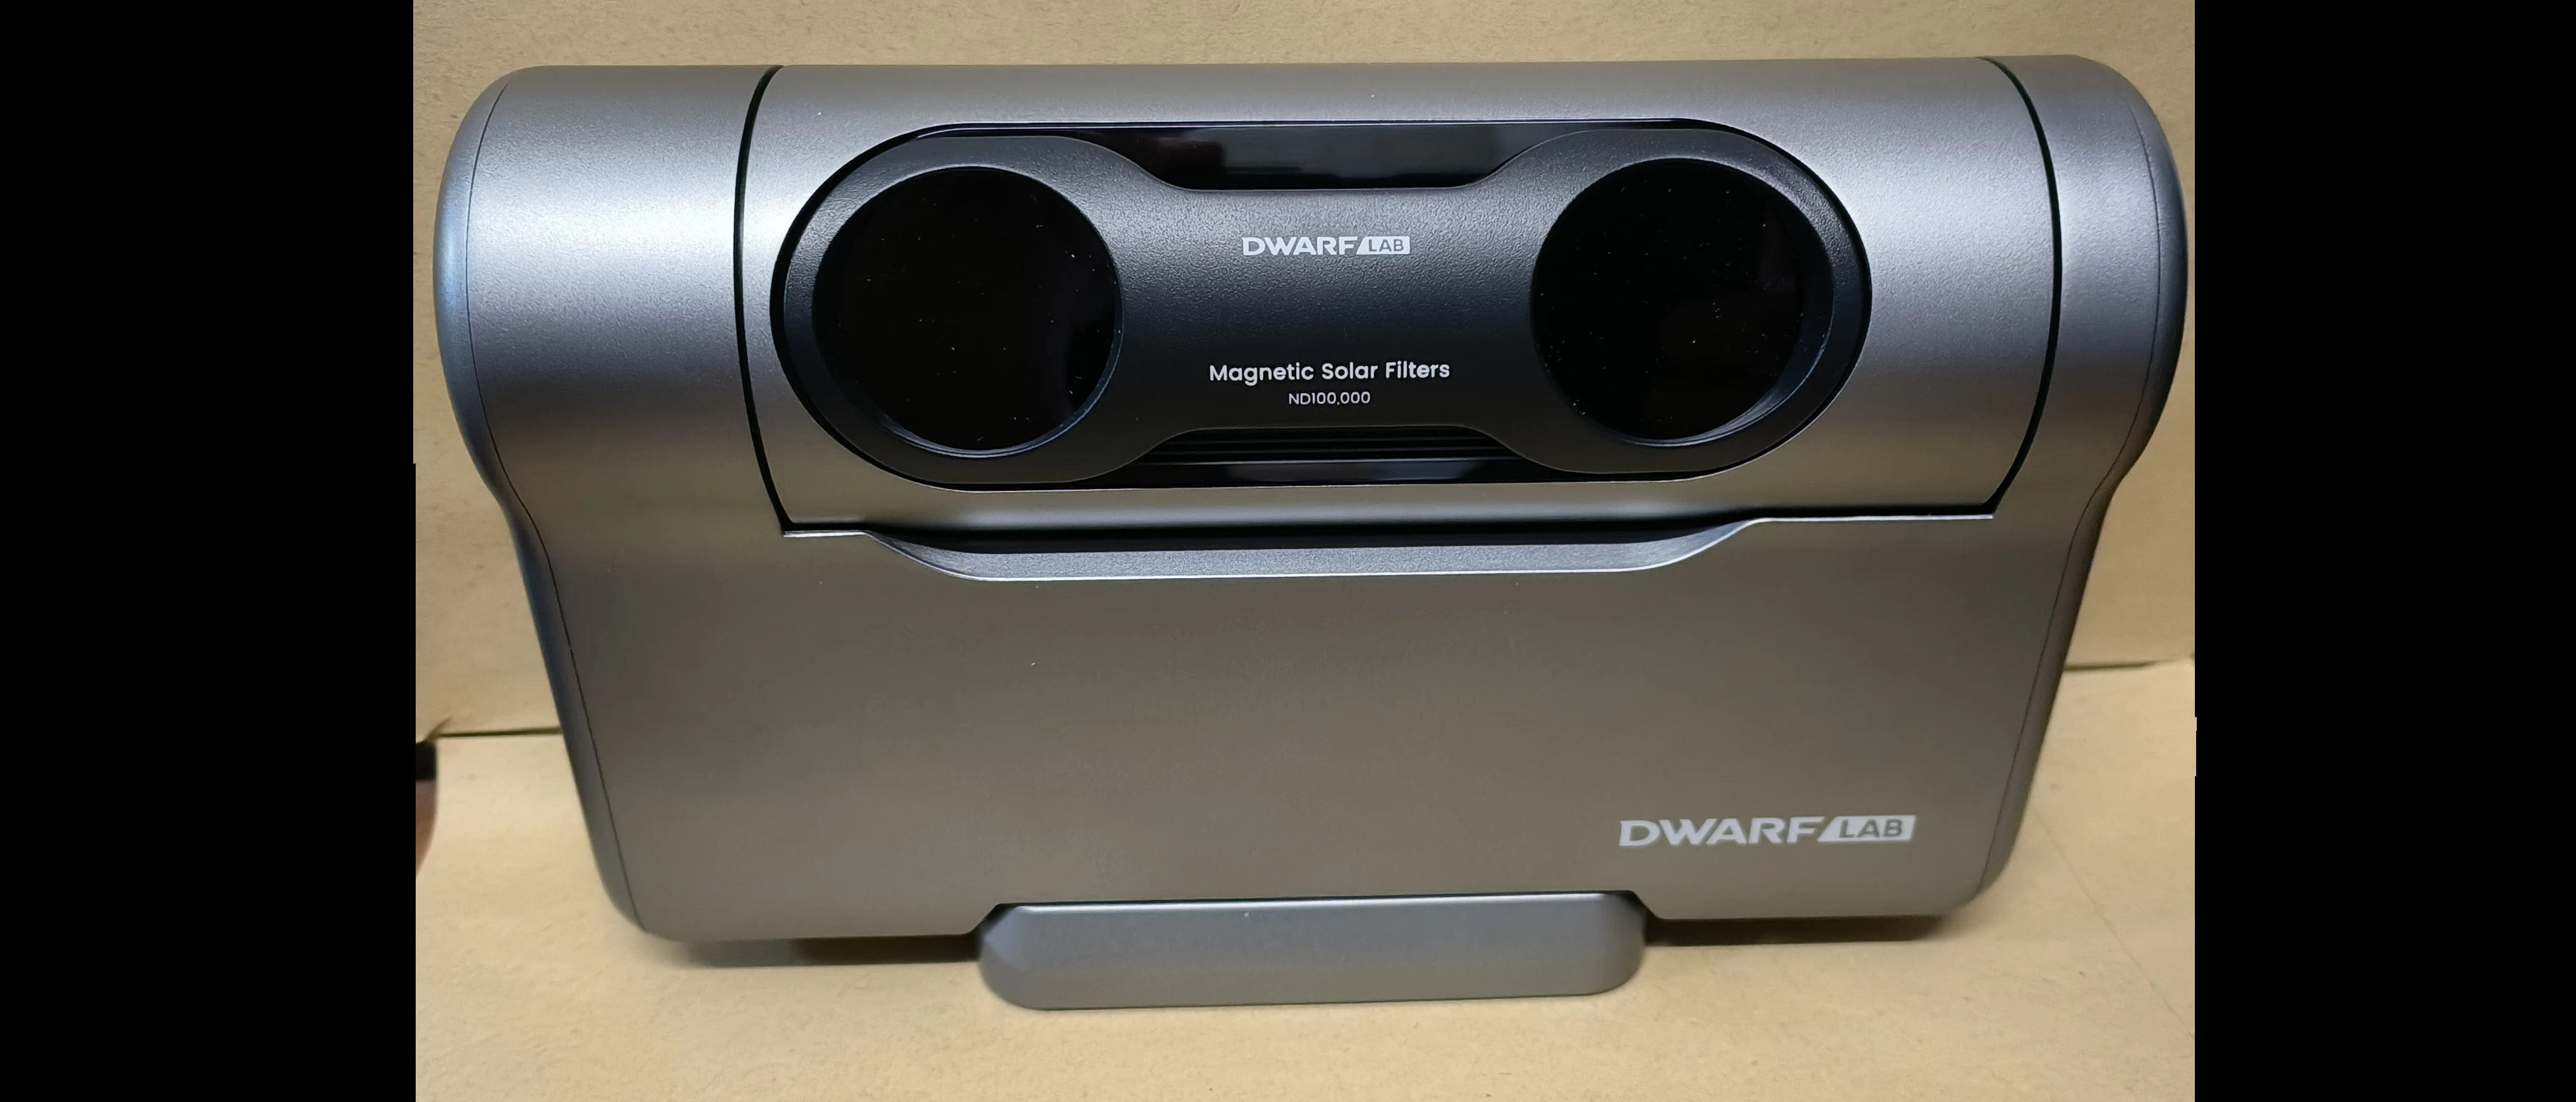
00) Place the supplied Solar filter on the Dwarf 3 and rotate the lens to the closed position. DO NOT PUT THE DWARF IN THE BAG OR COVER IT WITH ANYTHING.
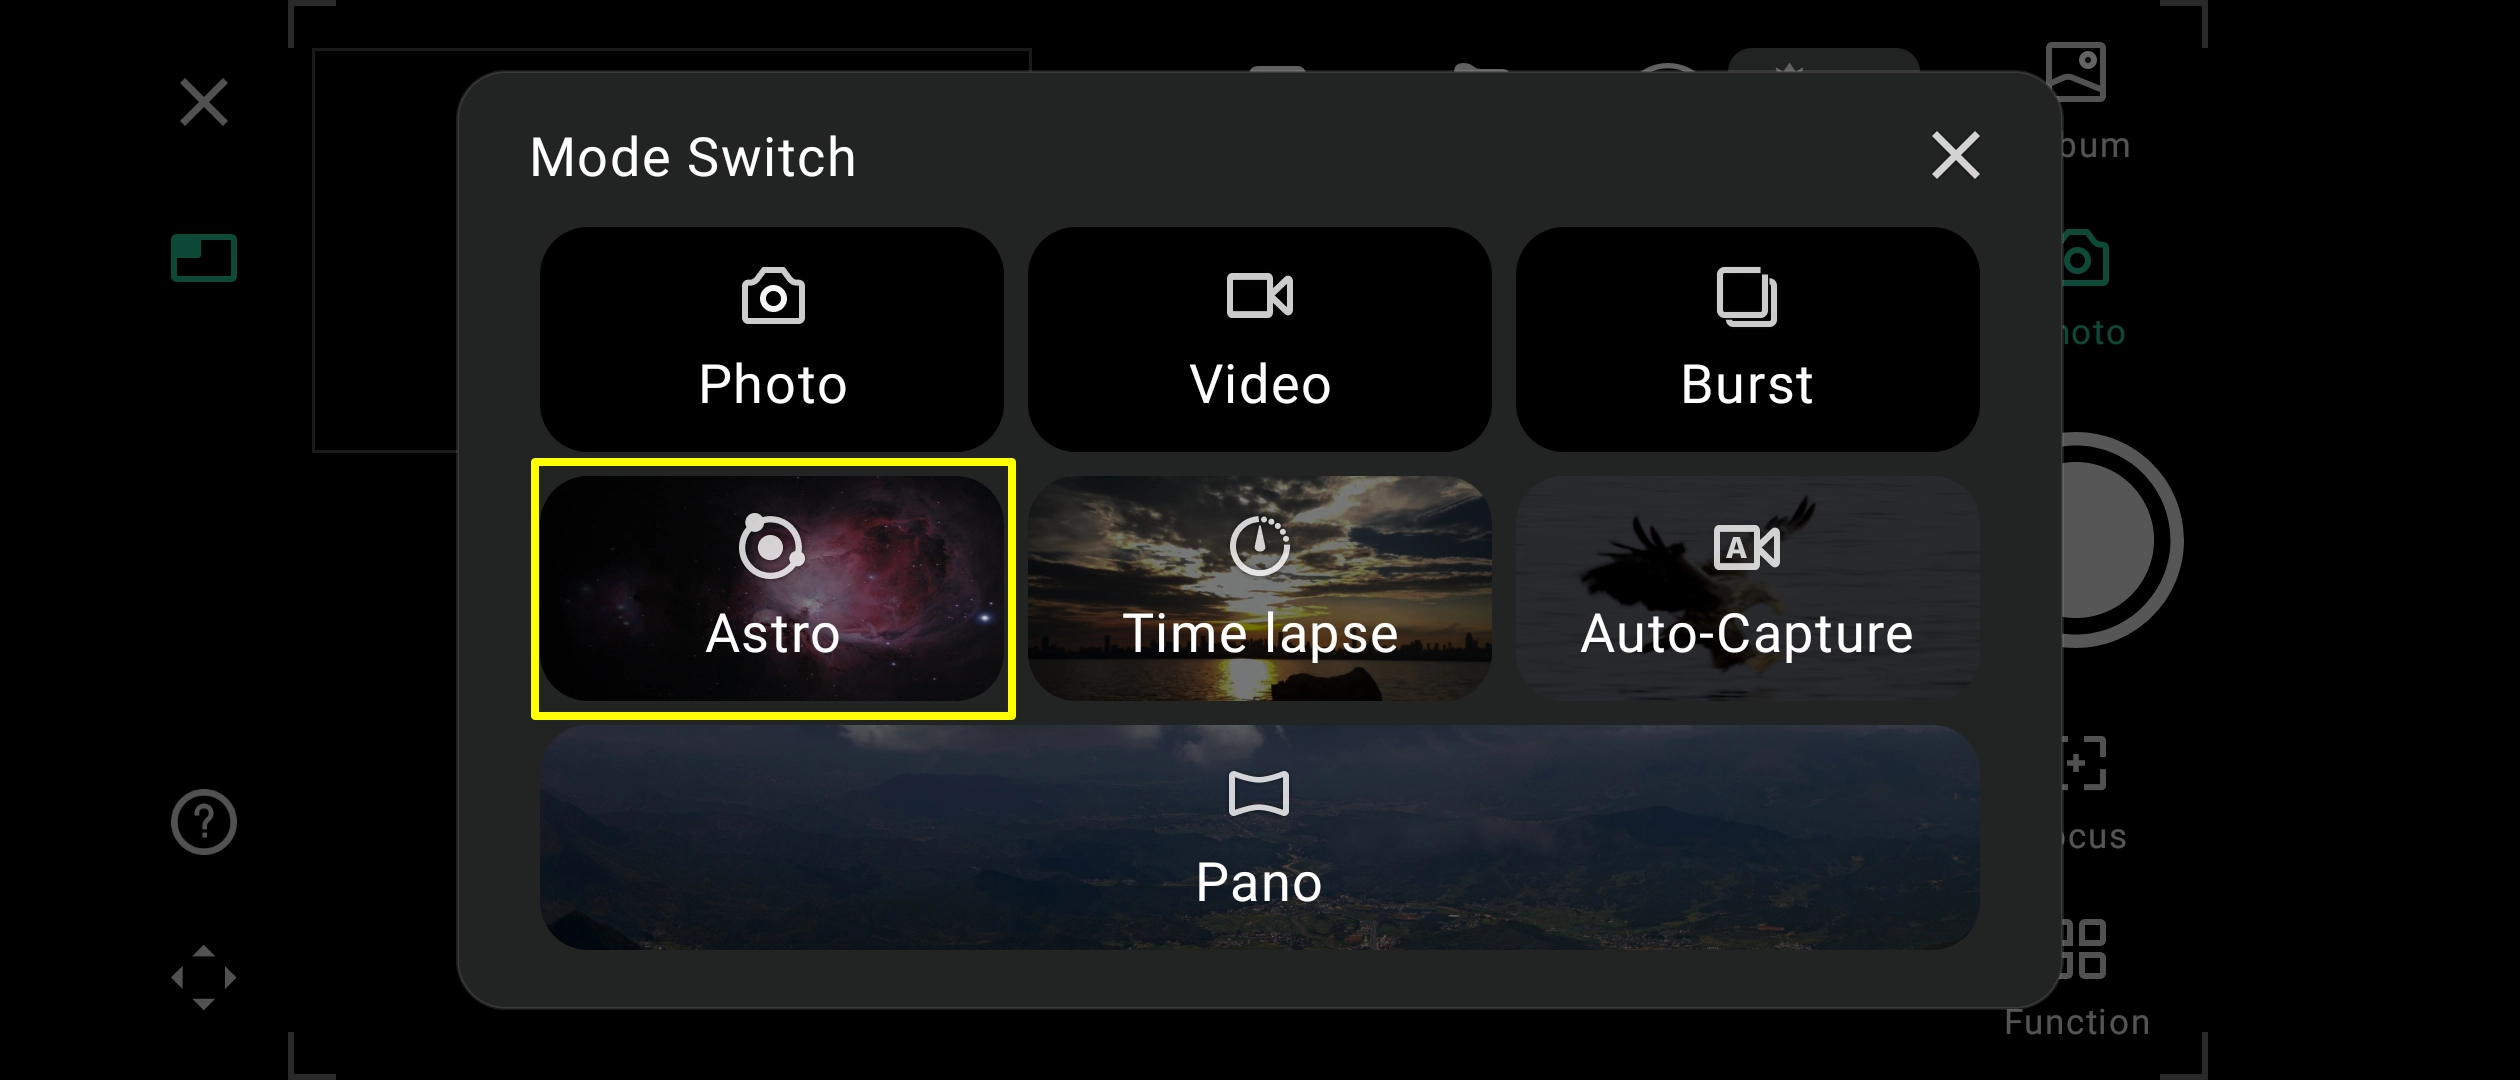
01) Click "Photo" then Select "Astro" from the list.
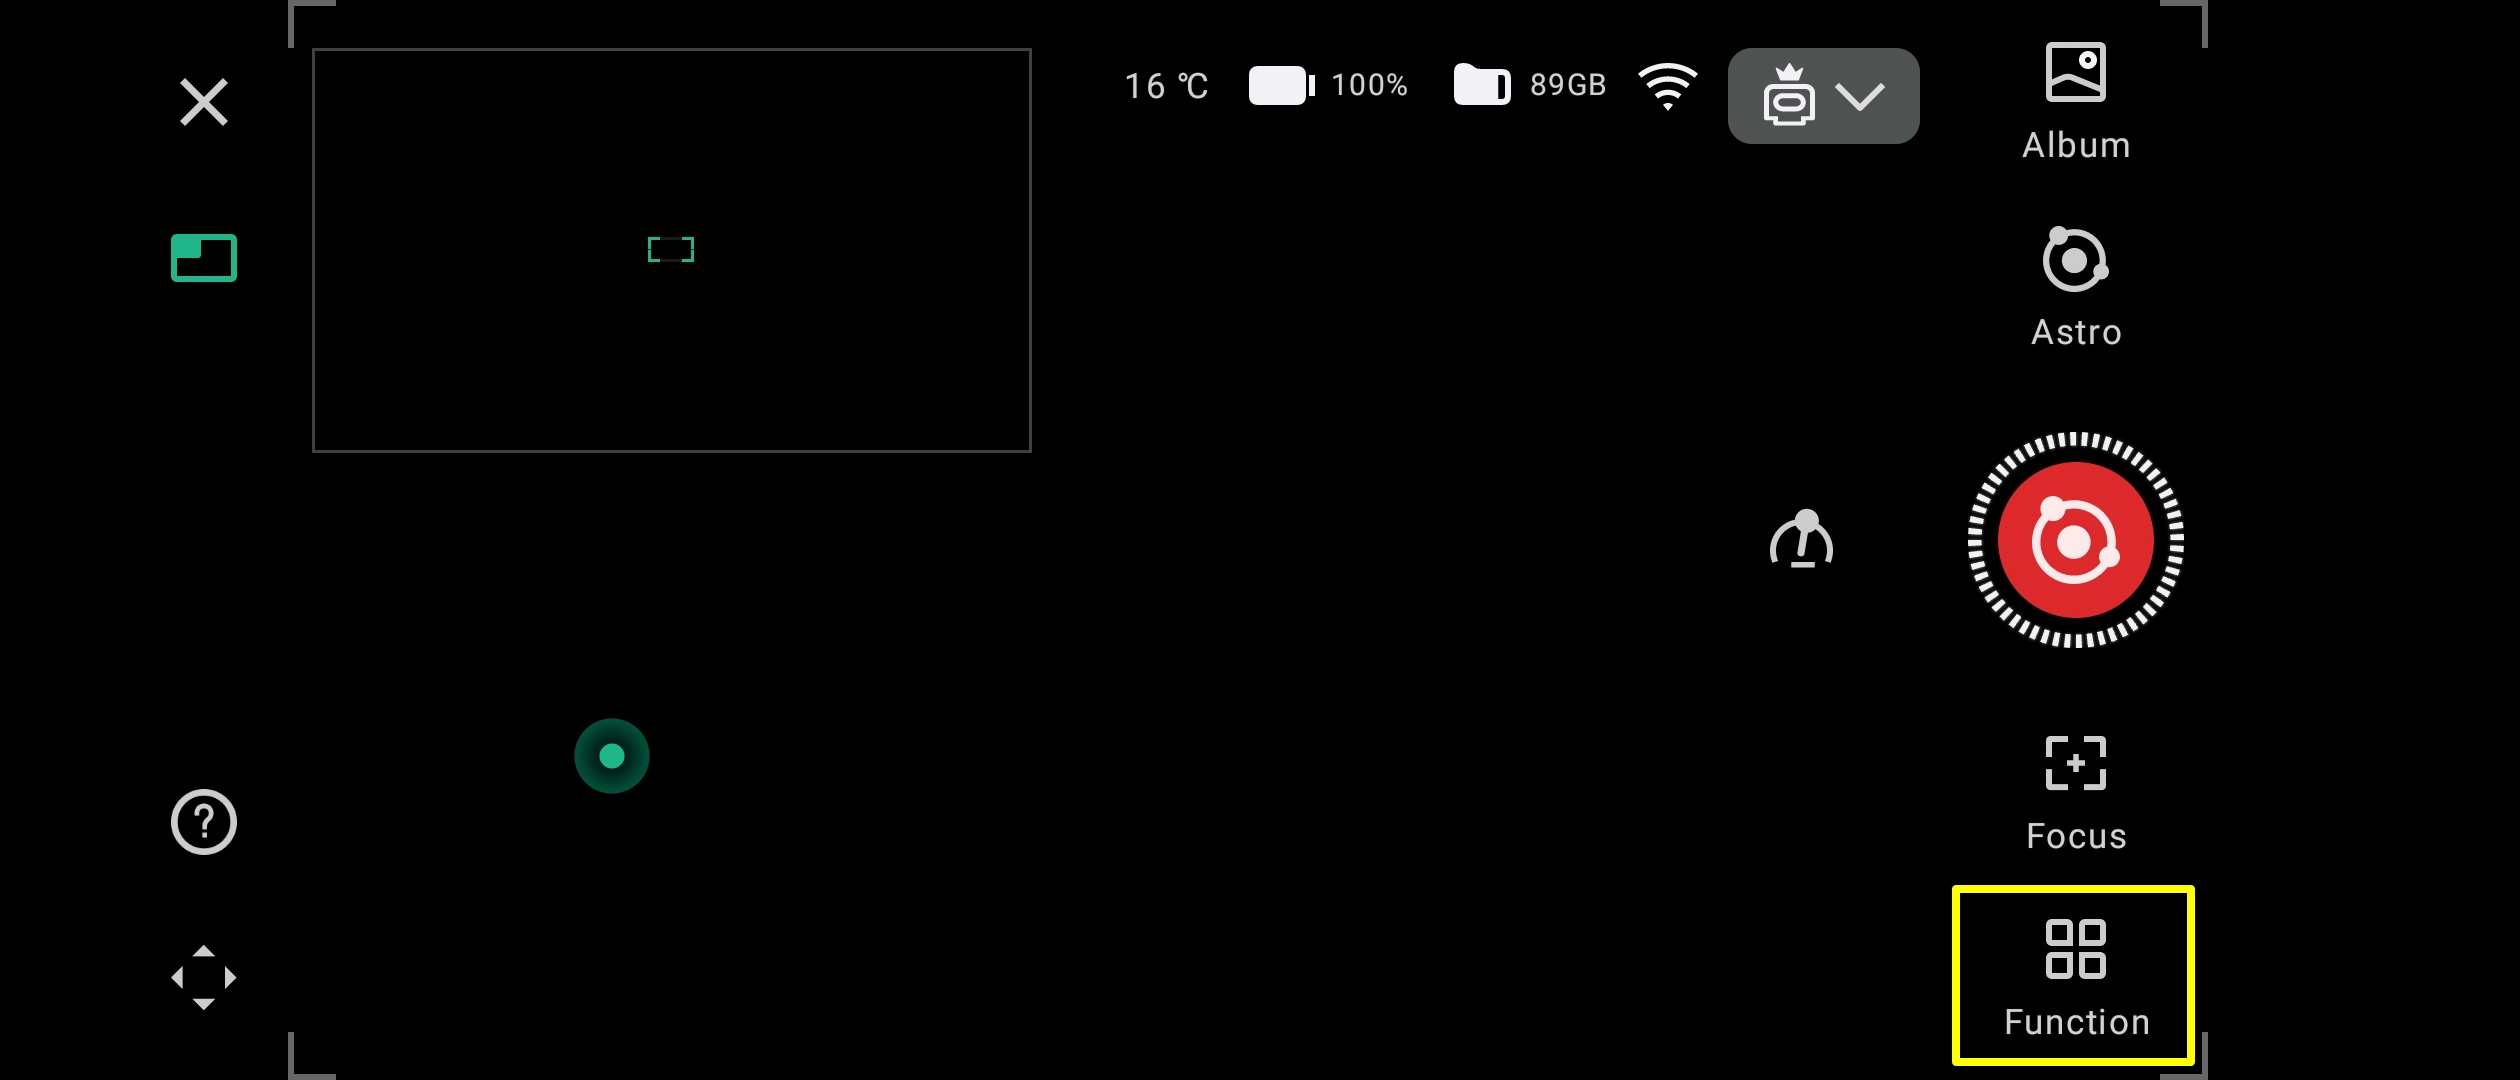
02) Click "Function".
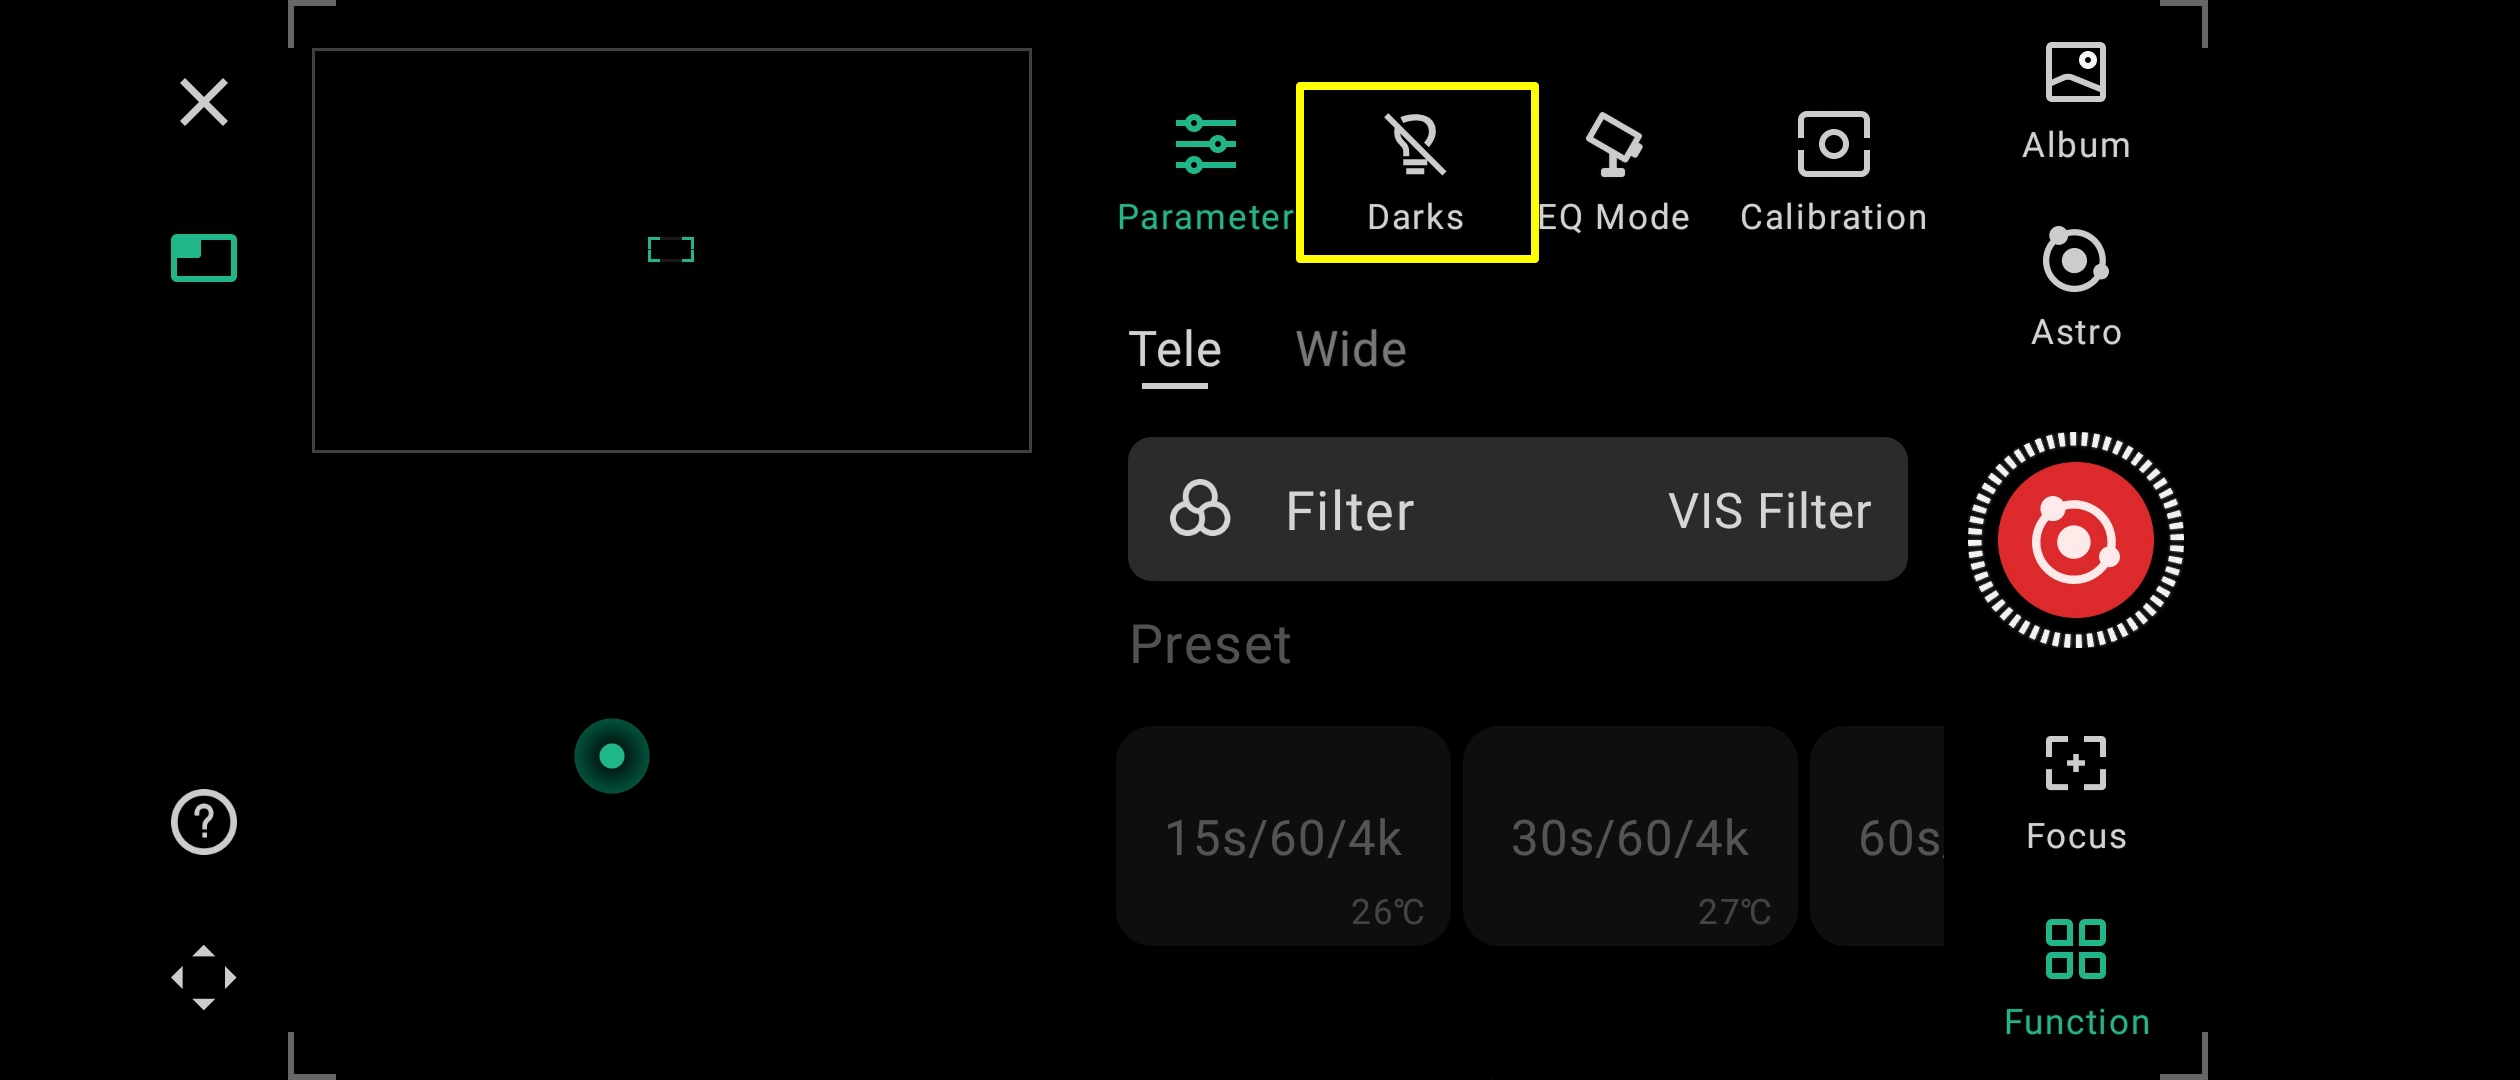
03) Click on the "Darks" icon.
04) Click "Take".
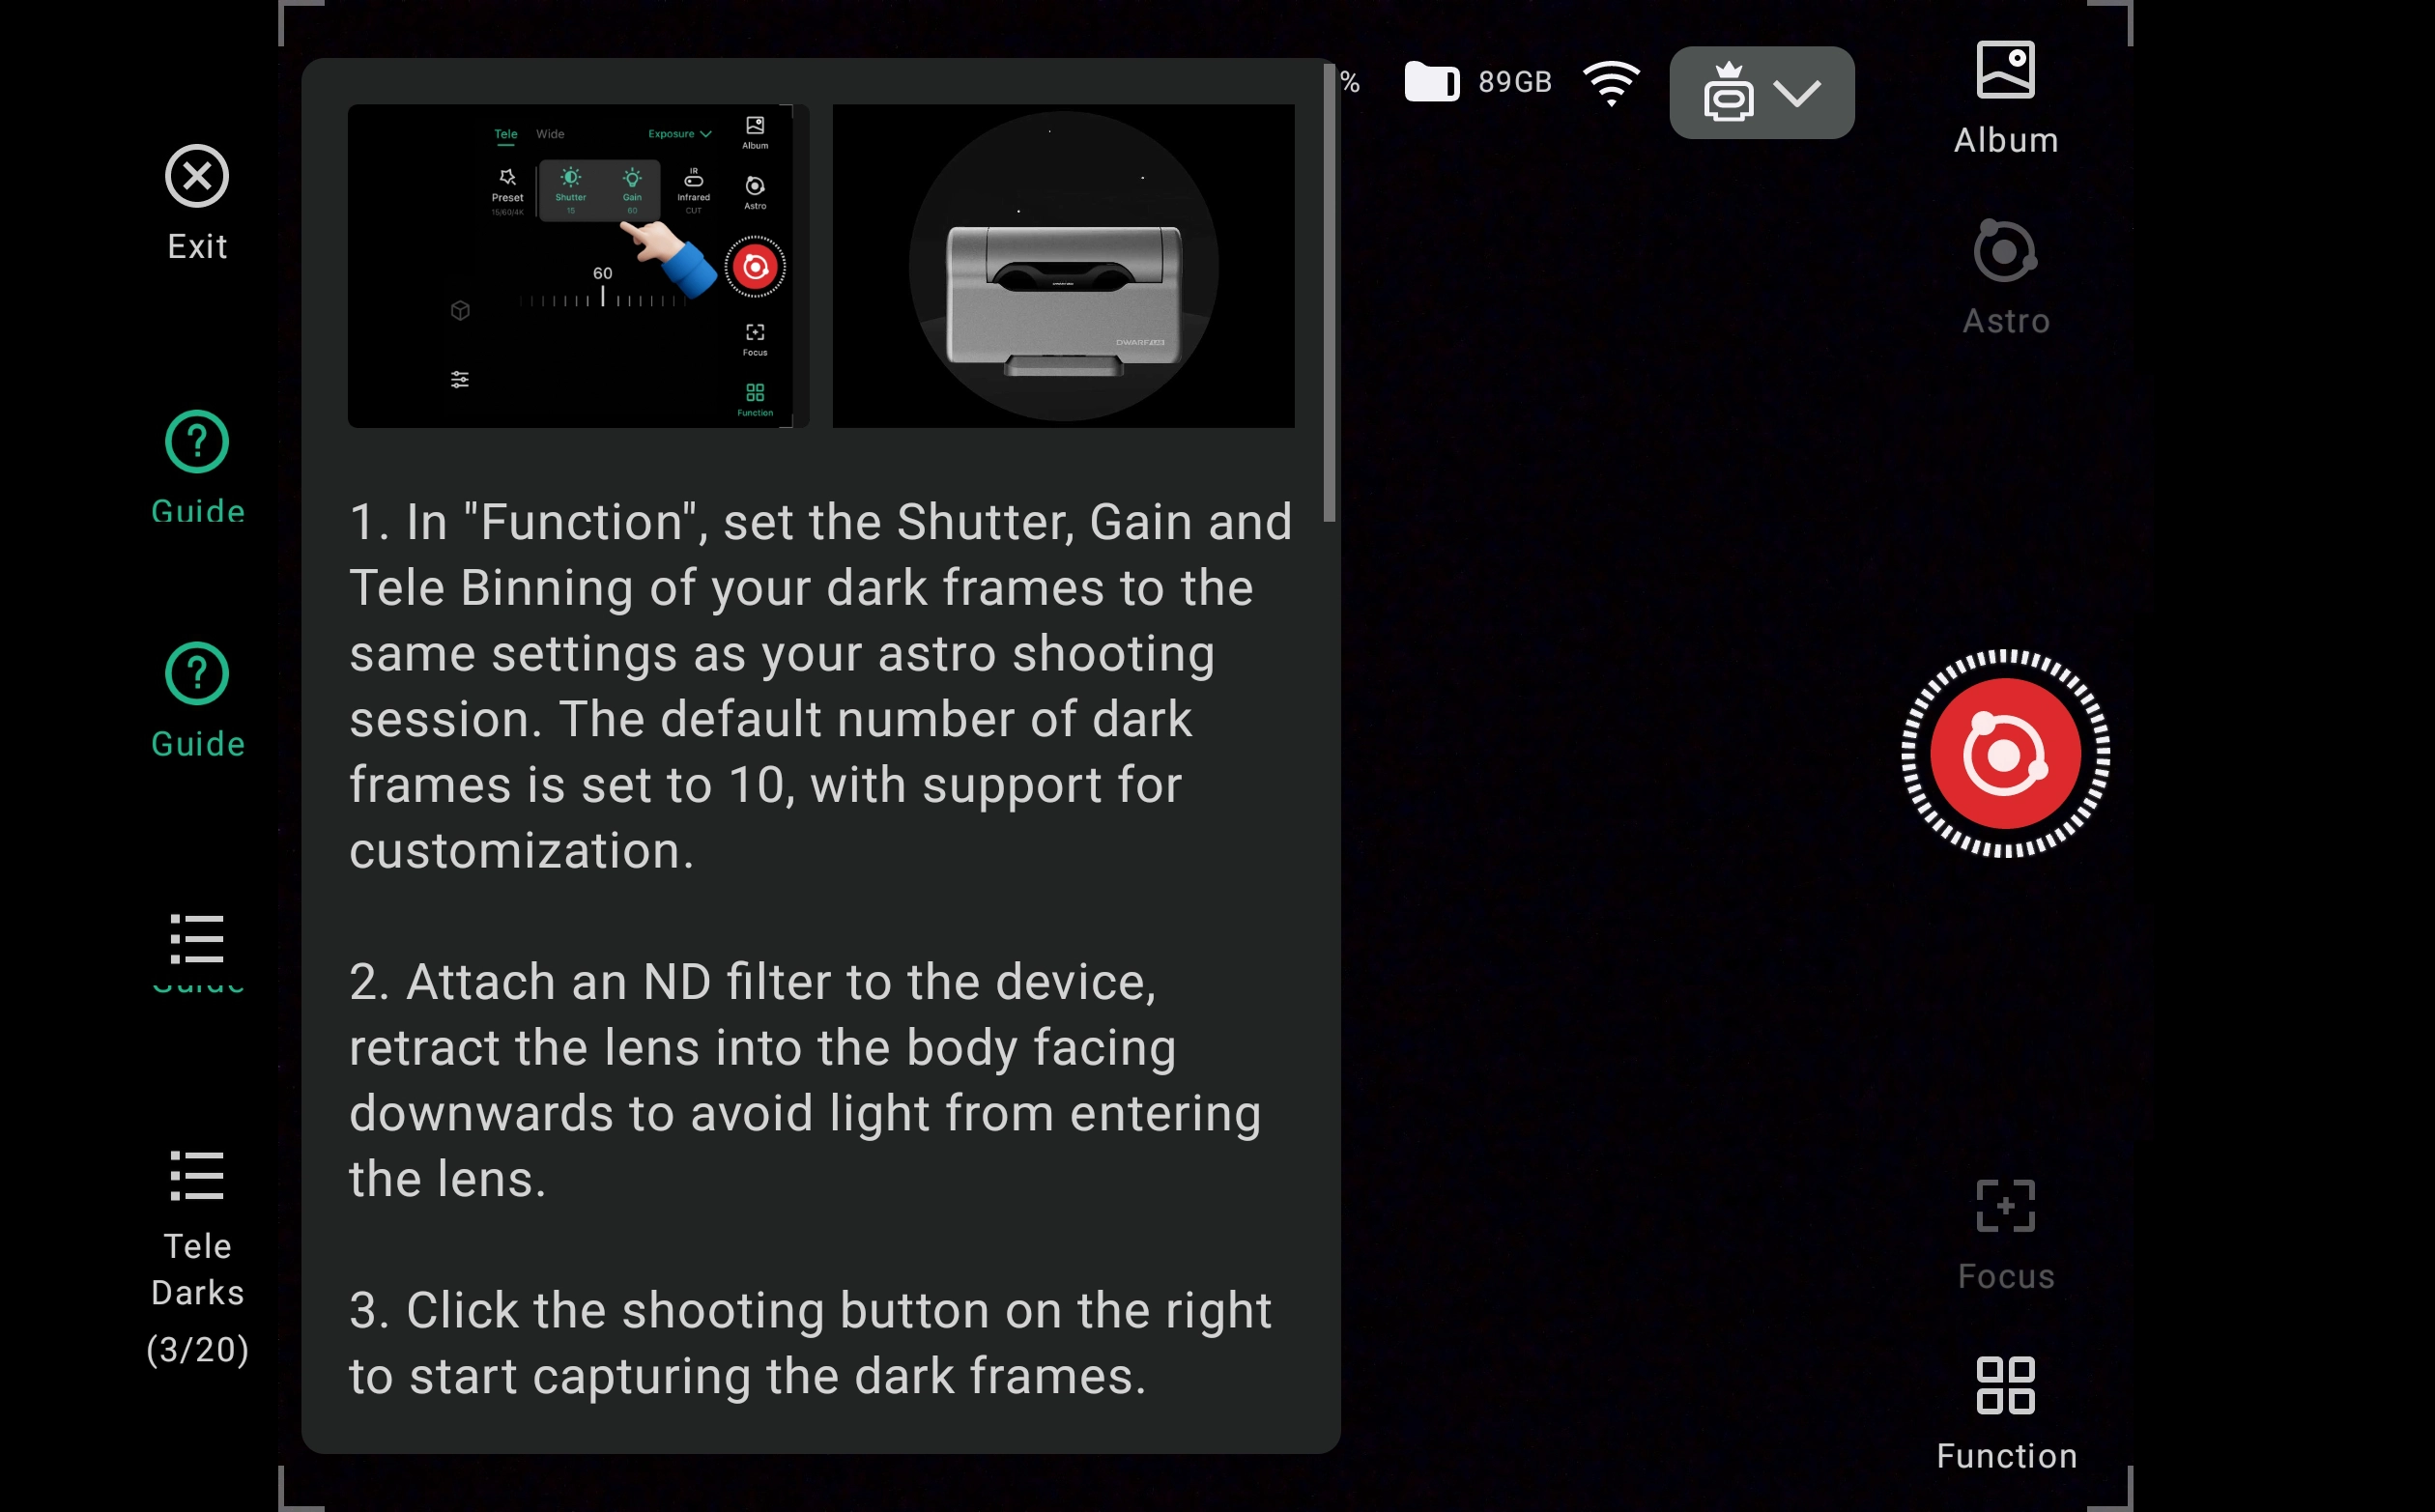
05) A box appears explaining the next steps. Click "Function" to close the box.
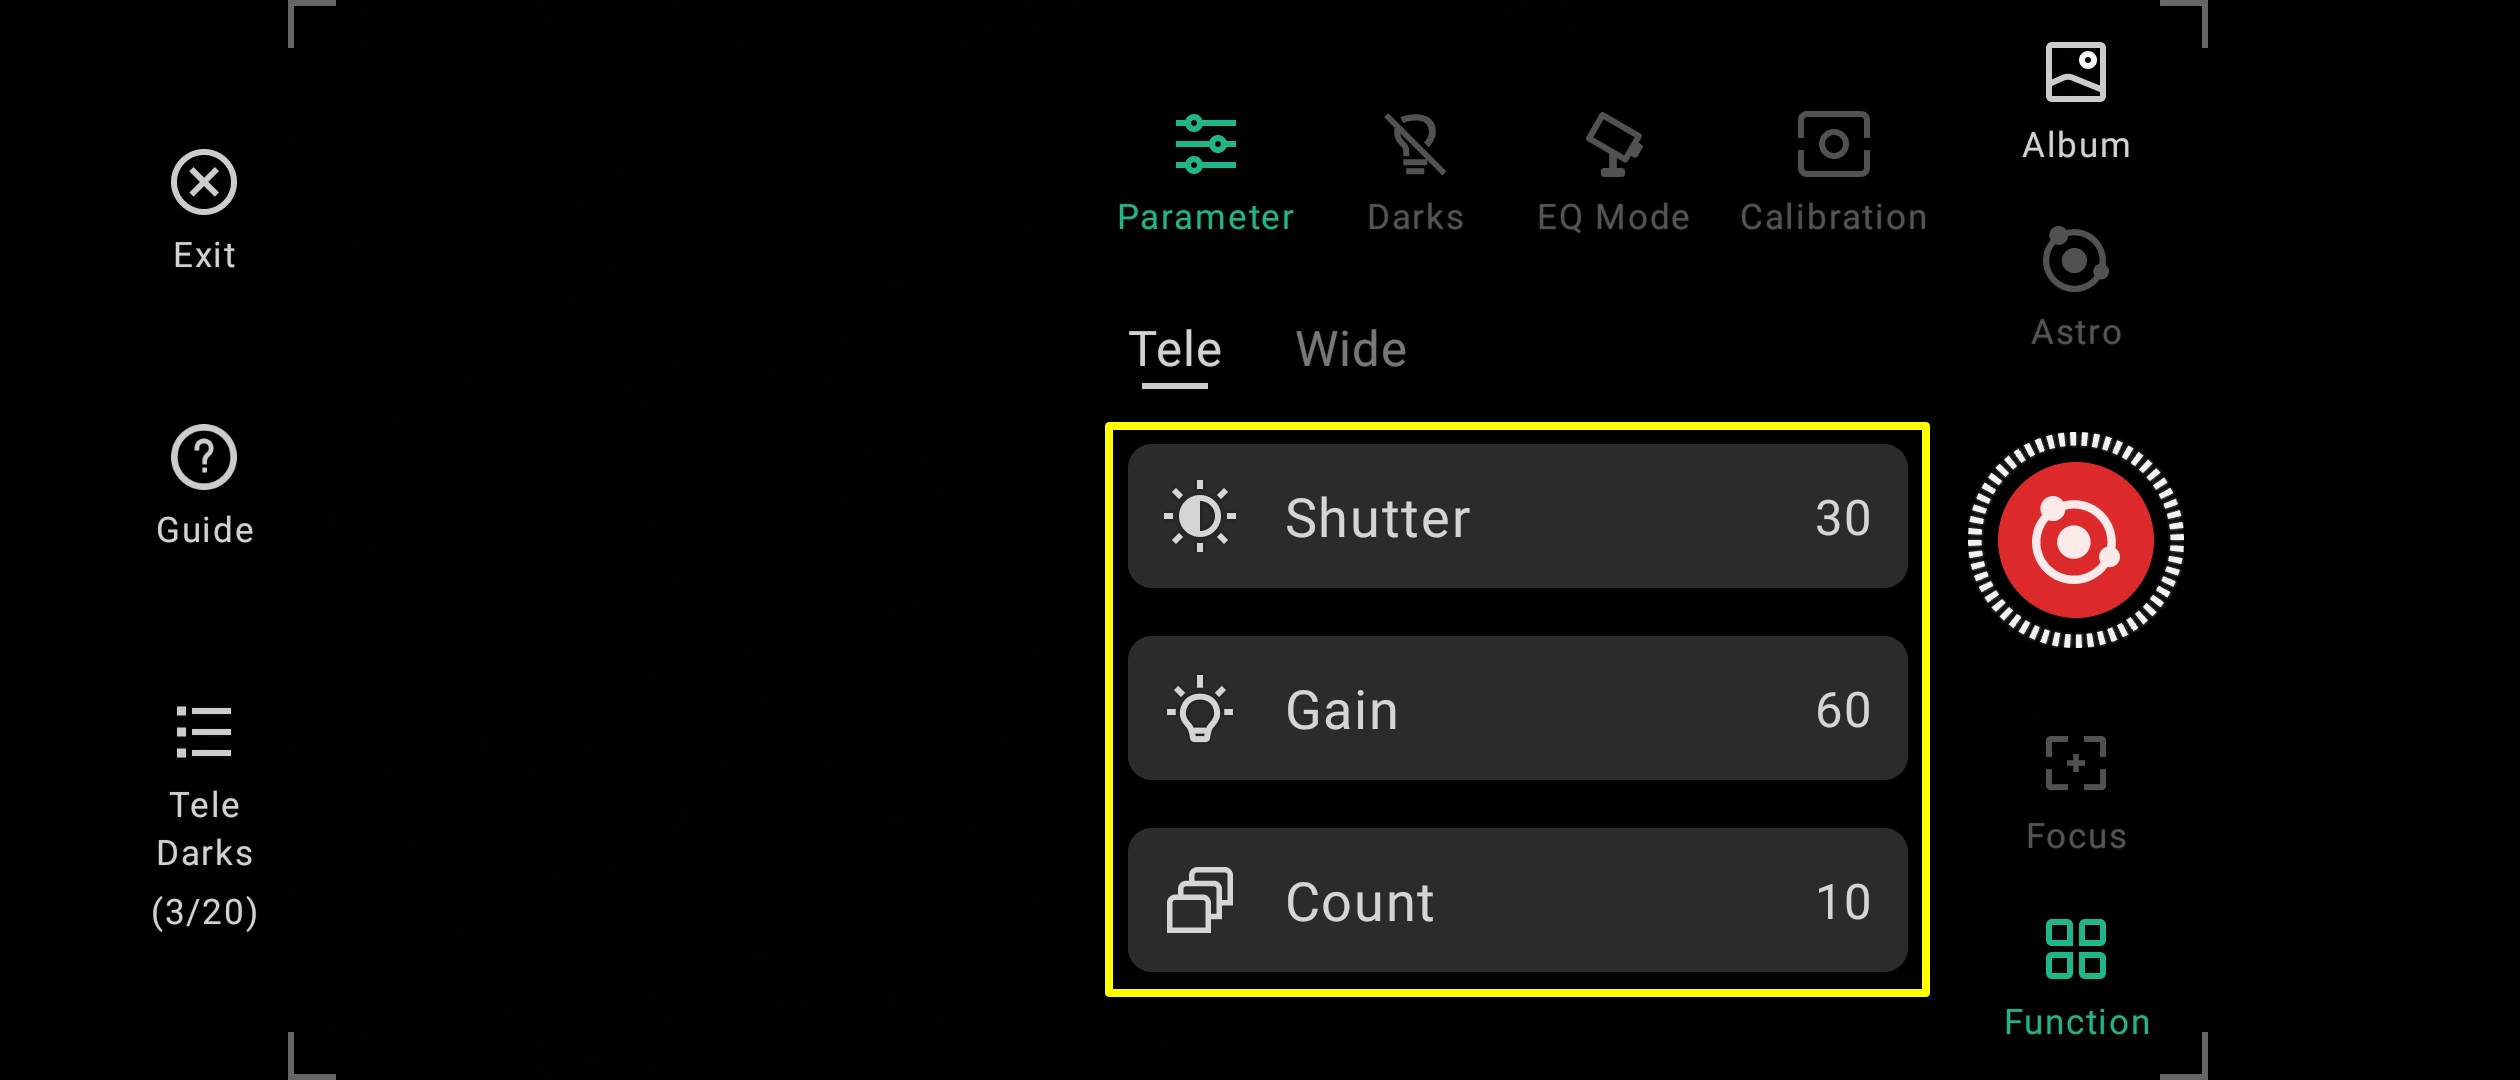
06) Change the Shutter and Gain perameters to match those of your imaging session.
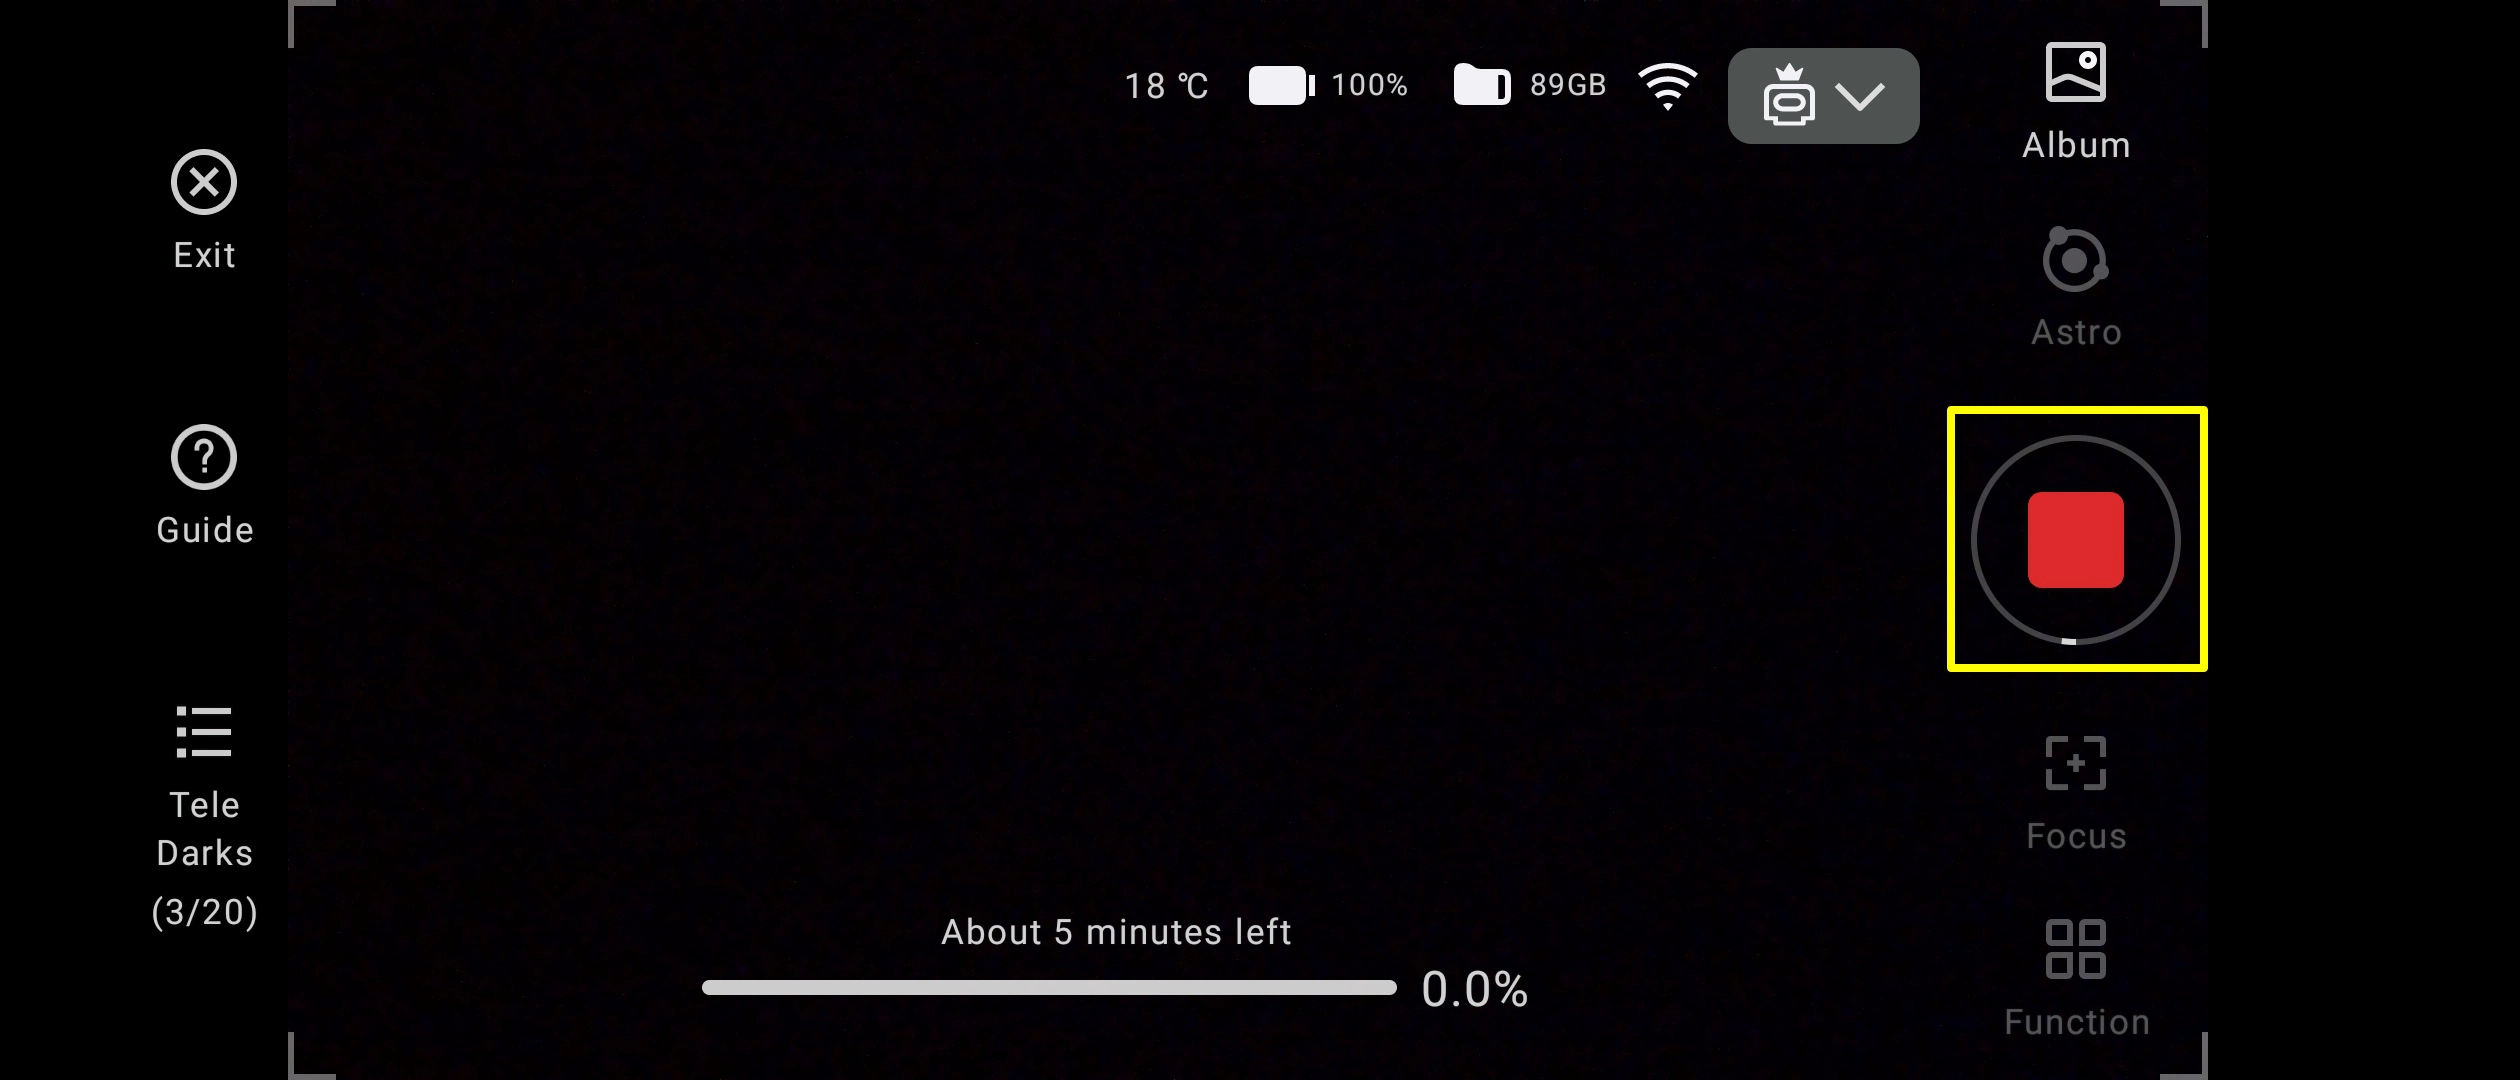
07) Click the big red button to start the process. The bar at the bottom will tell you how long is left to complete the darks capture.
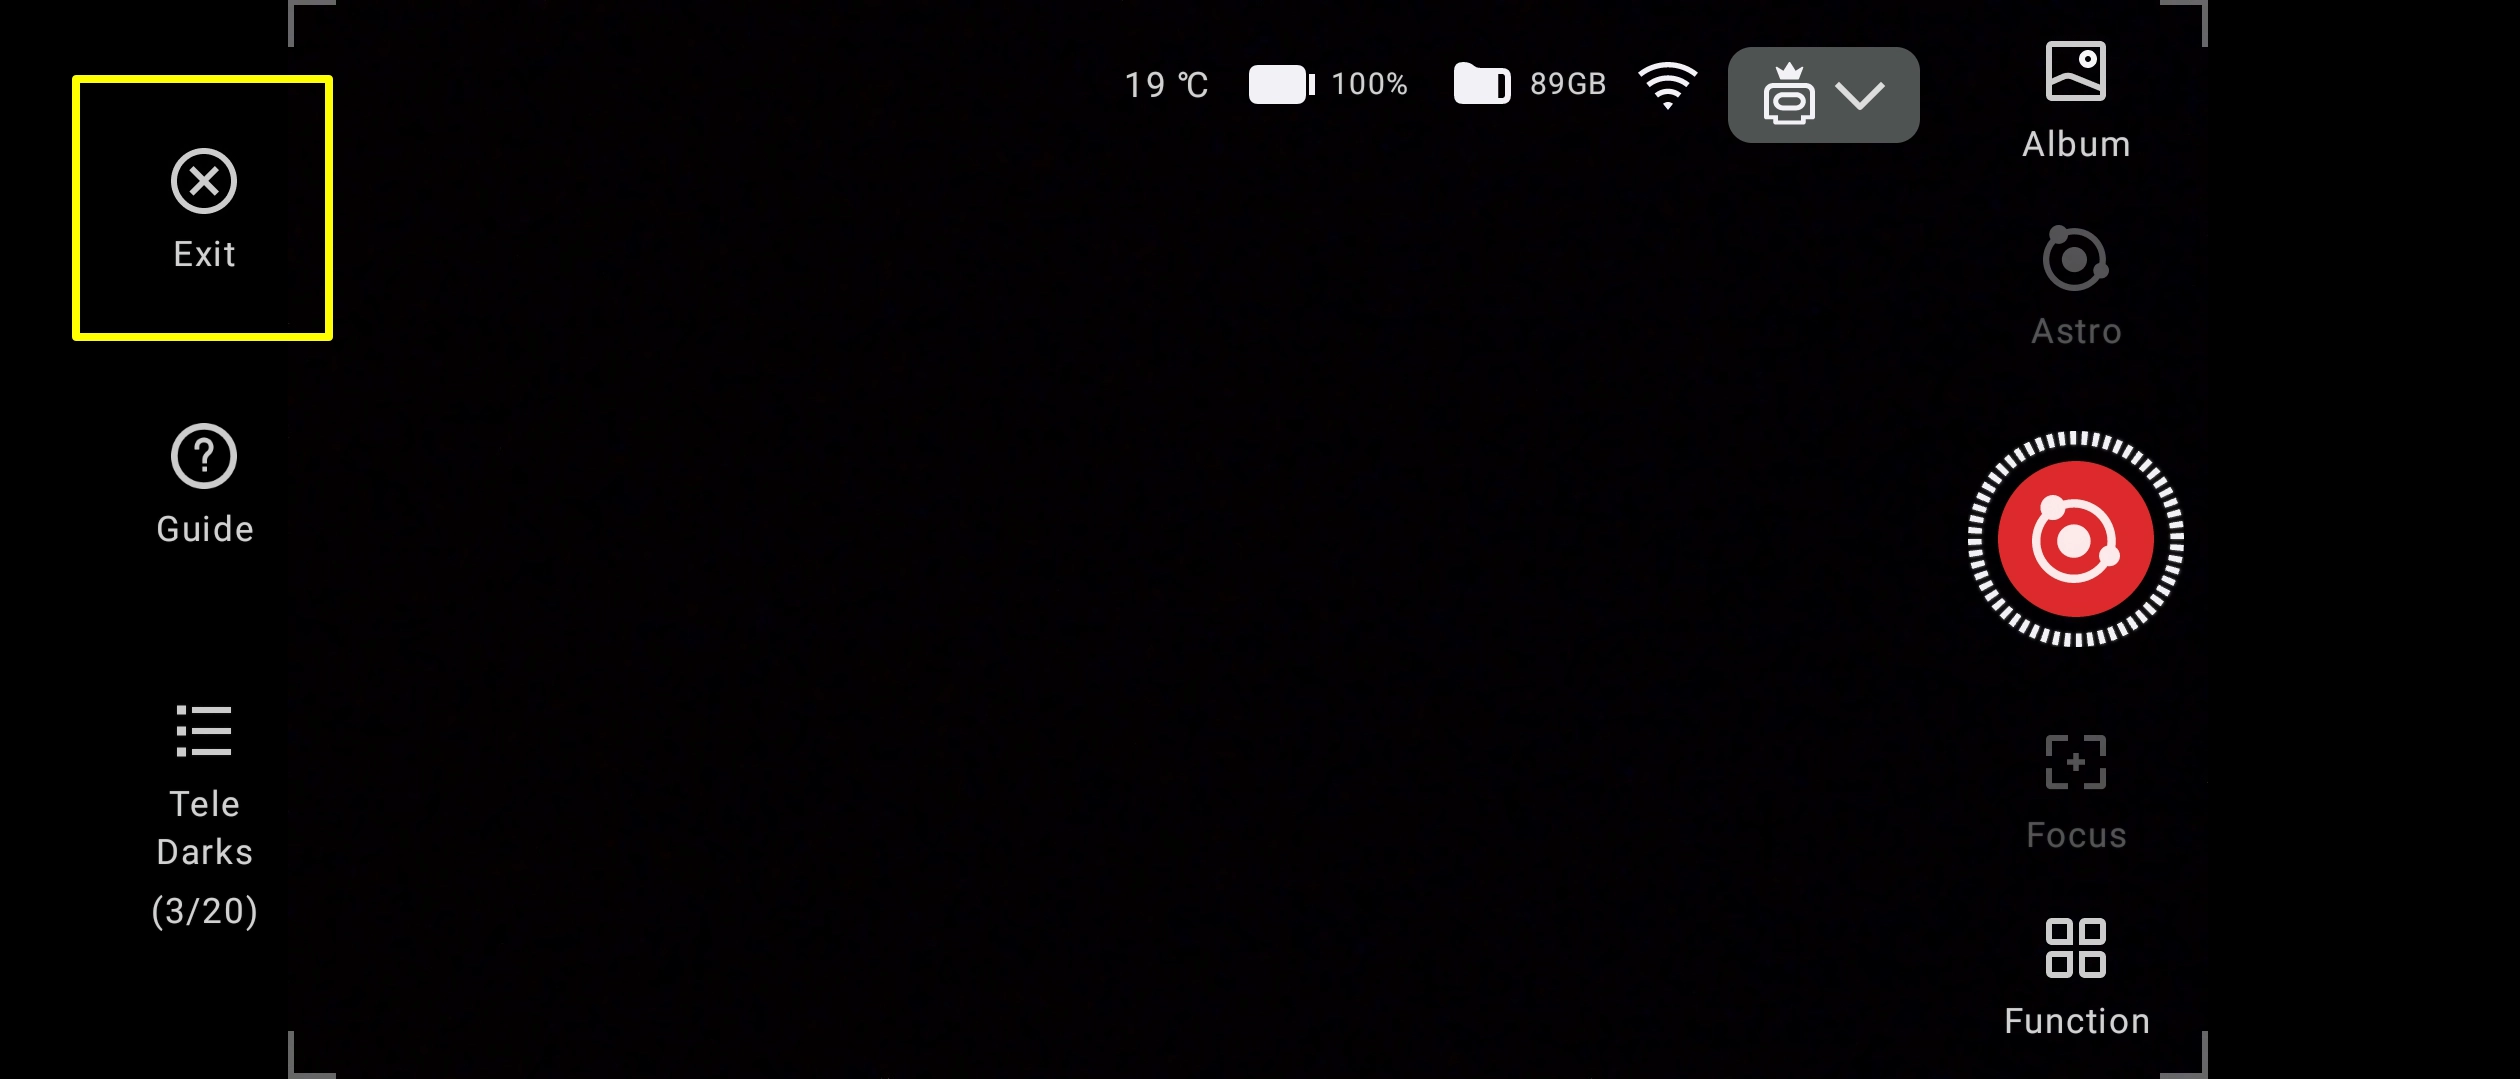
08) Click "Exit" once the process has completed. The darks can then be selected and applied to the live view when the peramters are met for future imaging sessions.