The Stellar Studio feature is basic image processing for stacked pictures taken with your Dwarf device.
It is now included in the full public release.
Stellar Studio will only work with pictures taken with the Dwarf 3 firmware version 1.3.0 or above. Any pictures taken before this update will not show in Stellar Studio.
There are currently some basic editing tools in Stellar Studio and these include:
• Auto
• Star Correction
• Denoise
• Star Removal
Below is a short basic tutorial on how to use Stellar Studio. I will update this page as and when new features or changes are made to Stellar Studio.
Stellar Studio works by uploading your internally stacked pictures to DwarfLabs servers to process the pictures. The Dwarf will need to be switched on and connected to the DwartfLab app.
Because the app needs to connect to your home Wi-Fi at the same time as being connected to the Dwarf unit, then you need to make sure that the Dwarf is in STA mode. It will not work in direct connection mode. Remember to turn off STA mode once you are finished.
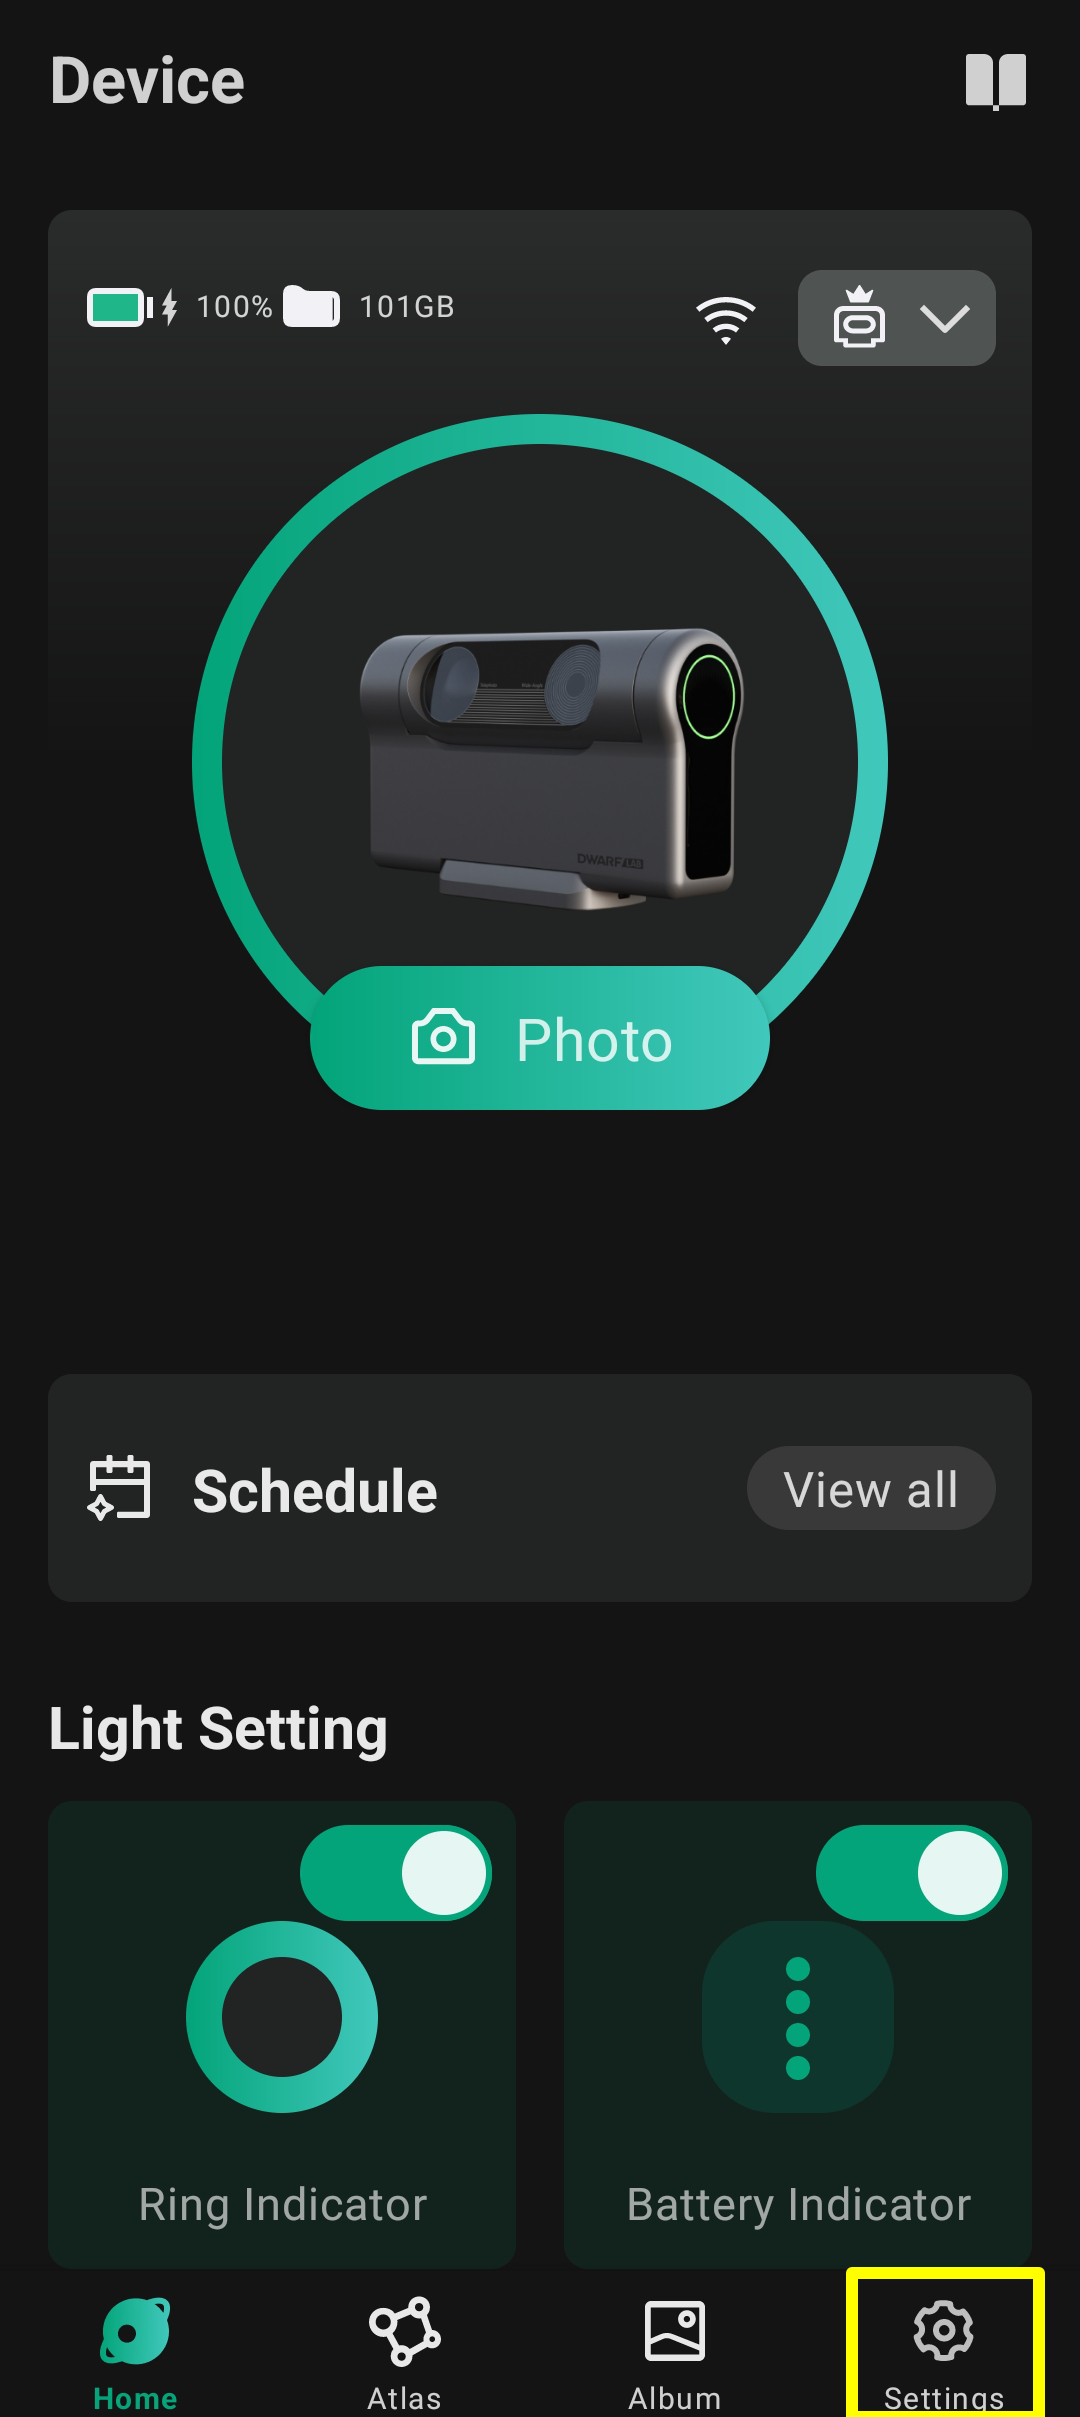
01) To enter STA mode just connect to your Dwarf as normal, then go to the settings page and click on "Connection Settings".
02) Turn on the "STA Mode" switch. It will turn green to show that it is enabled.
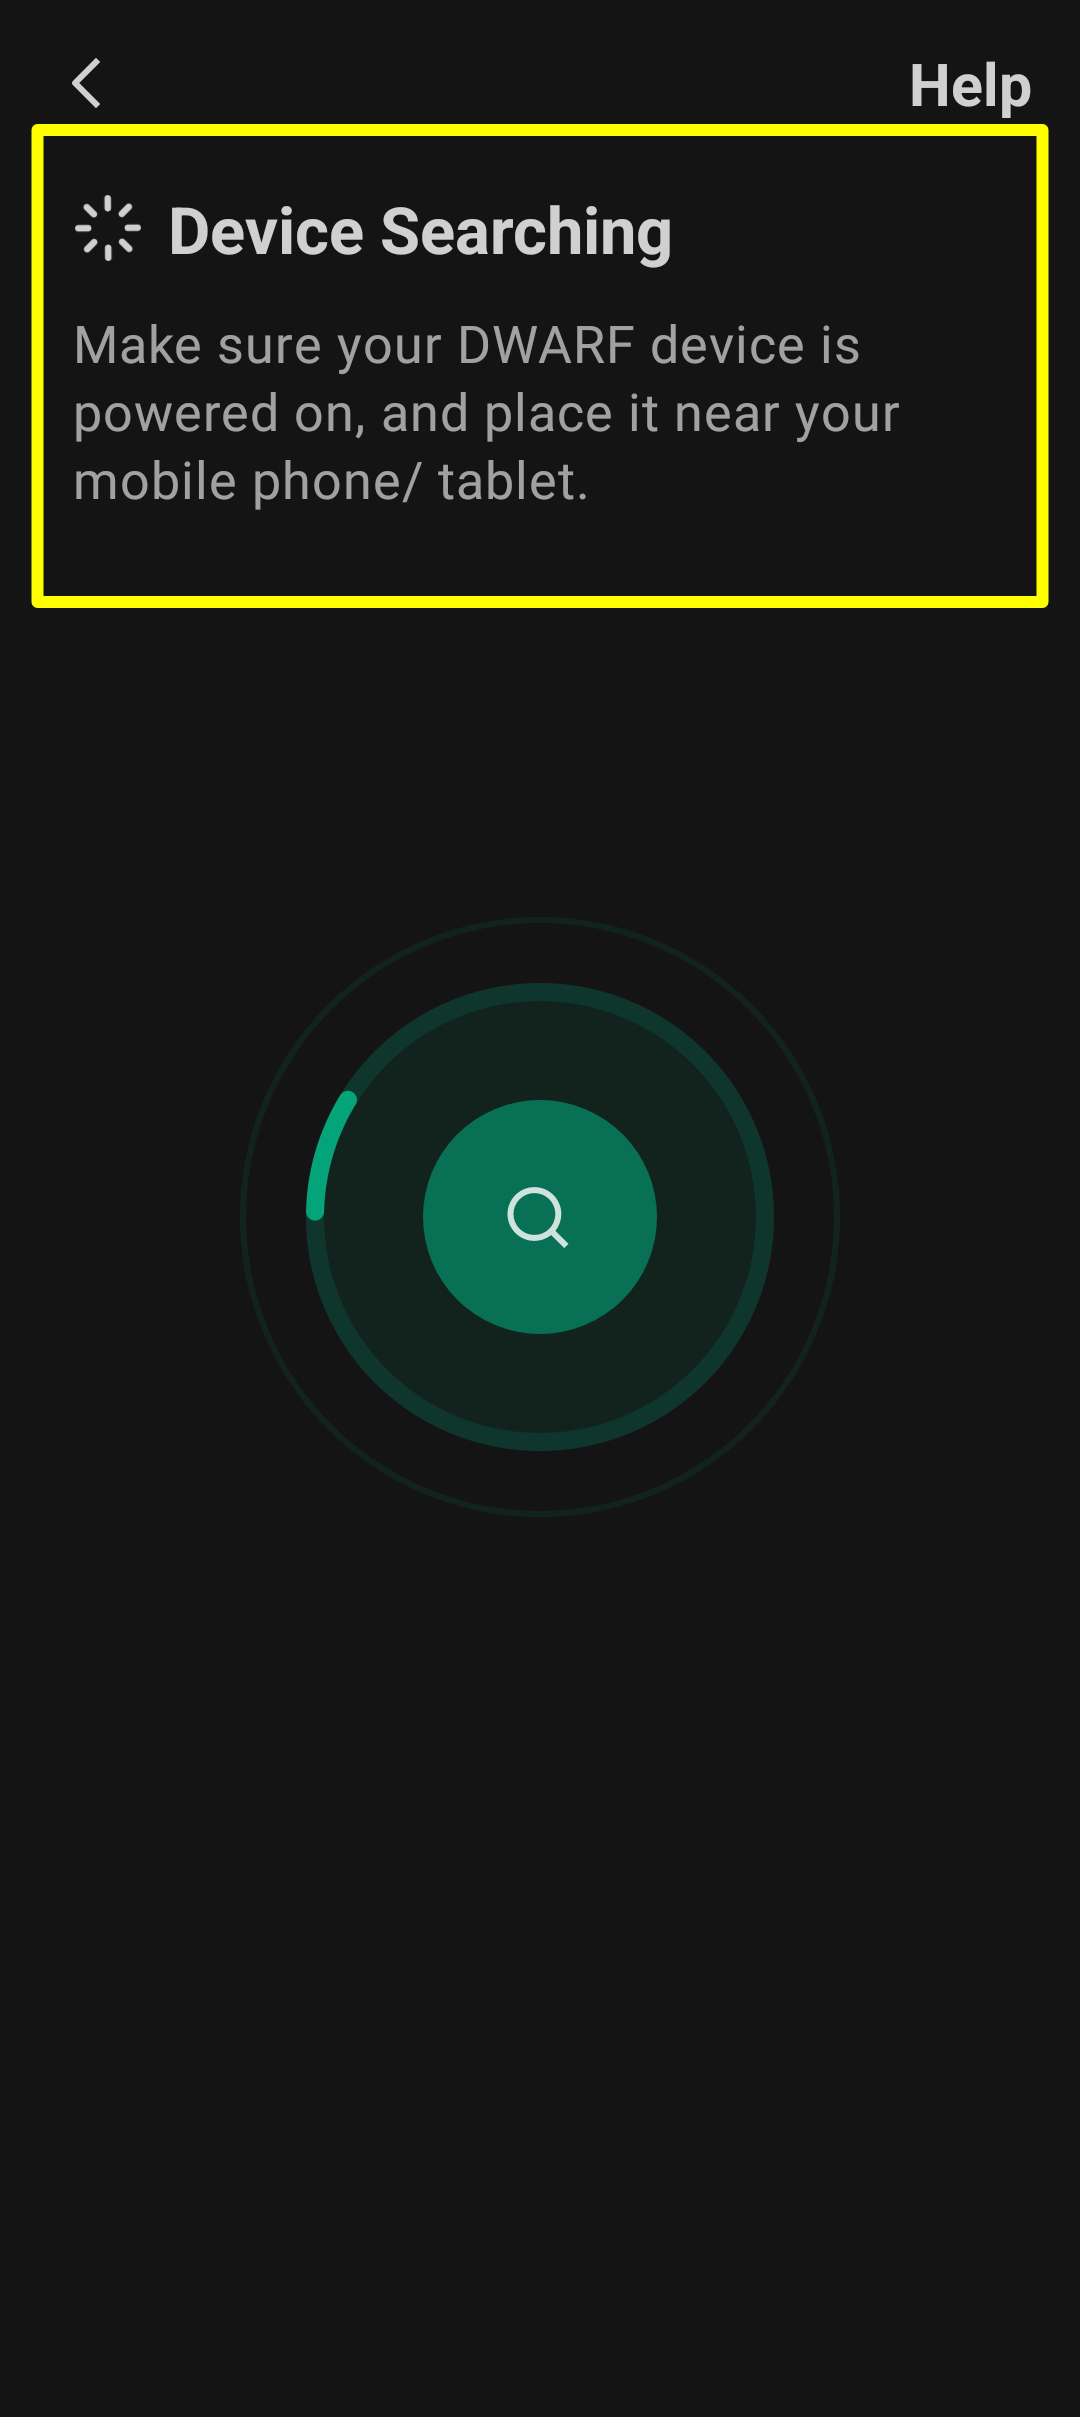
03) The app will now search for your Dwarf again.
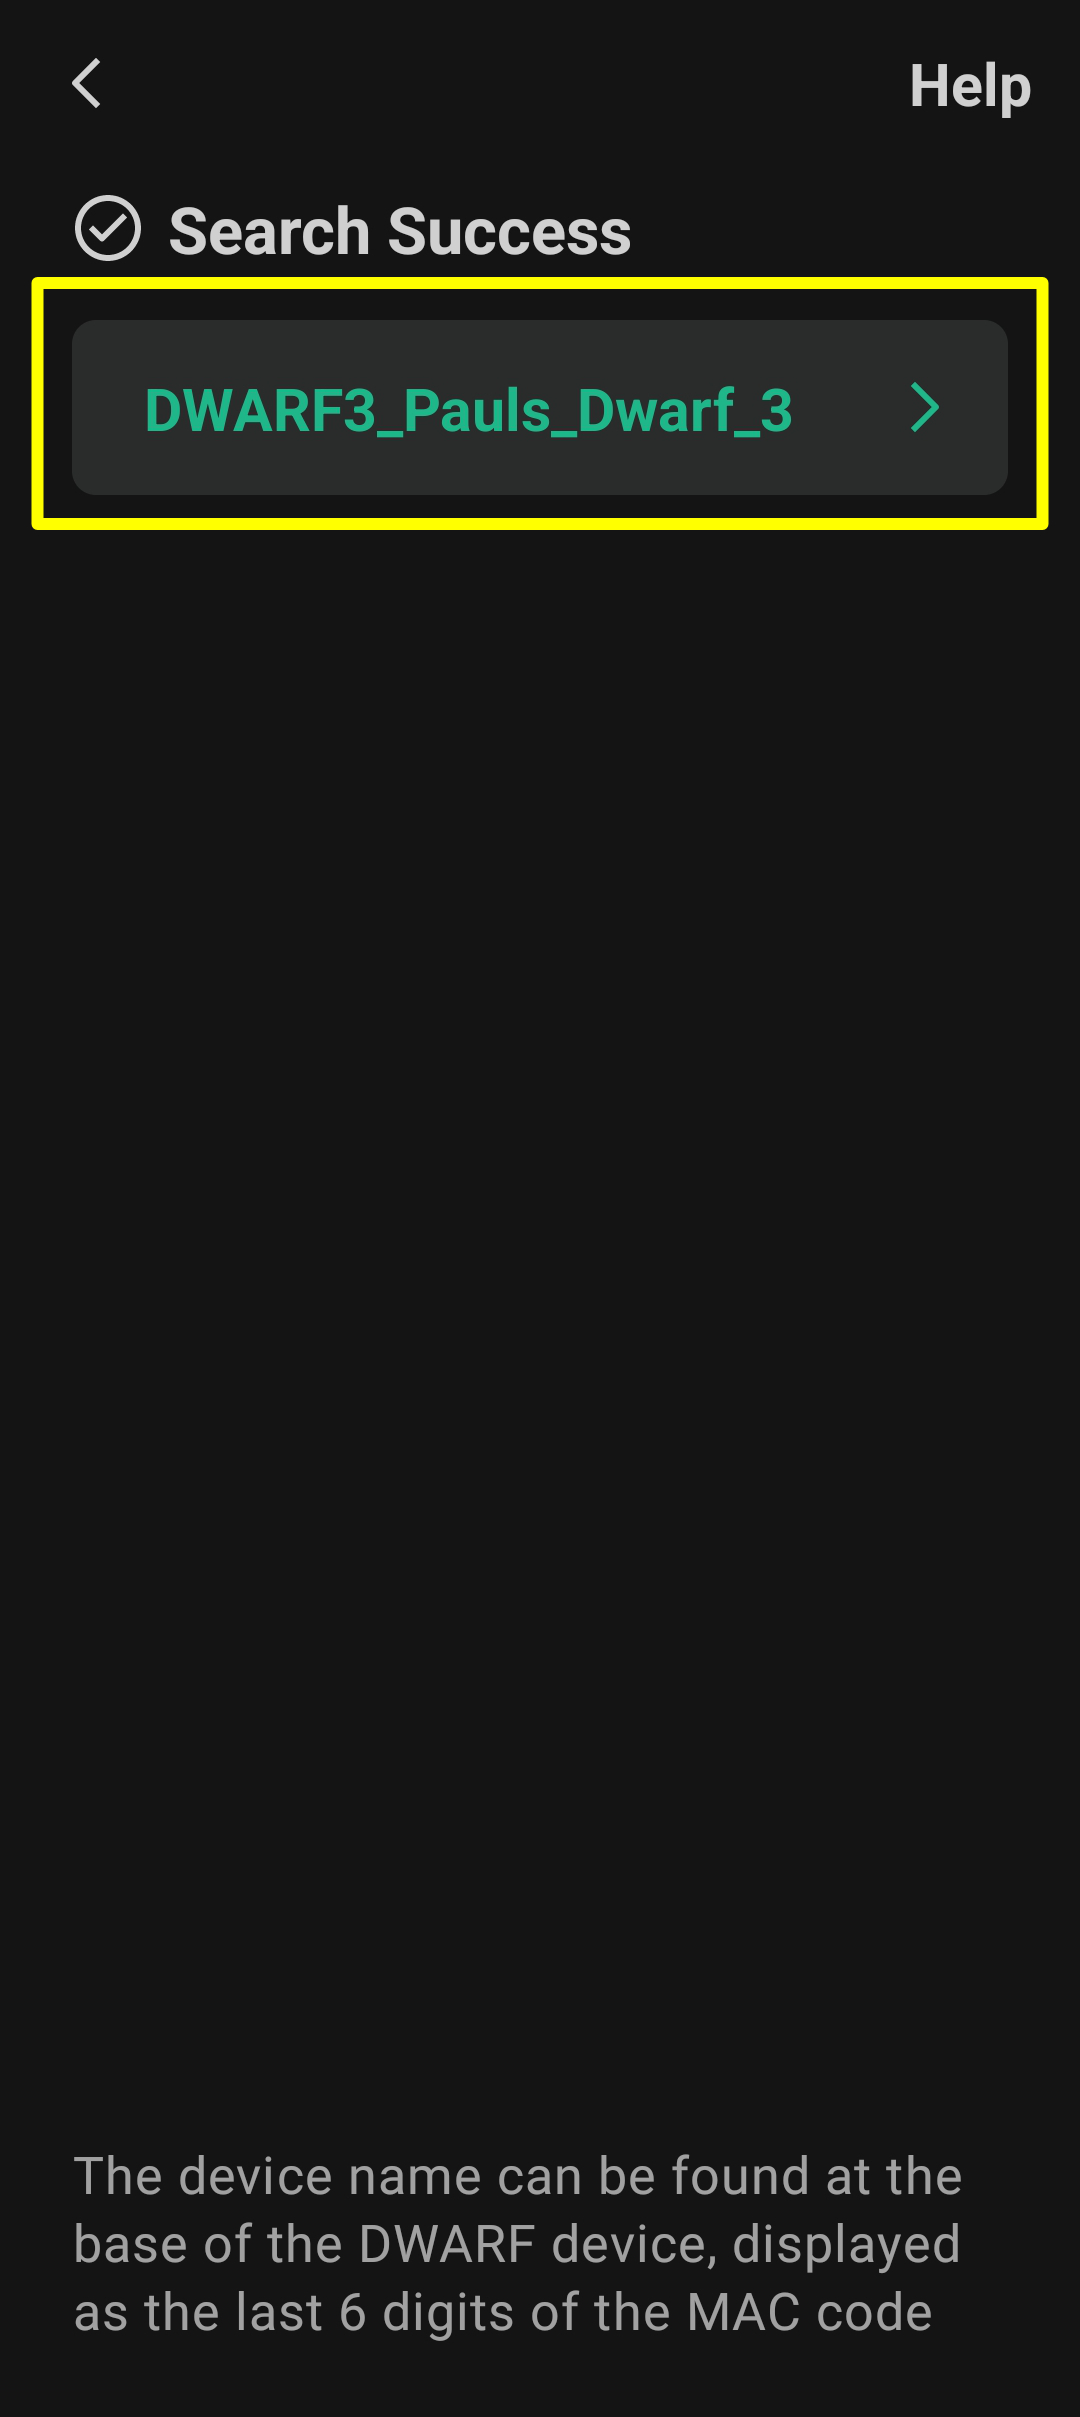
04) Select your Dwarf from the list.
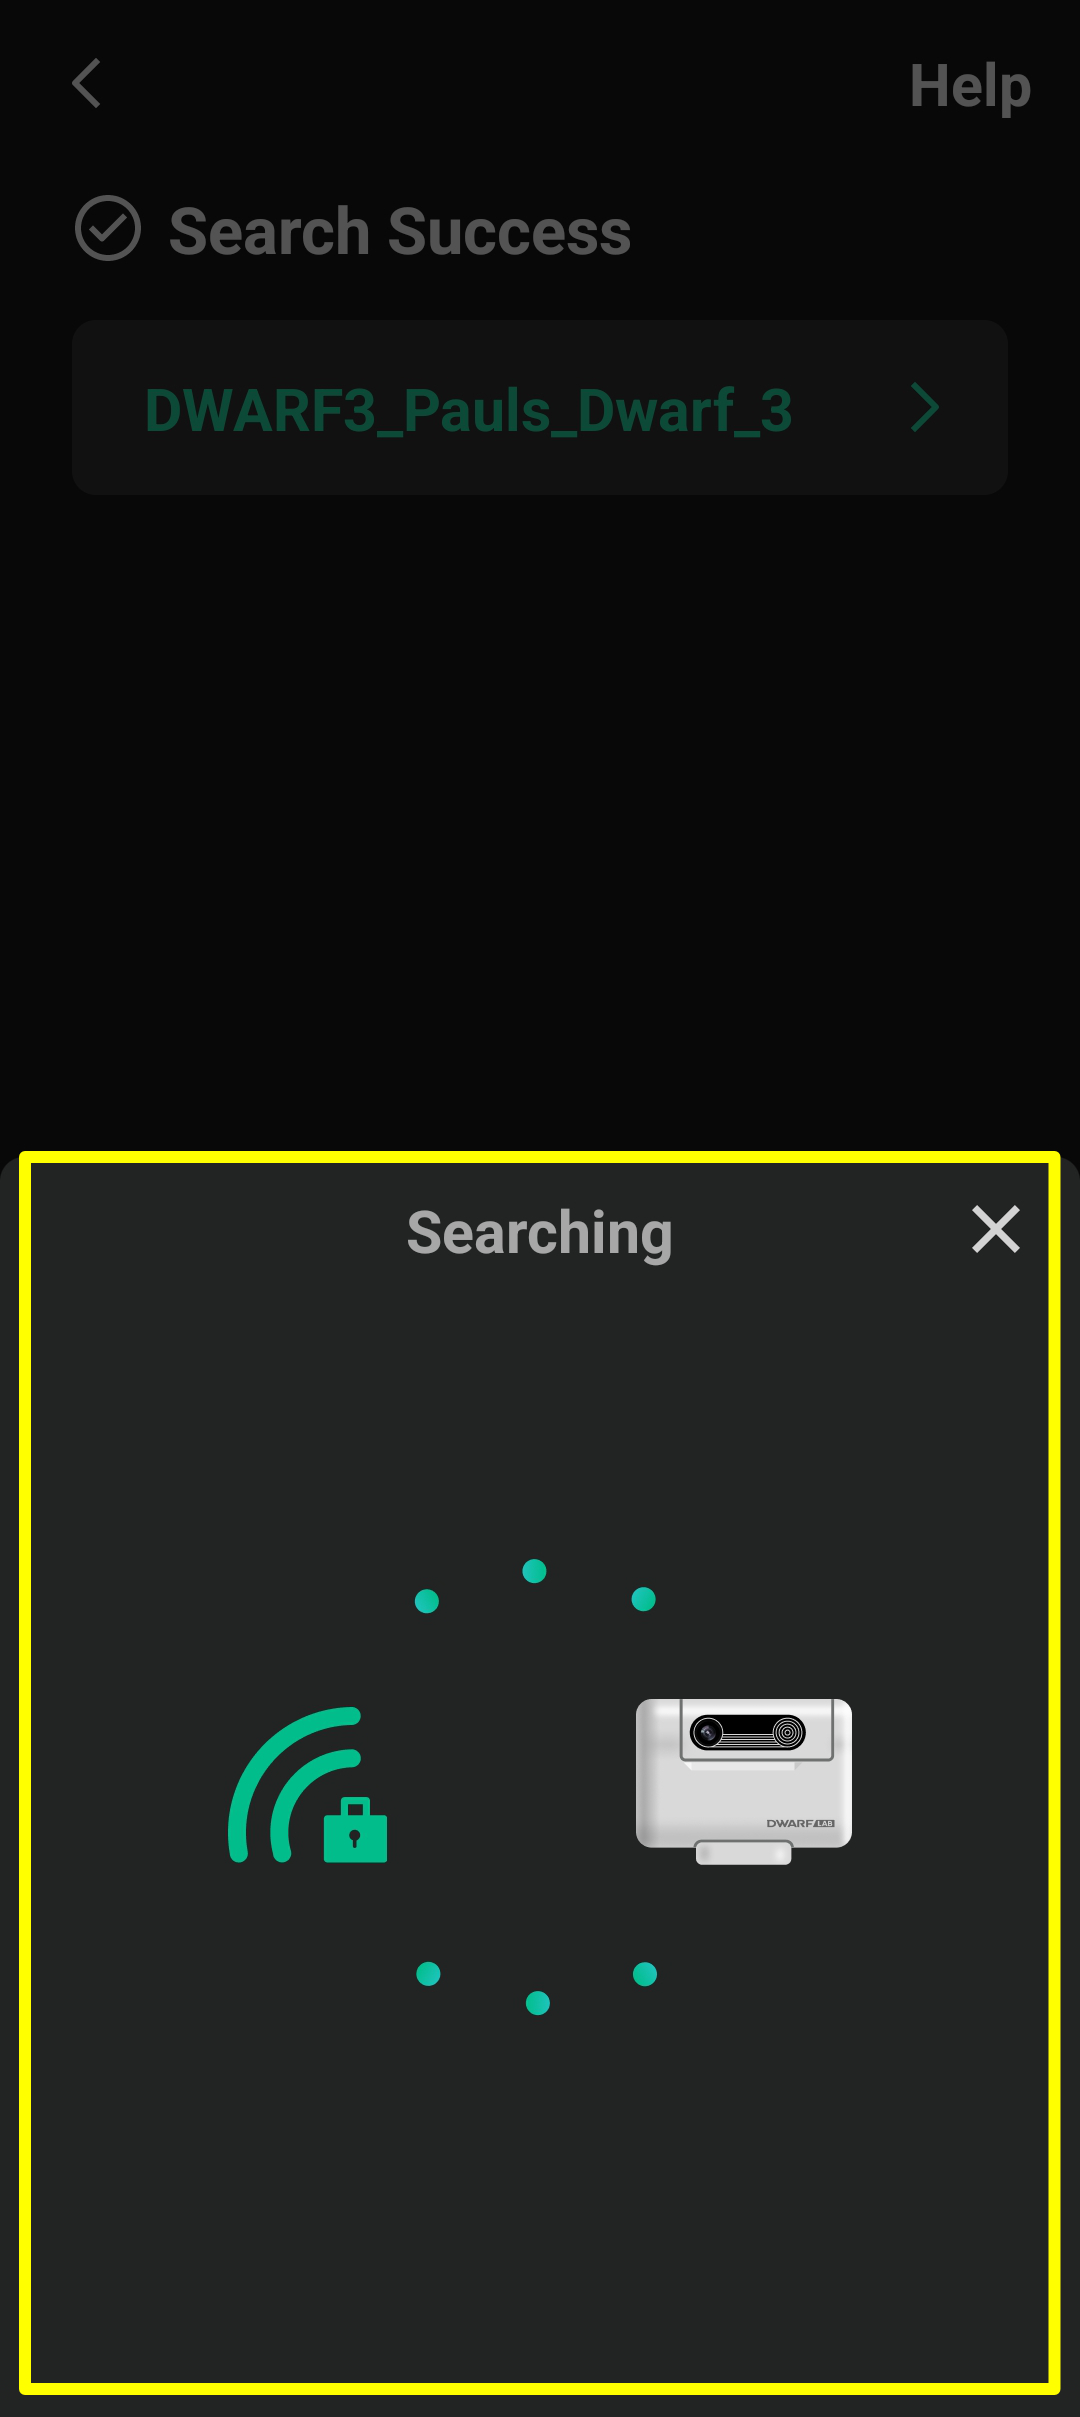
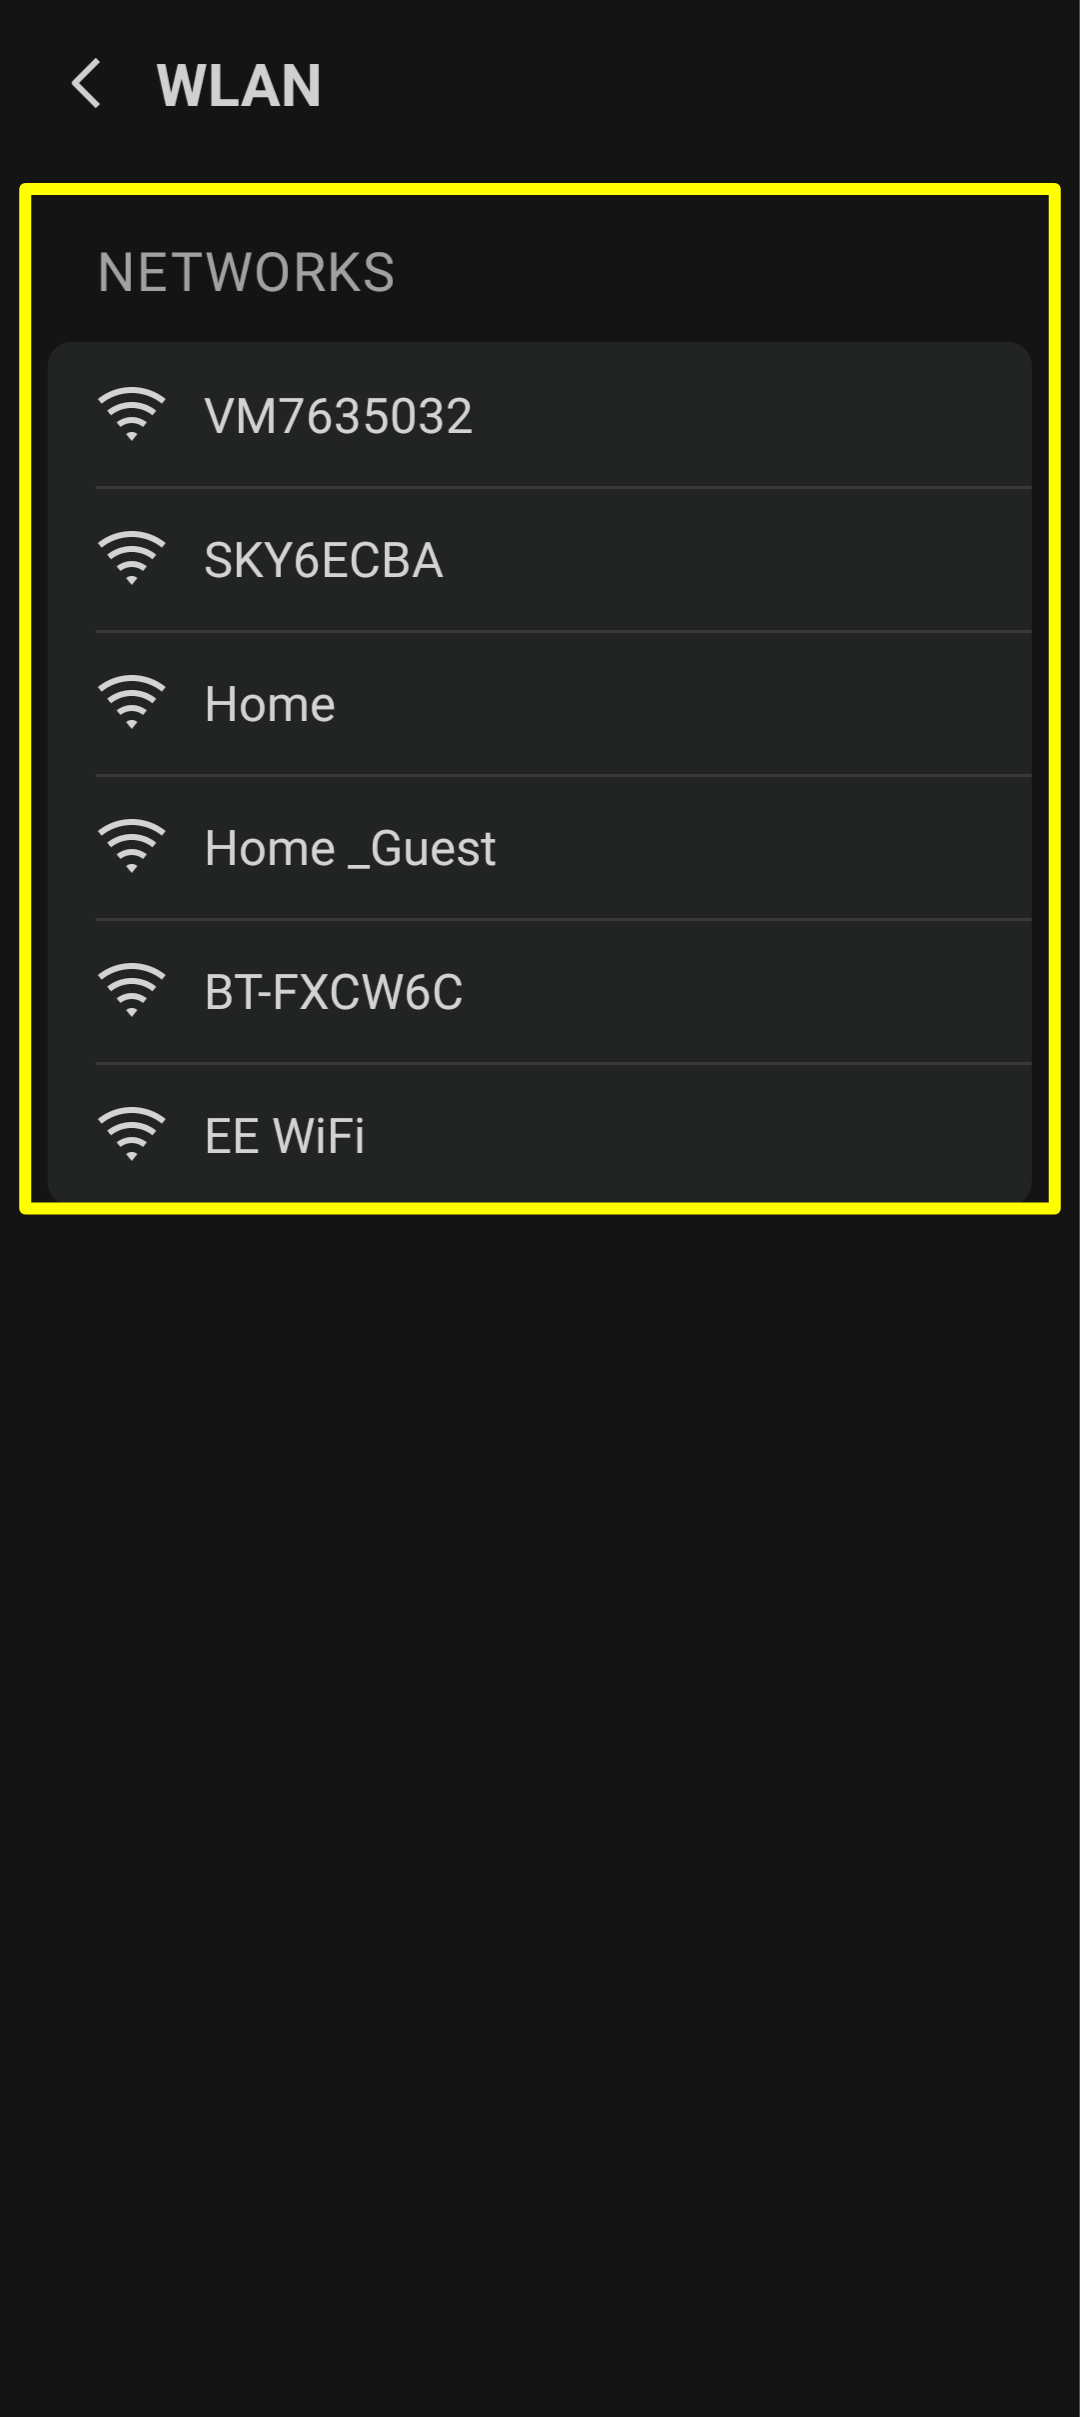
05) The app will now search for your home Wi-Fi.
06) Select yours from the list.
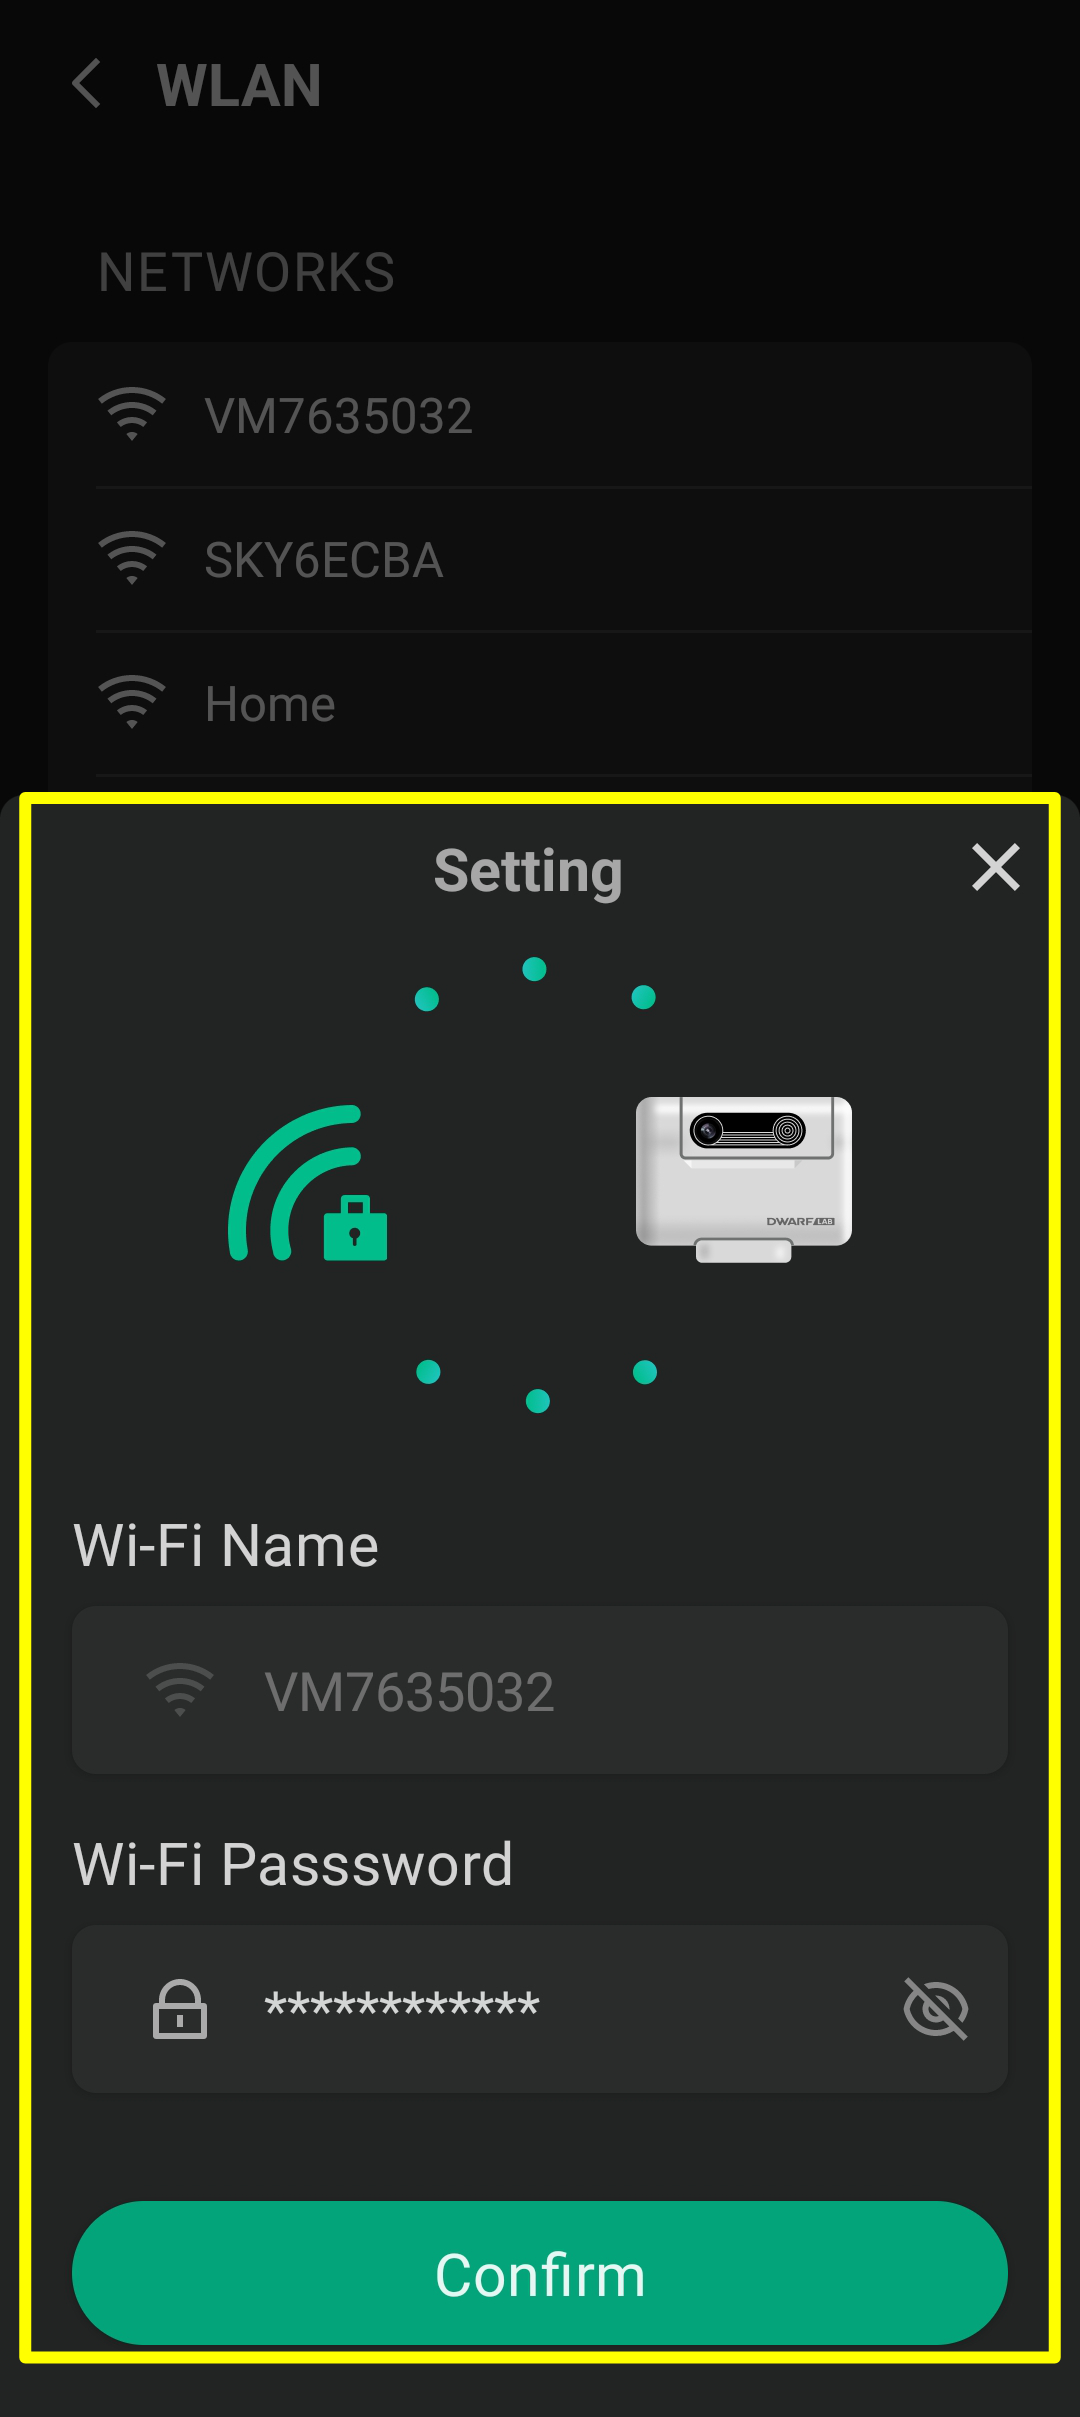
07) Now enter your home Wi-Fi login details and click "Confirm". You are now in STA mode and the DwarfLab app can talk to both the Dwarf unit and the internet at the same time.
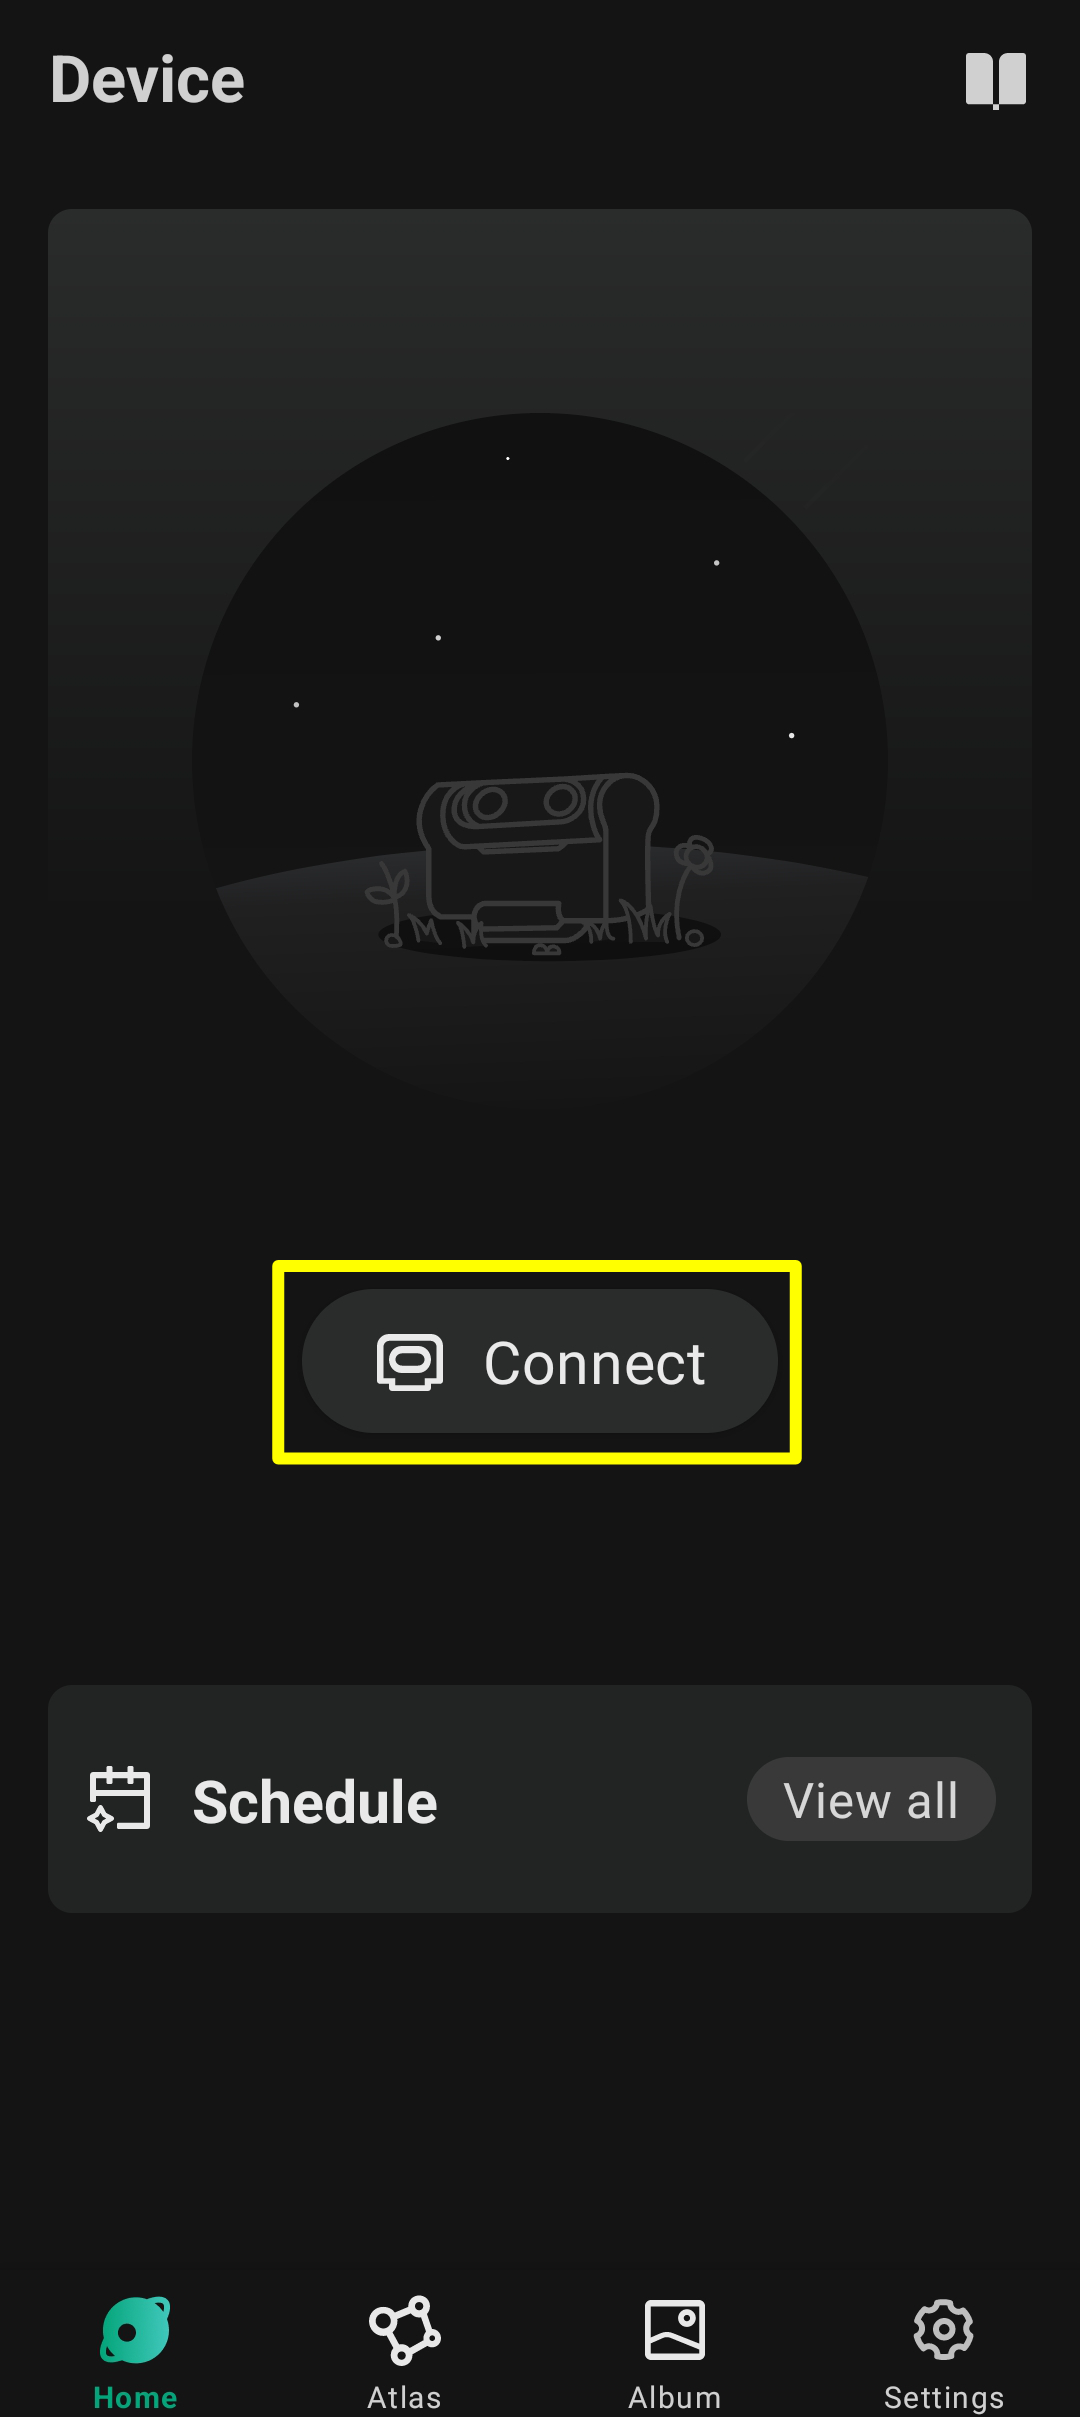
08) You will then be presented with the start page. Click "Connect" to enter the Dwarf.
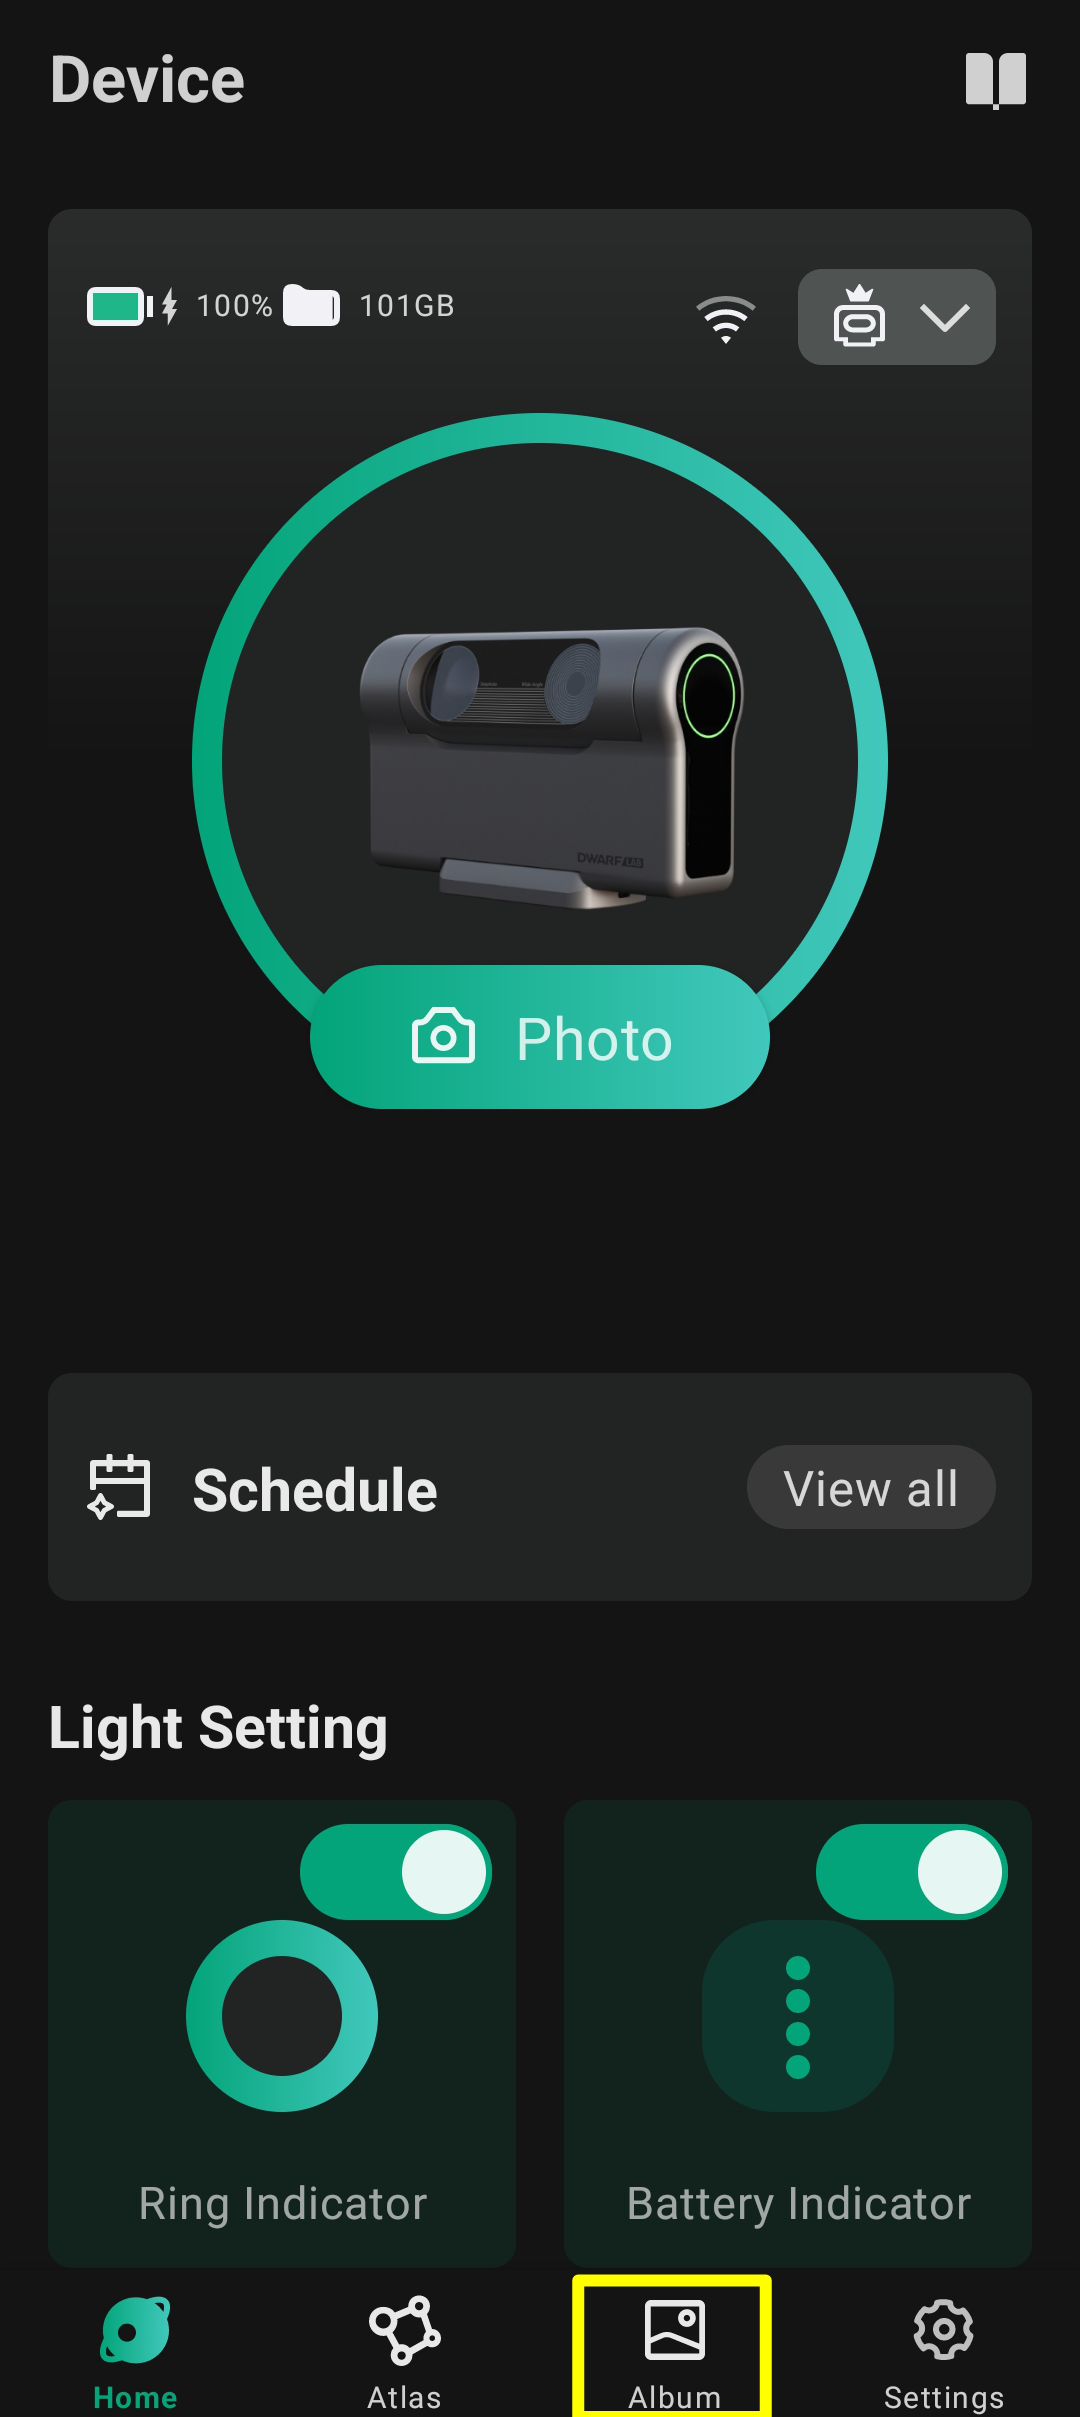
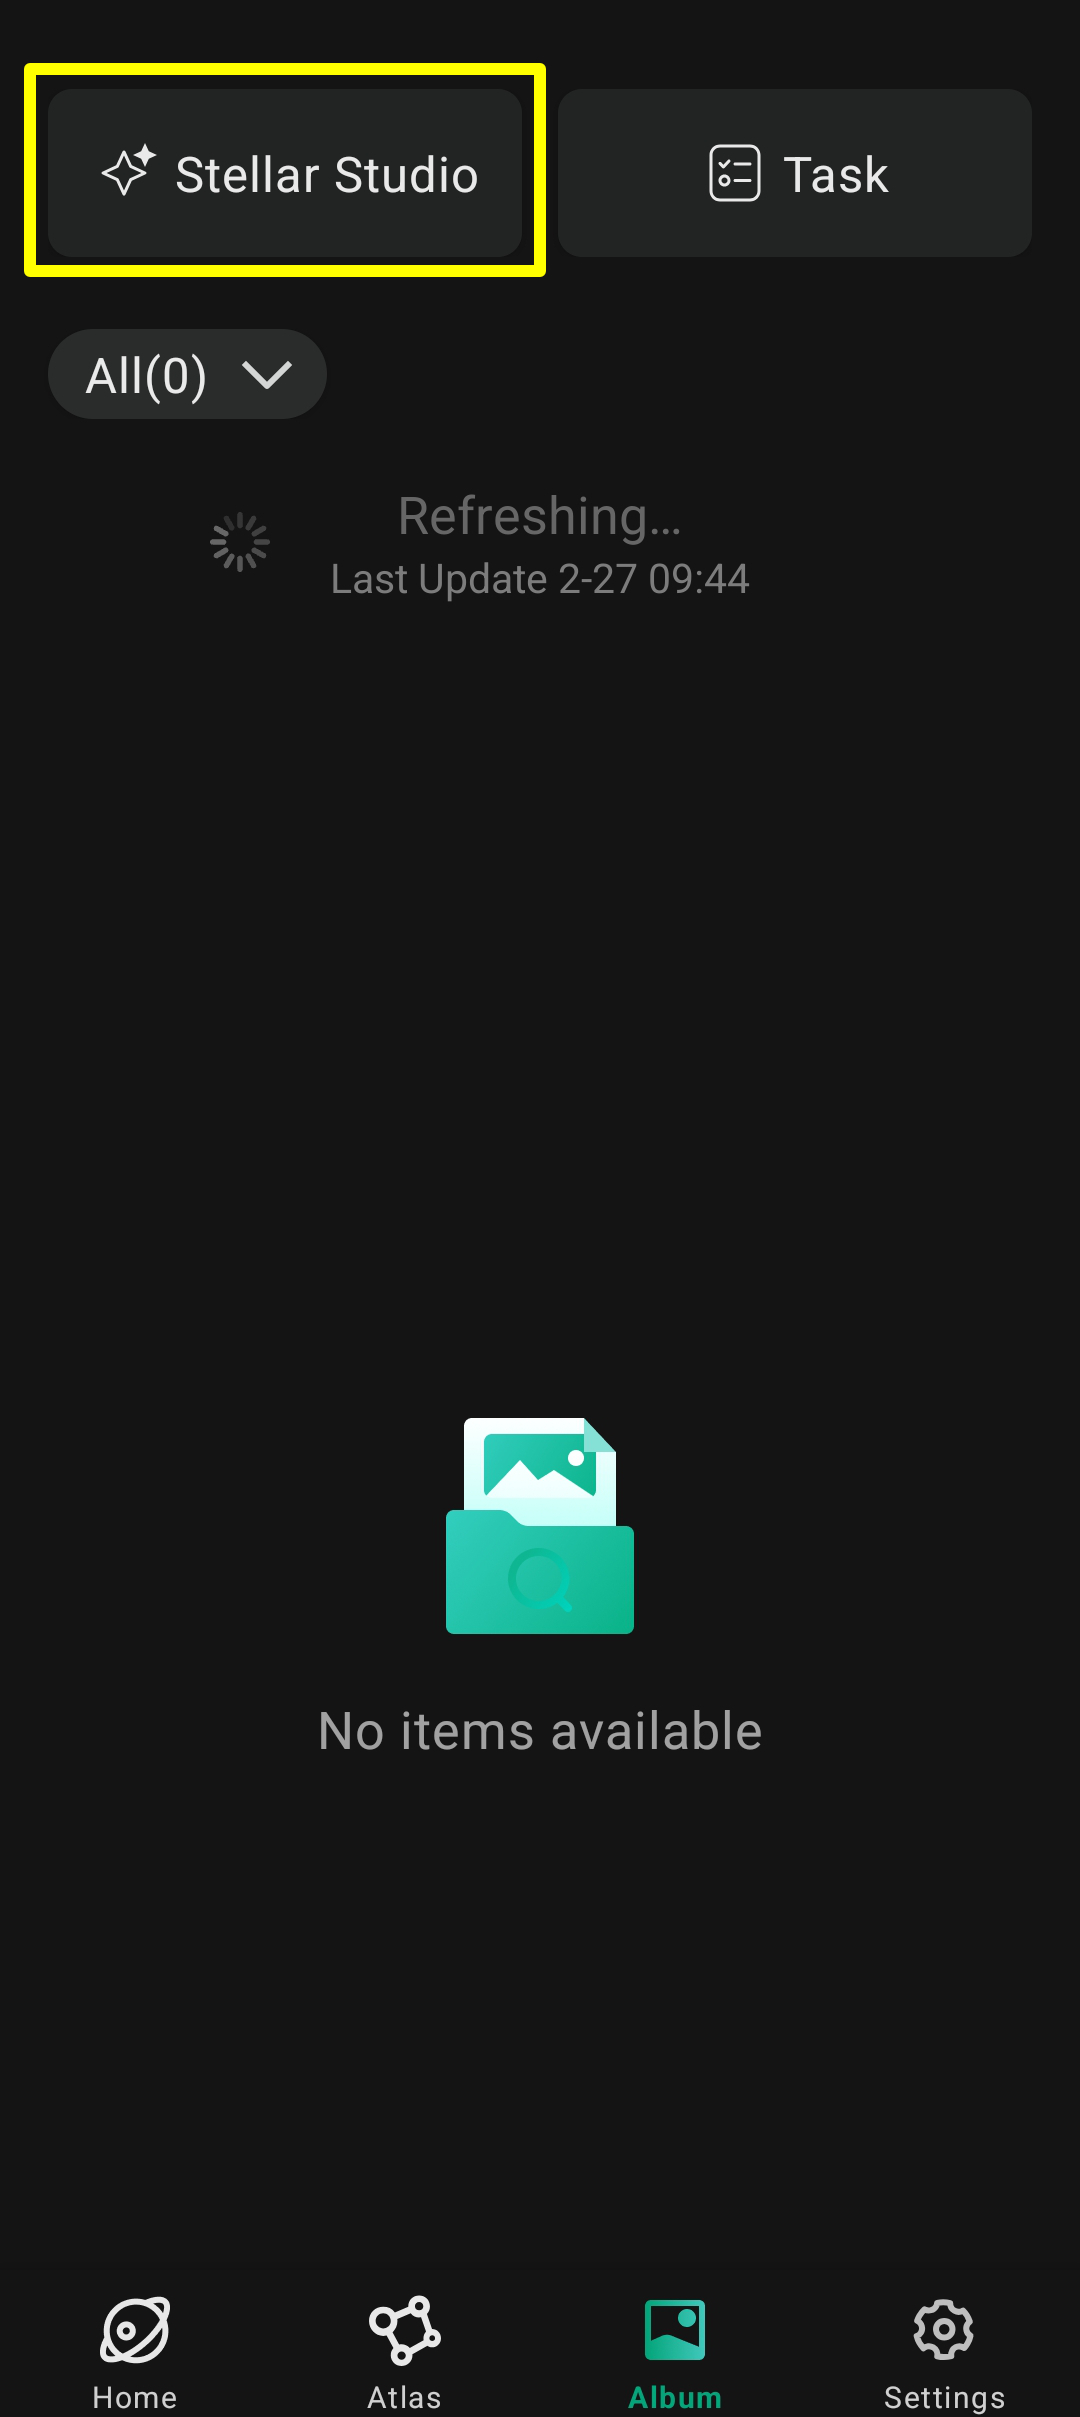
09) From here, click on "Album" at the bottom of the screen.
10) Now click "Stellar Studio" at the top of the screen.
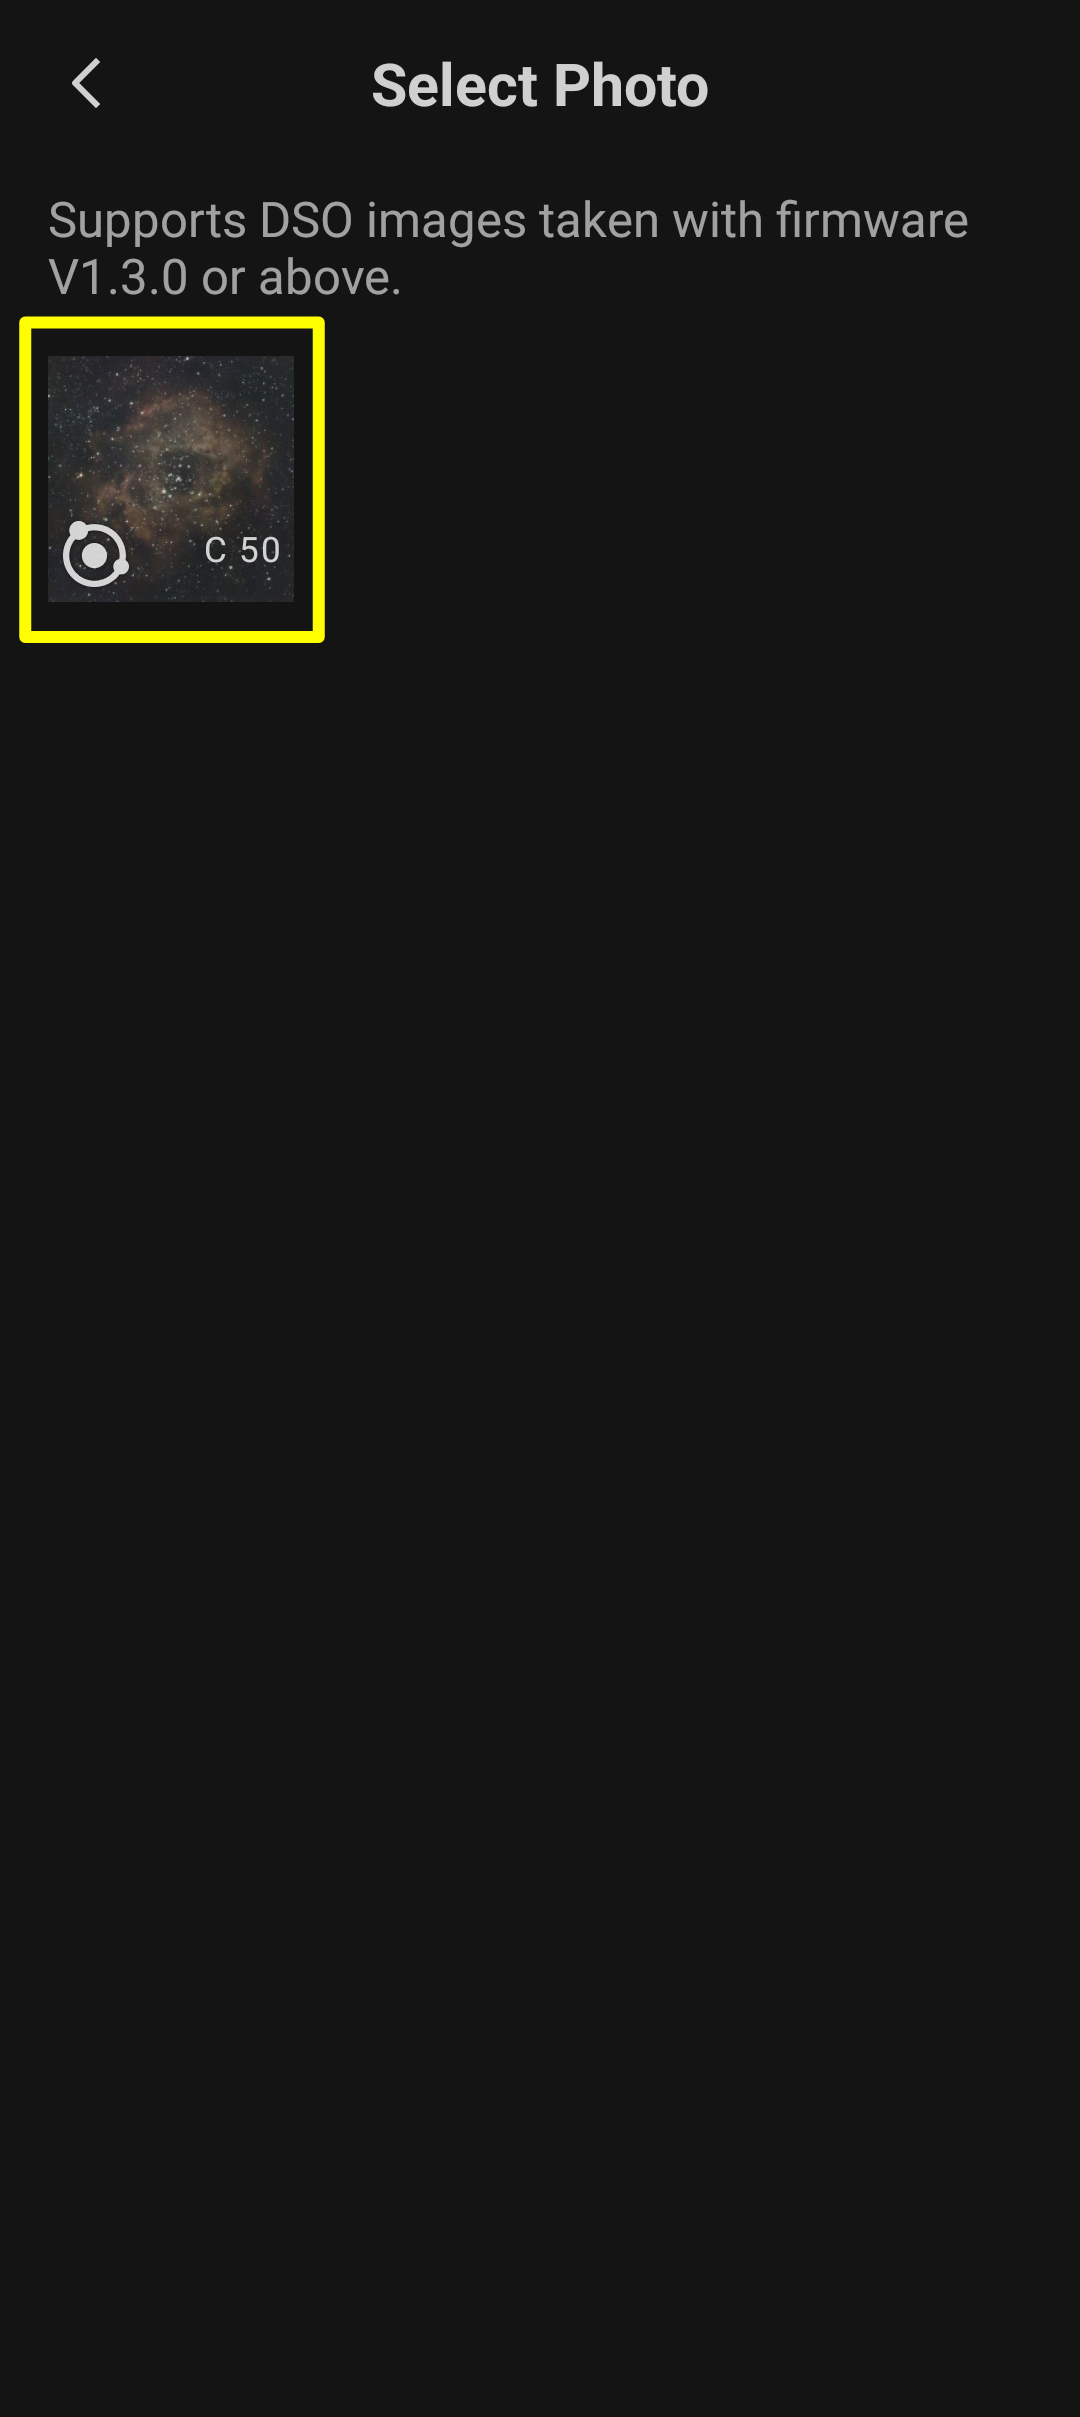
11) This is where all pictures taken after updating the firmware to version 1.3.0 will appear. Select the stack that you wish to process.
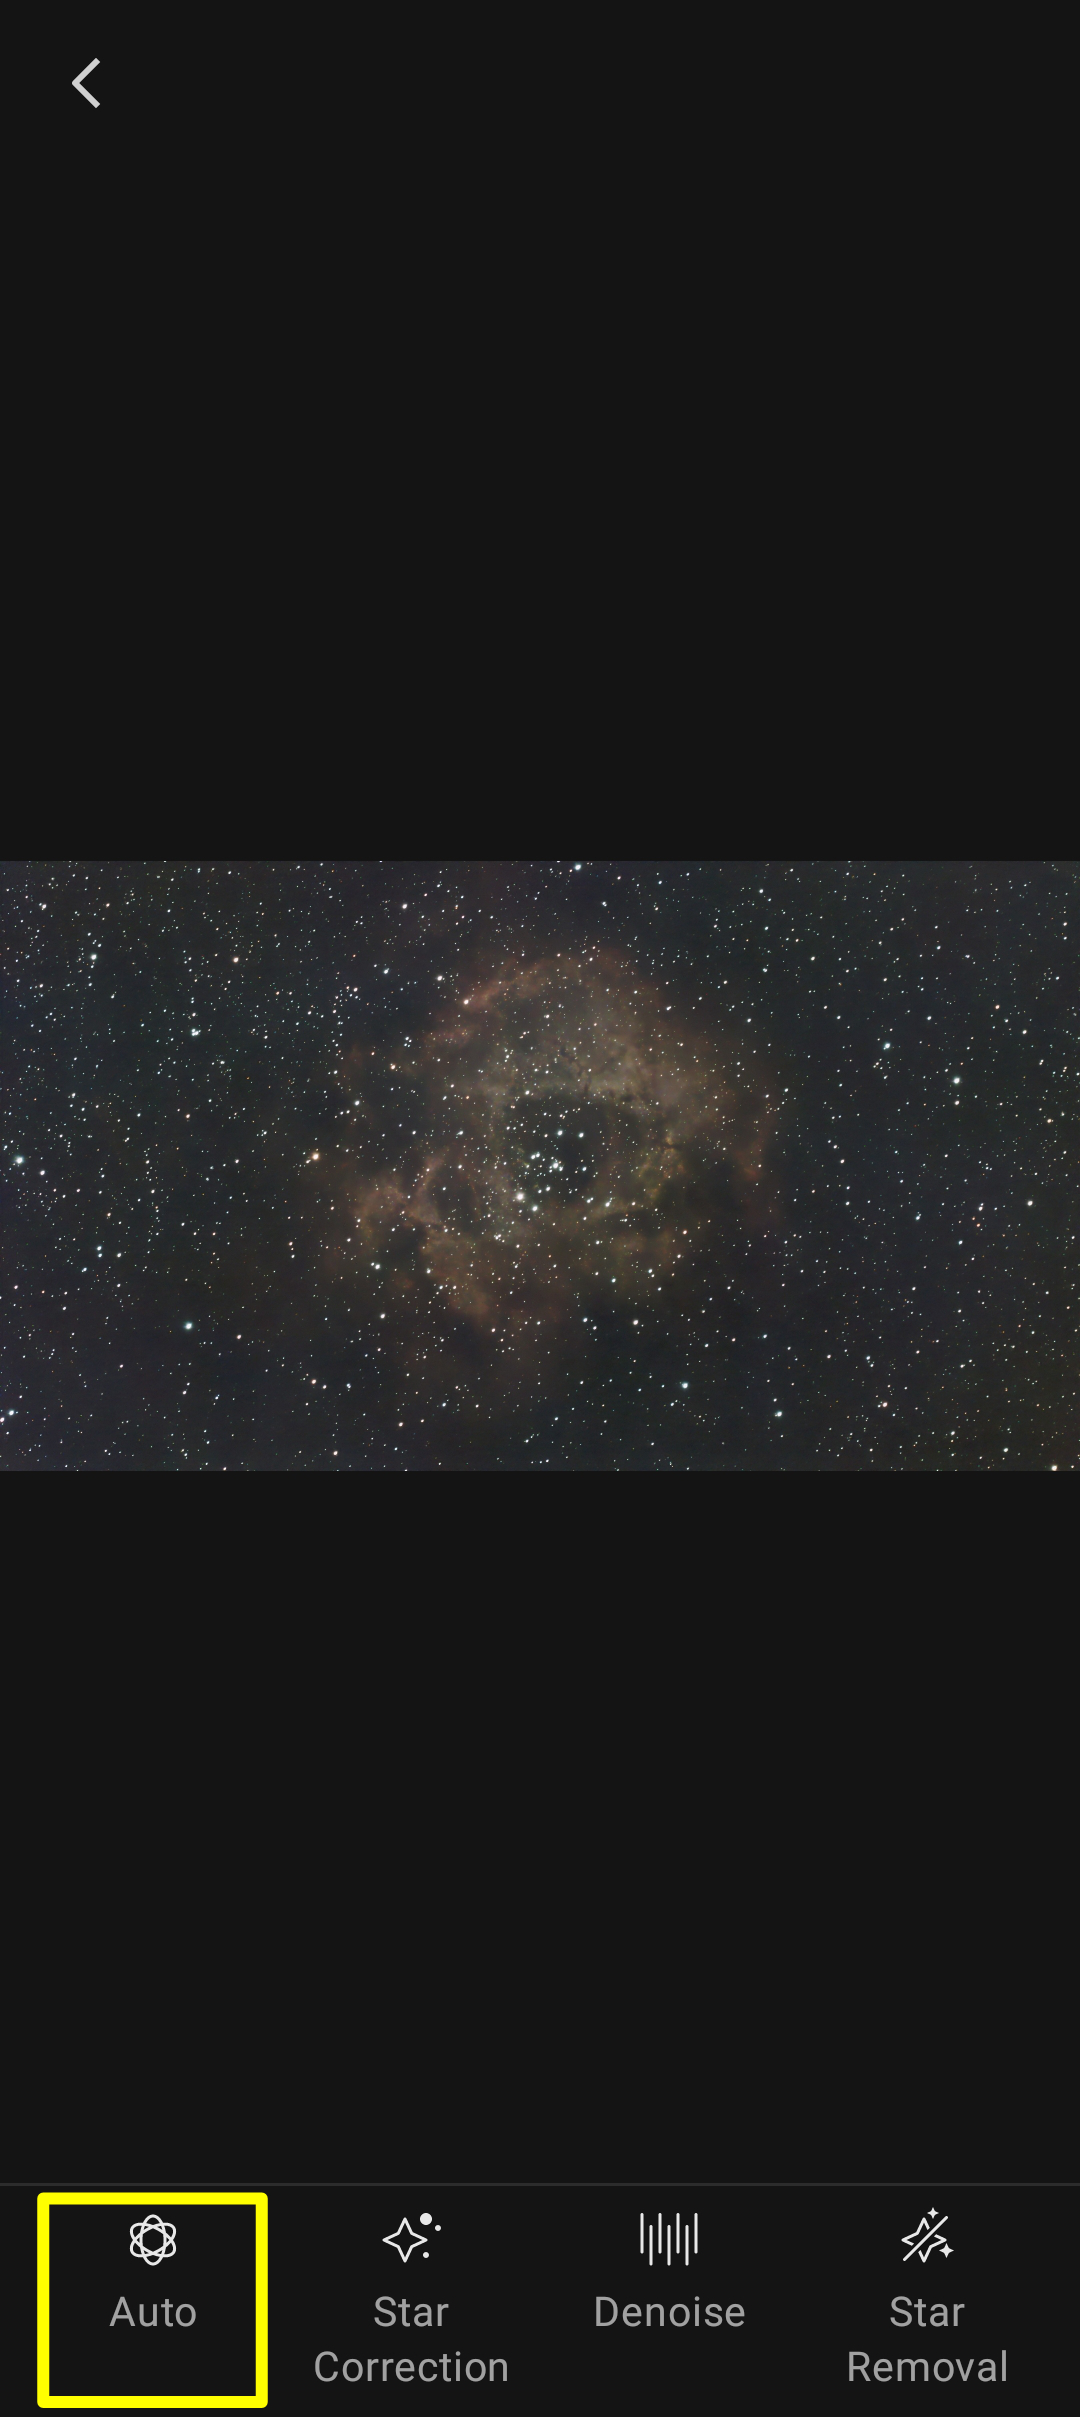
12) Here you are presented with the stacked picture. This is where you conduct the processing proceedures by using the buttons on the bottom of the screen.
The "Auto" button will upload and perform a star correction and denoise in one go. For more control, dont click "Auto" and just move on to manually perform "Star Correction" or "Denoise".
Start by clicking "Auto"
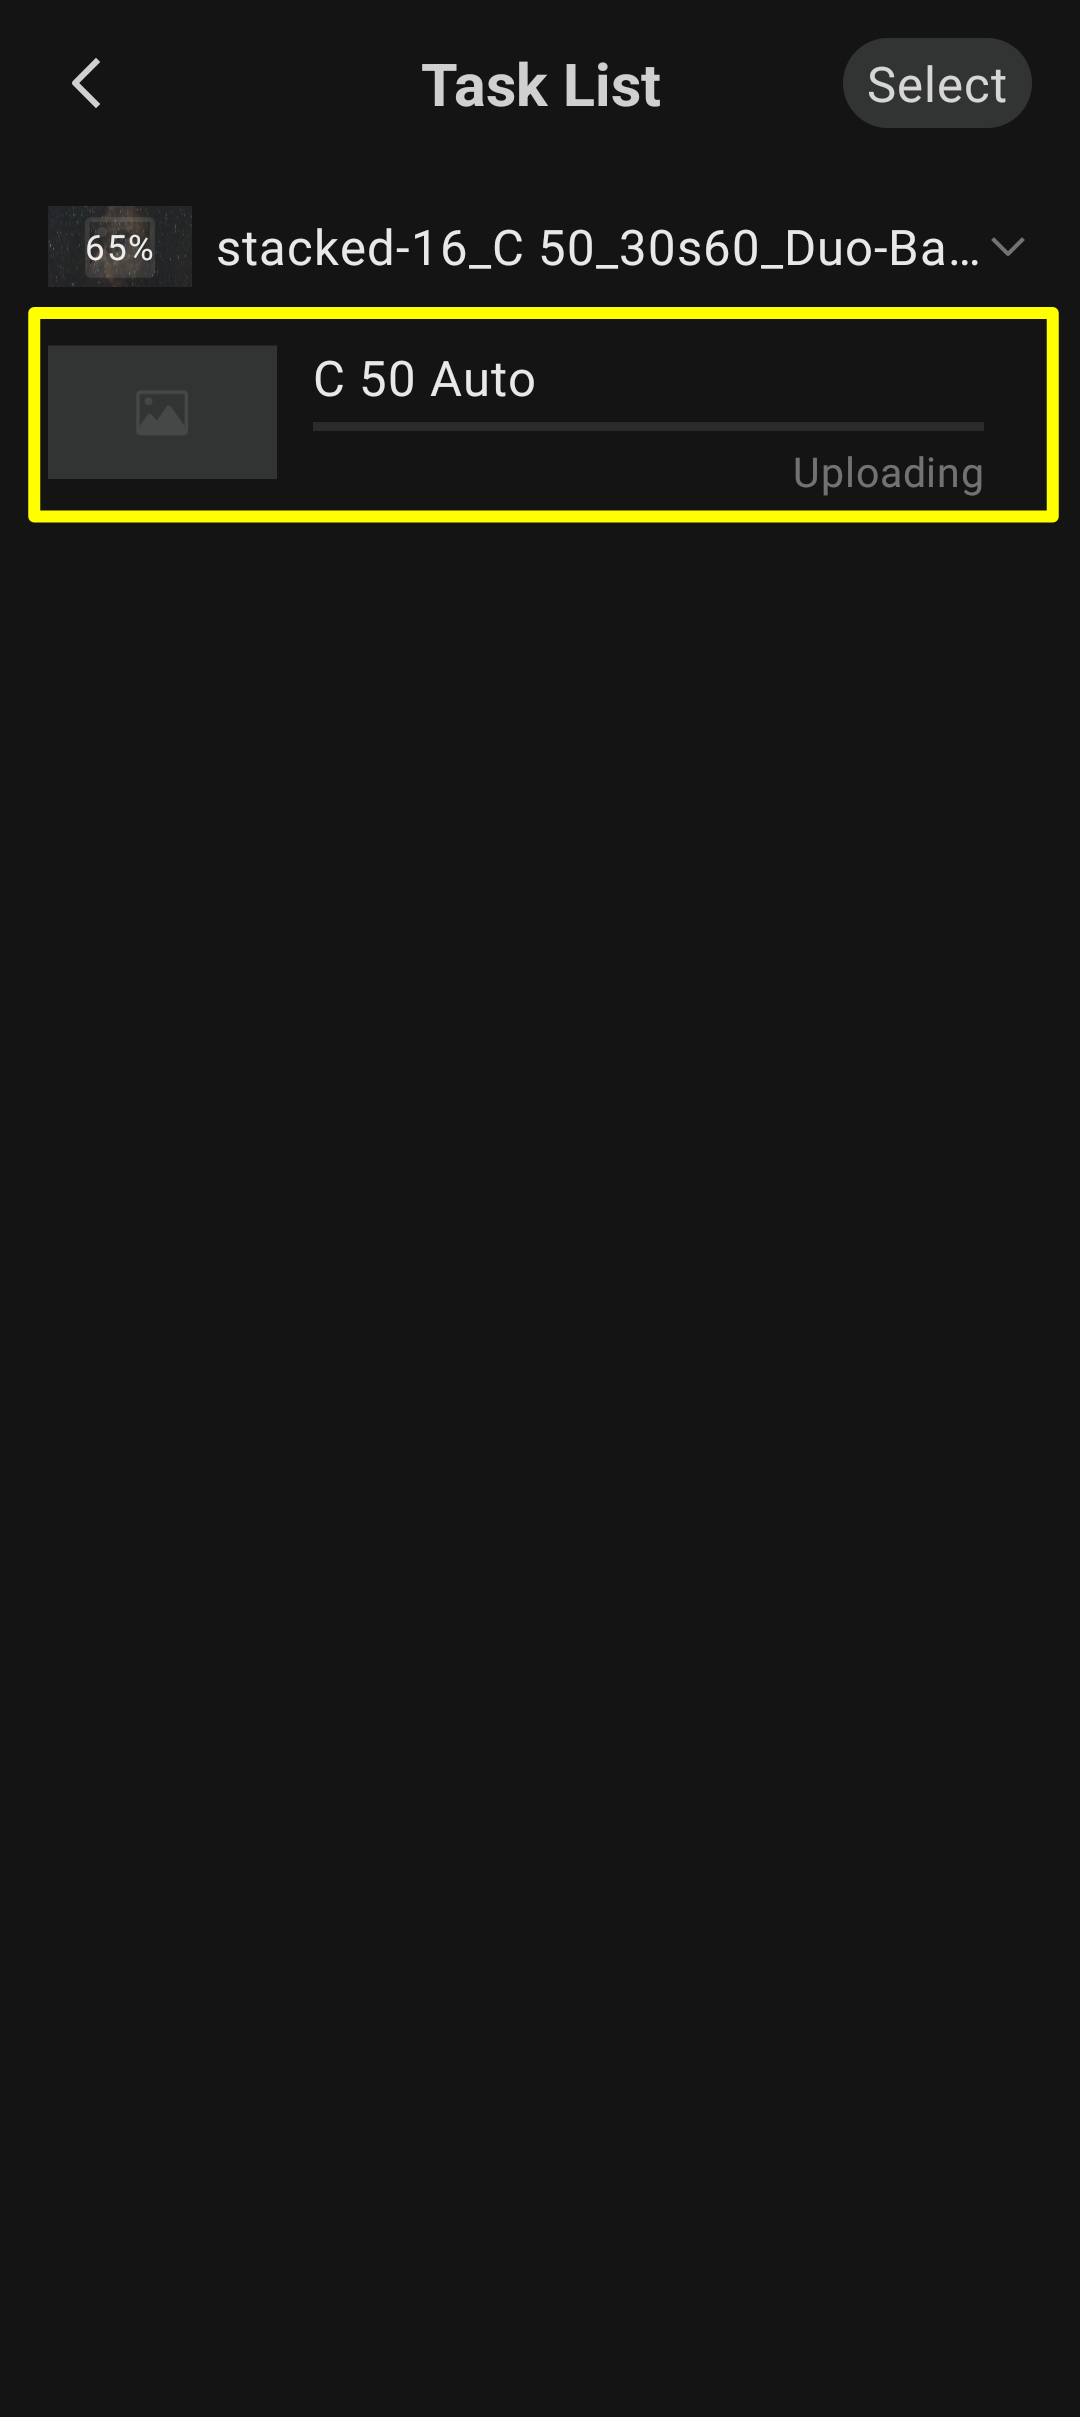
13) After an initializing screen the picture will be uploaded to the DwarfLab servers and the progress is followed on the progress bar. This bar also shows the stages - Uploading - Analysing - Processing
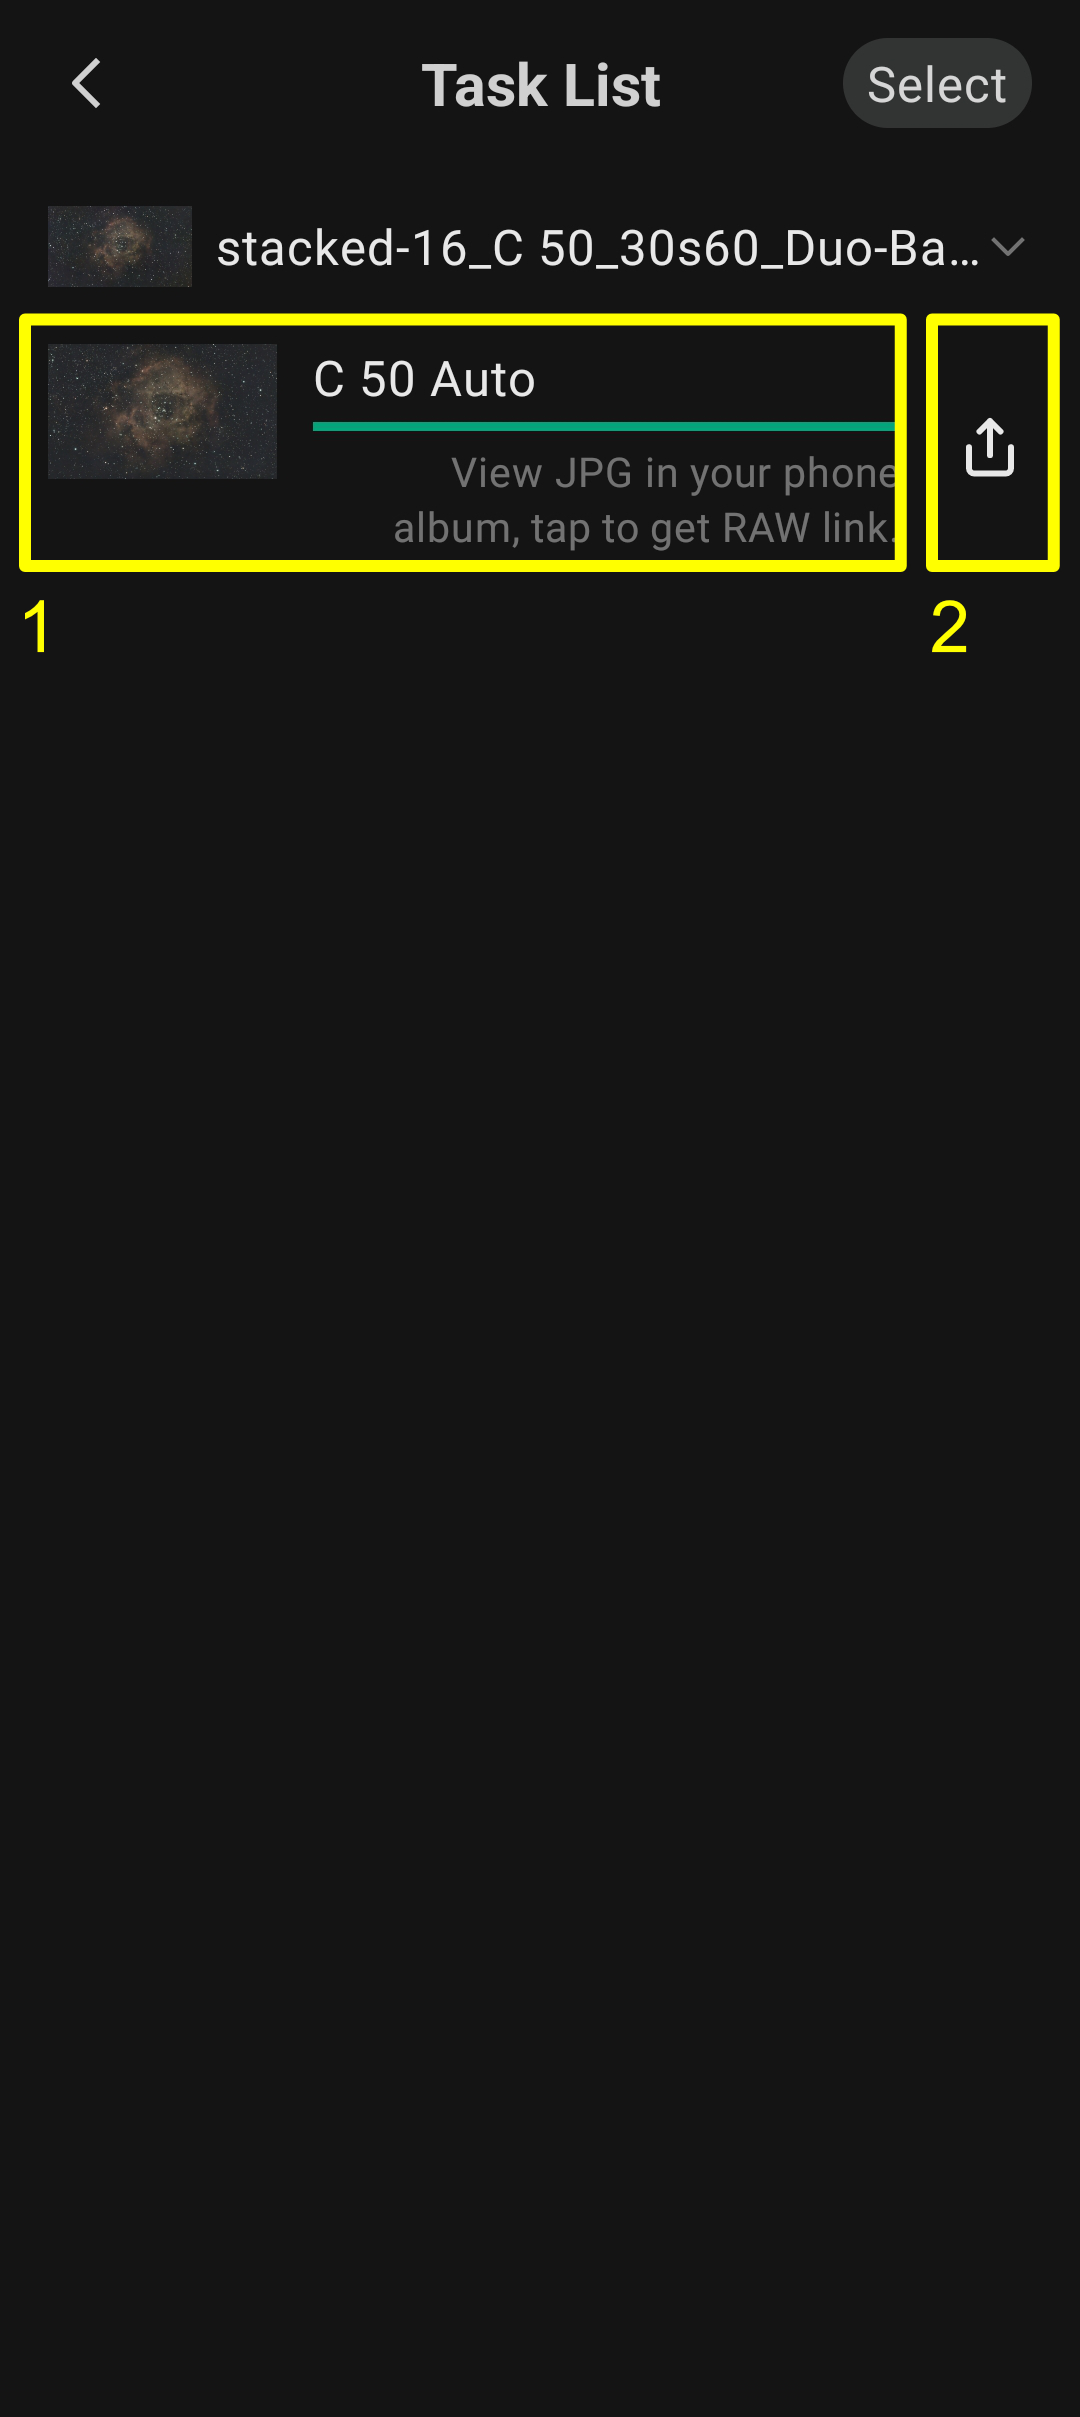
14) Once processed click the down arrow. This will automatically save a .jpg of the edited file to your phone/tablet.
15) At this point there are a couple of options.
If you are happy with the edits so far or if you want to cary on editing in software on a computer, then you will click the arrow in box # 2.
If you wish to cary on editing then click the icon in box # 1 (Scroll this page to section 19 below)
16) By clicking the arrow in box # 2 above will copy a web address to your phone/tablet's clipboard.
17) Without closing the DwarfLab app, open your internet browser and paste the copied link into the address bar and click go or enter.
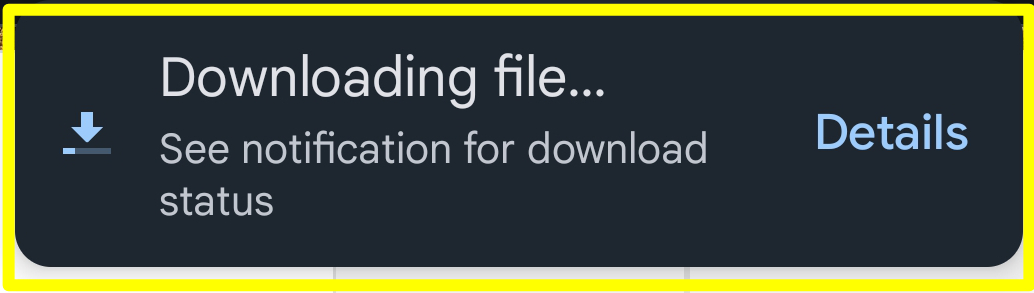
18) The .fits file with the current edit will be downloaded to your phone/tablet.
You can now transfer this file to your computer to further post process in your prefered software.
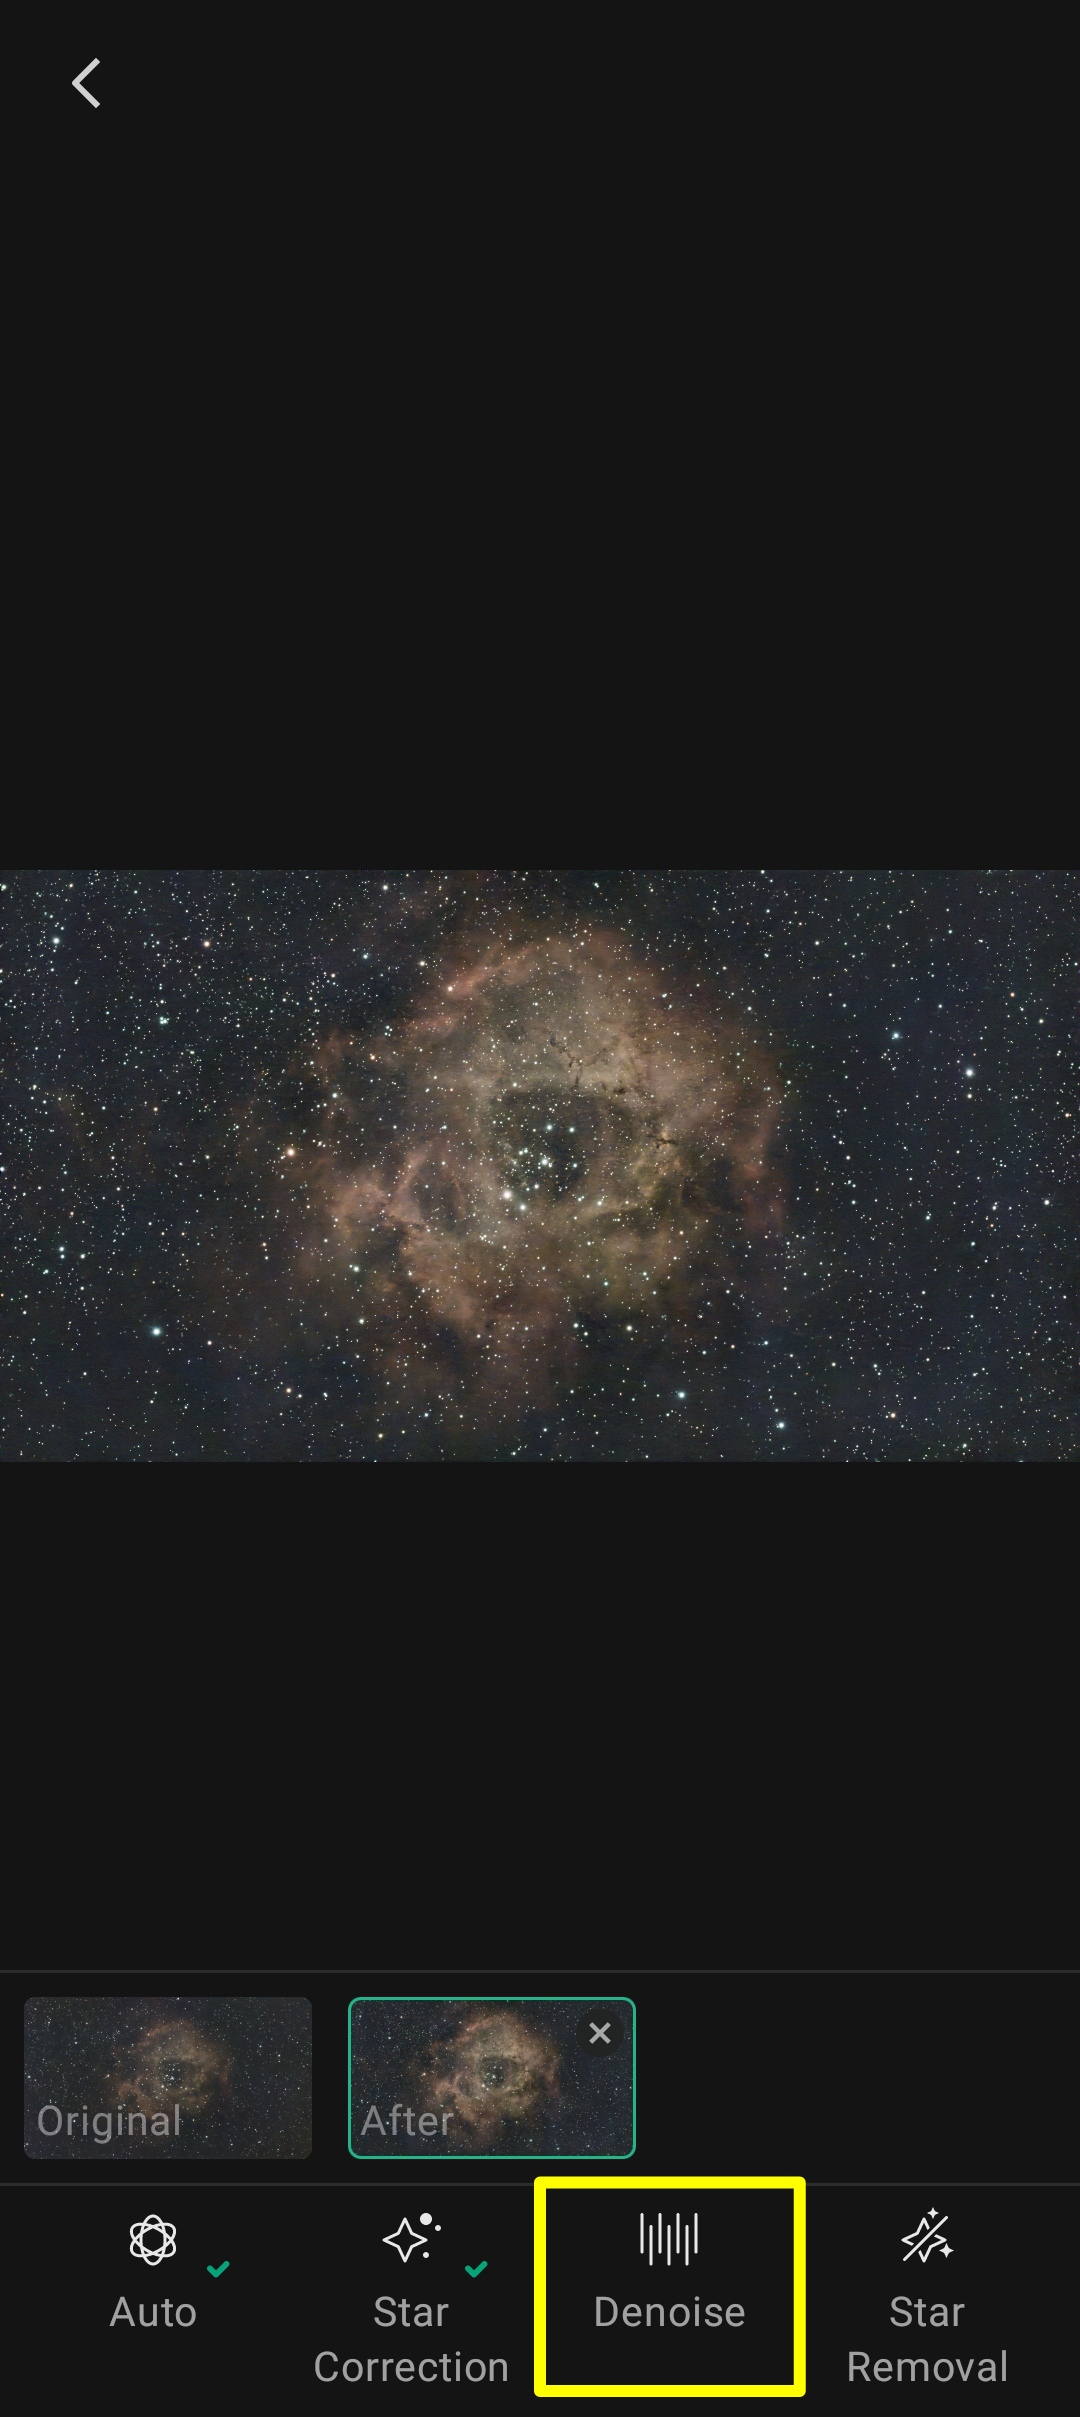
19) After having clicked the icon in box # 1 in section section 15 above, you are returned to the editing screen.
The processed picture is presented on the screen. You can flick between the original and the edited image by clicking the tabs in box # 1 in the picture below.
Select the next editing process from the bottom bar and repeat the above sections 13 - 19 until you are happy with the result.